

How to Specify a Custom Electrical Enclosure: A Drawing-to-Production Checklist
A custom electrical enclosure specification checklist is the shortest route between a project enquiry and a quotable, manufacturable drawing. Most delayed enclosure projects do not fail in fabrication. They fail in the first email, where a photograph, a rough sketch and the phrase “similar to the old one” are treated as a specification. The factory then quotes an assumption, the sample is built to that assumption, and the mismatch is discovered on site — after the wall is closed or the cable is pulled.
This guide sets out the ten items that need to be defined before a quotation is meaningful, the minimum drawing pack a supplier needs, and the approval gates that keep a first sample reproducible in volume production. It is written for distributors, contractors, panel builders and OEM buyers sourcing custom enclosure OEM & ODM support from a sheet-metal manufacturer, not for a homeowner choosing a consumer unit.
Why “We Support Customization” Is Not a Specification
Customization is a capability statement. A specification is a set of decisions that a cutting machine, a bending brake, an assembler and an inspector can all follow without asking a question. The gap between the two is where cost and lead time disappear.
Consider a single line item: “one cable entry at the bottom.” To an engineer that may imply a specific gland plate, a hole diameter, a centre distance from the back panel, a sealing requirement and a drip loop outside the box. To a quotation it is just one hole. If the gland plate is added after the enclosure is welded and powder coated, the box is either reworked or the stated ingress protection no longer means anything — a point covered in more detail in our IP54 vs IP65 enclosure comparison.
The practical rule is simple: anything not written into the approved drawing is a decision the factory will make for you. Some of those decisions are harmless. The ones involving openings, materials, sealing and labels rarely are.
The 10-Point Specification Checklist
Use this table as the agenda for the technical review call. The third column is the reason each item belongs in the quotation, not just in a later email.
| # | Item to define | Why it changes the quotation | What to send |
|---|---|---|---|
| 1 | Overall dimensions, tolerances, usable internal depth | Drives sheet size, bending sequence and whether standard tooling applies | General arrangement drawing with dimensions and tolerance note |
| 2 | Material grade and sheet thickness | Determines material cost, forming limits, weight and corrosion behaviour | Material call-out per part, not just for the body |
| 3 | Door type, hinge side, opening angle, lock and gasket | Changes hardware BOM, bend allowances and access on site | Door elevation and hardware schedule |
| 4 | Cutouts, knockouts, gland plates, cable entry direction | Requires punching before forming; late changes mean rework | Hole schedule with diameters, positions and quantities |
| 5 | Mounting plate, DIN rail, busbars, internal layout | Sets internal clearances and the assembly sequence | Layout drawing or single-line diagram |
| 6 | Surface treatment, colour and finish standard | Affects process route, lead time and colour approval | RAL or sample reference, gloss level, indoor/outdoor exposure |
| 7 | Required IP rating and how cable entries maintain it | Determines gasket, gland and test requirements | Rating plus a note on cable entry method |
| 8 | Nameplates, labels, logo and language | Requires artwork approval and a controlled revision | Artwork file, label positions, text list |
| 9 | Quantity, spare parts, packaging and shipment mark | Changes nesting, tooling choice and carton design | Order quantity, packing requirement, destination |
| 10 | Inspection scope and delivery documents | Defines what is checked and what paperwork ships | Dimensional check list, required certificates, document language |
1. Dimensions: Specify Usable Space, Not Just the Outside
A 400 × 300 × 150 mm box tells a fabricator very little about whether the intended breakers, terminals and cable bend radii will fit. State the usable internal depth after the door, mounting plate and any raised bosses are accounted for. Where an enclosure replaces an existing unit, measure the wall opening rather than the old faceplate — the visible panel is often larger than the recess behind it.
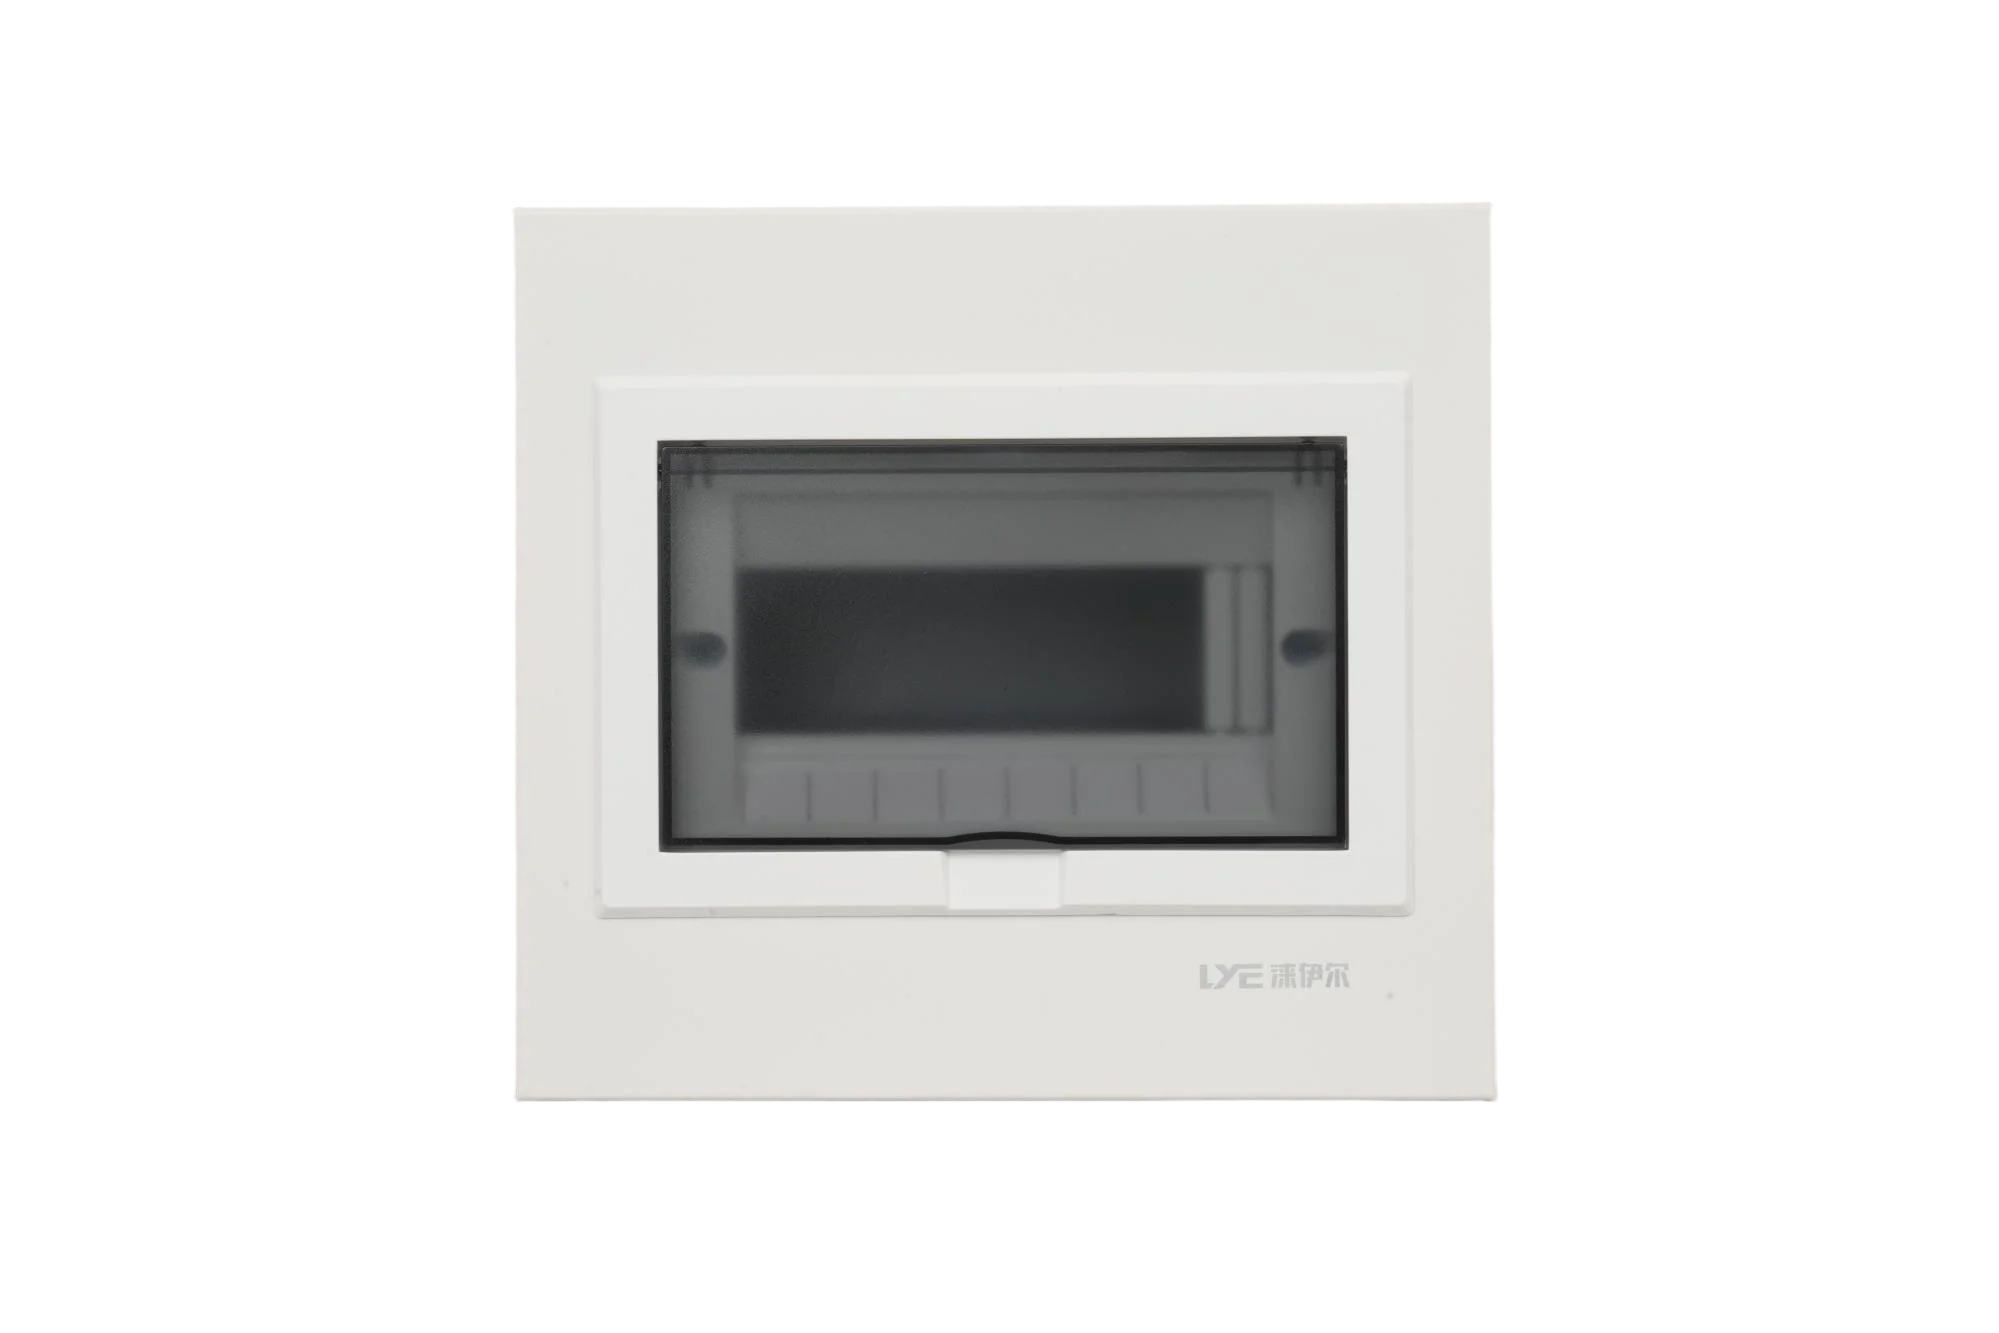
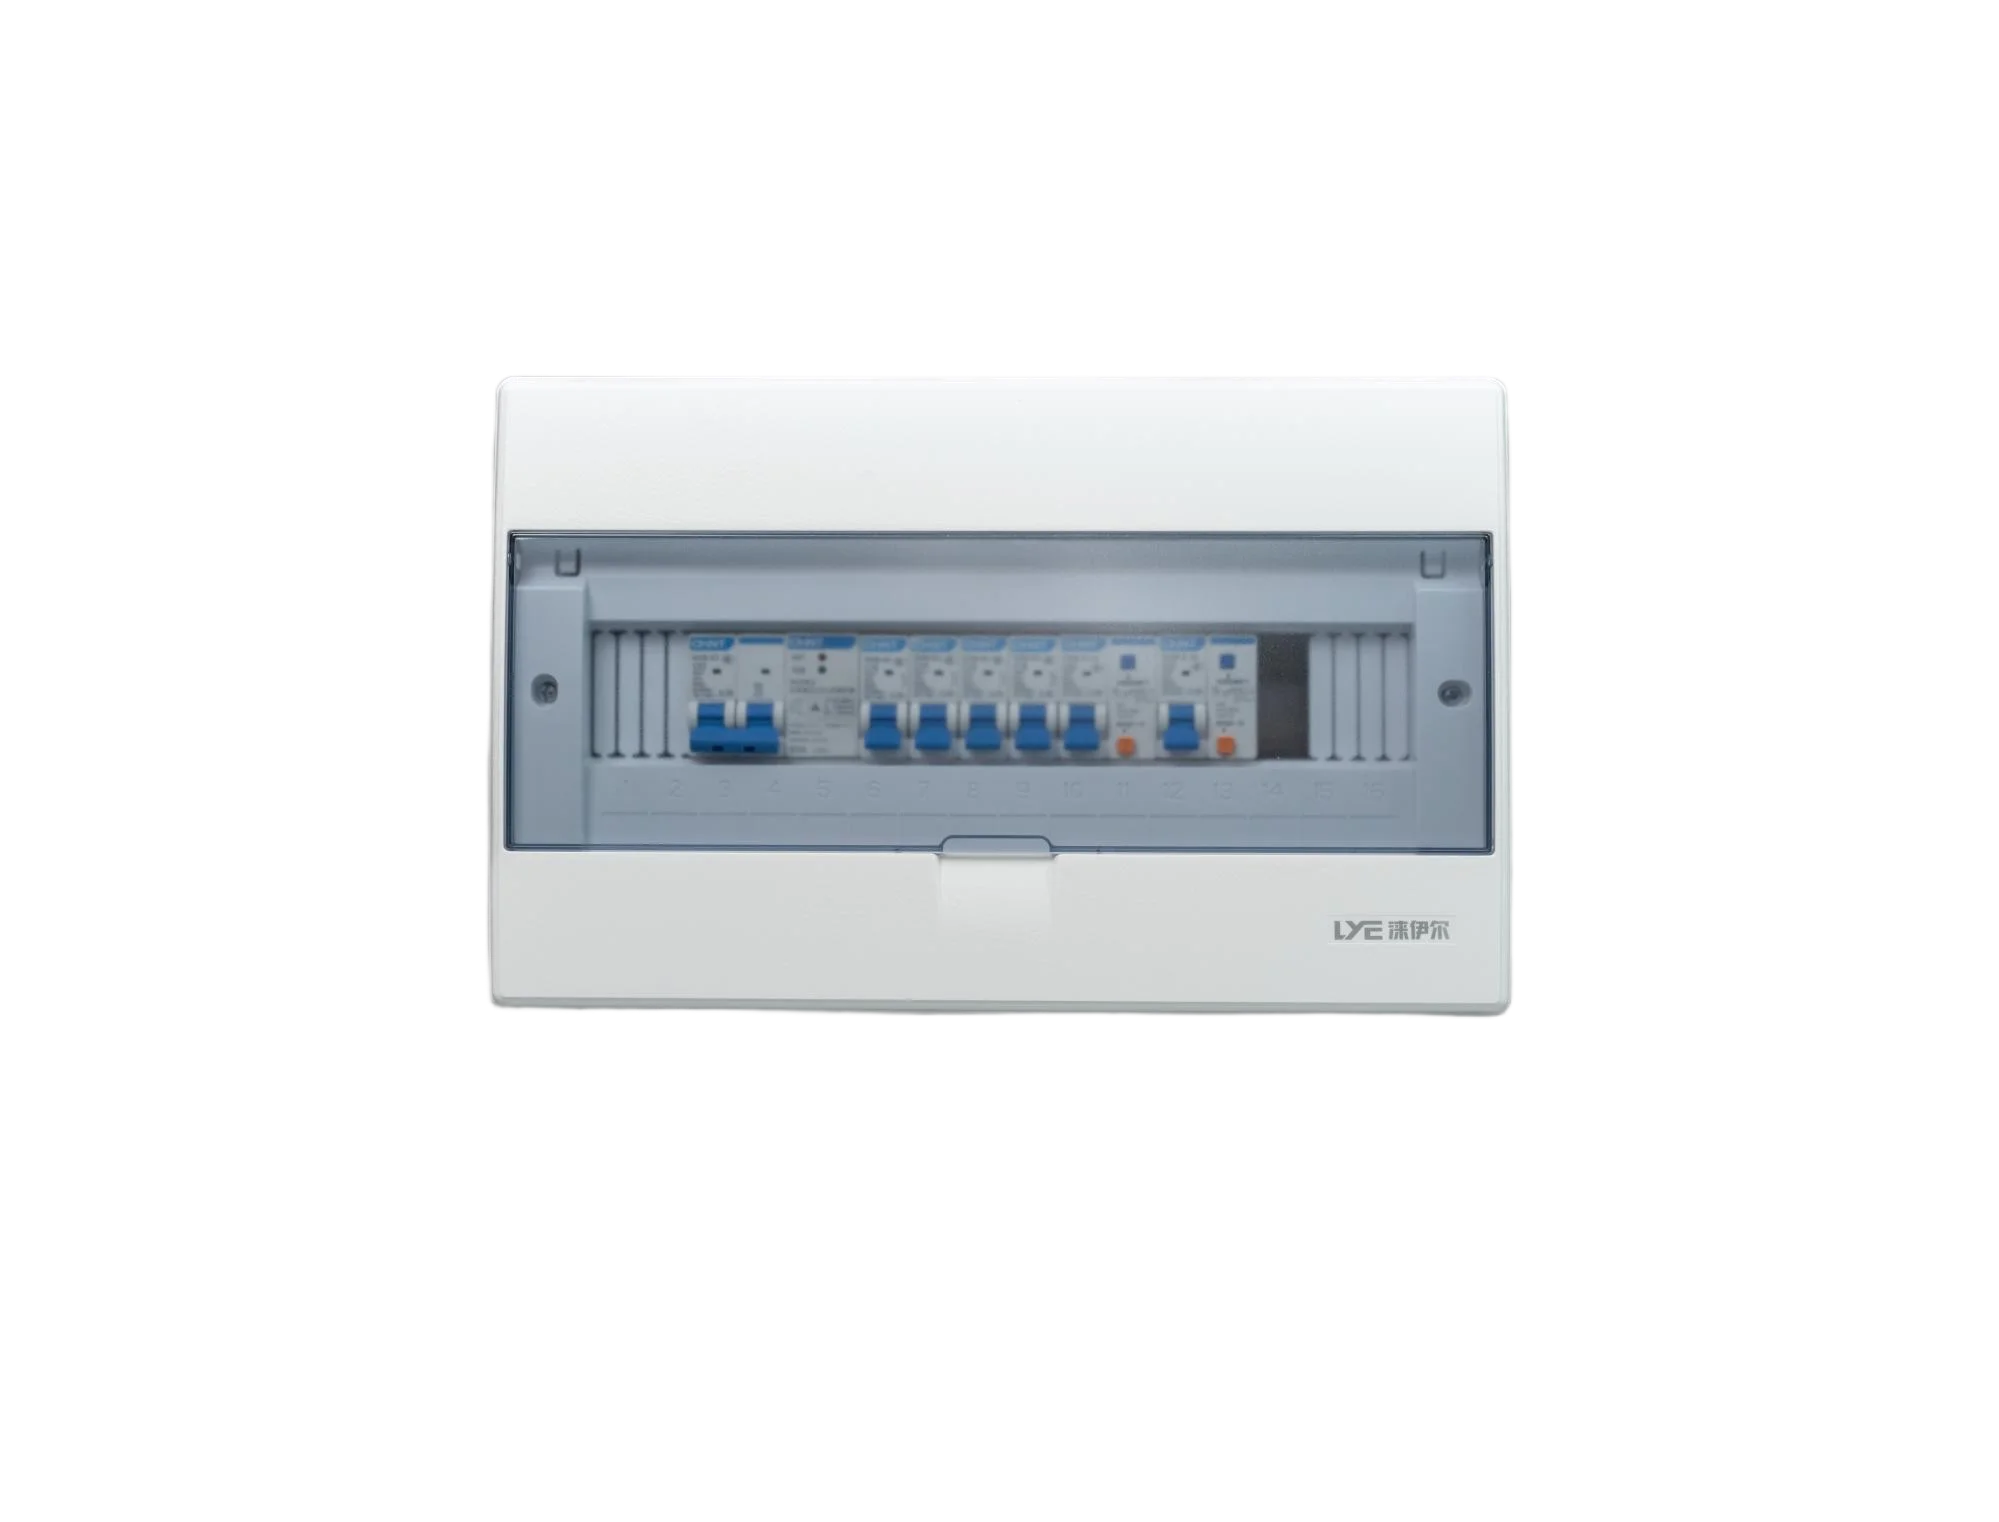
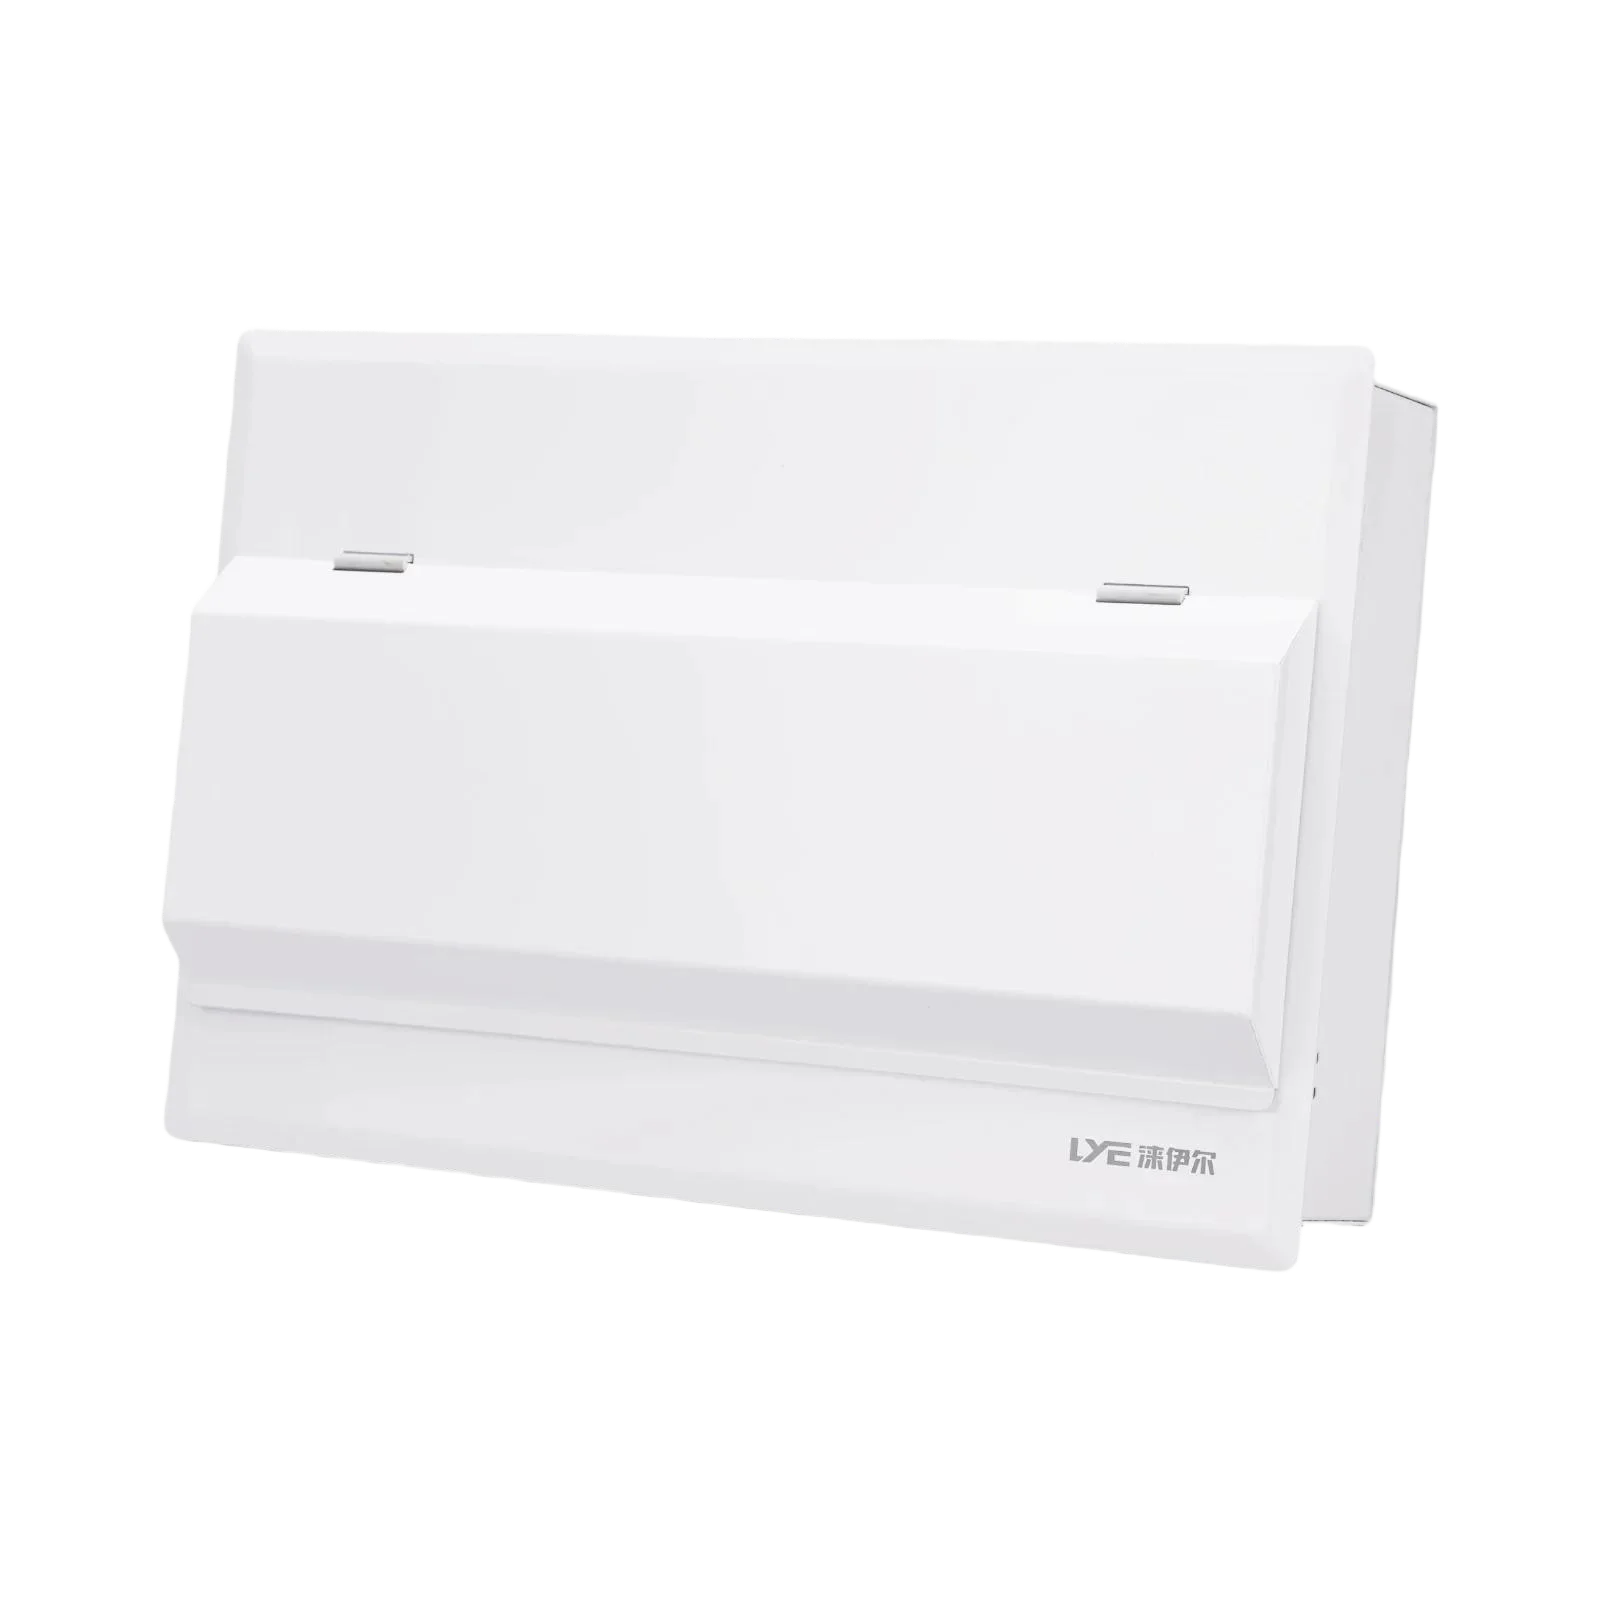
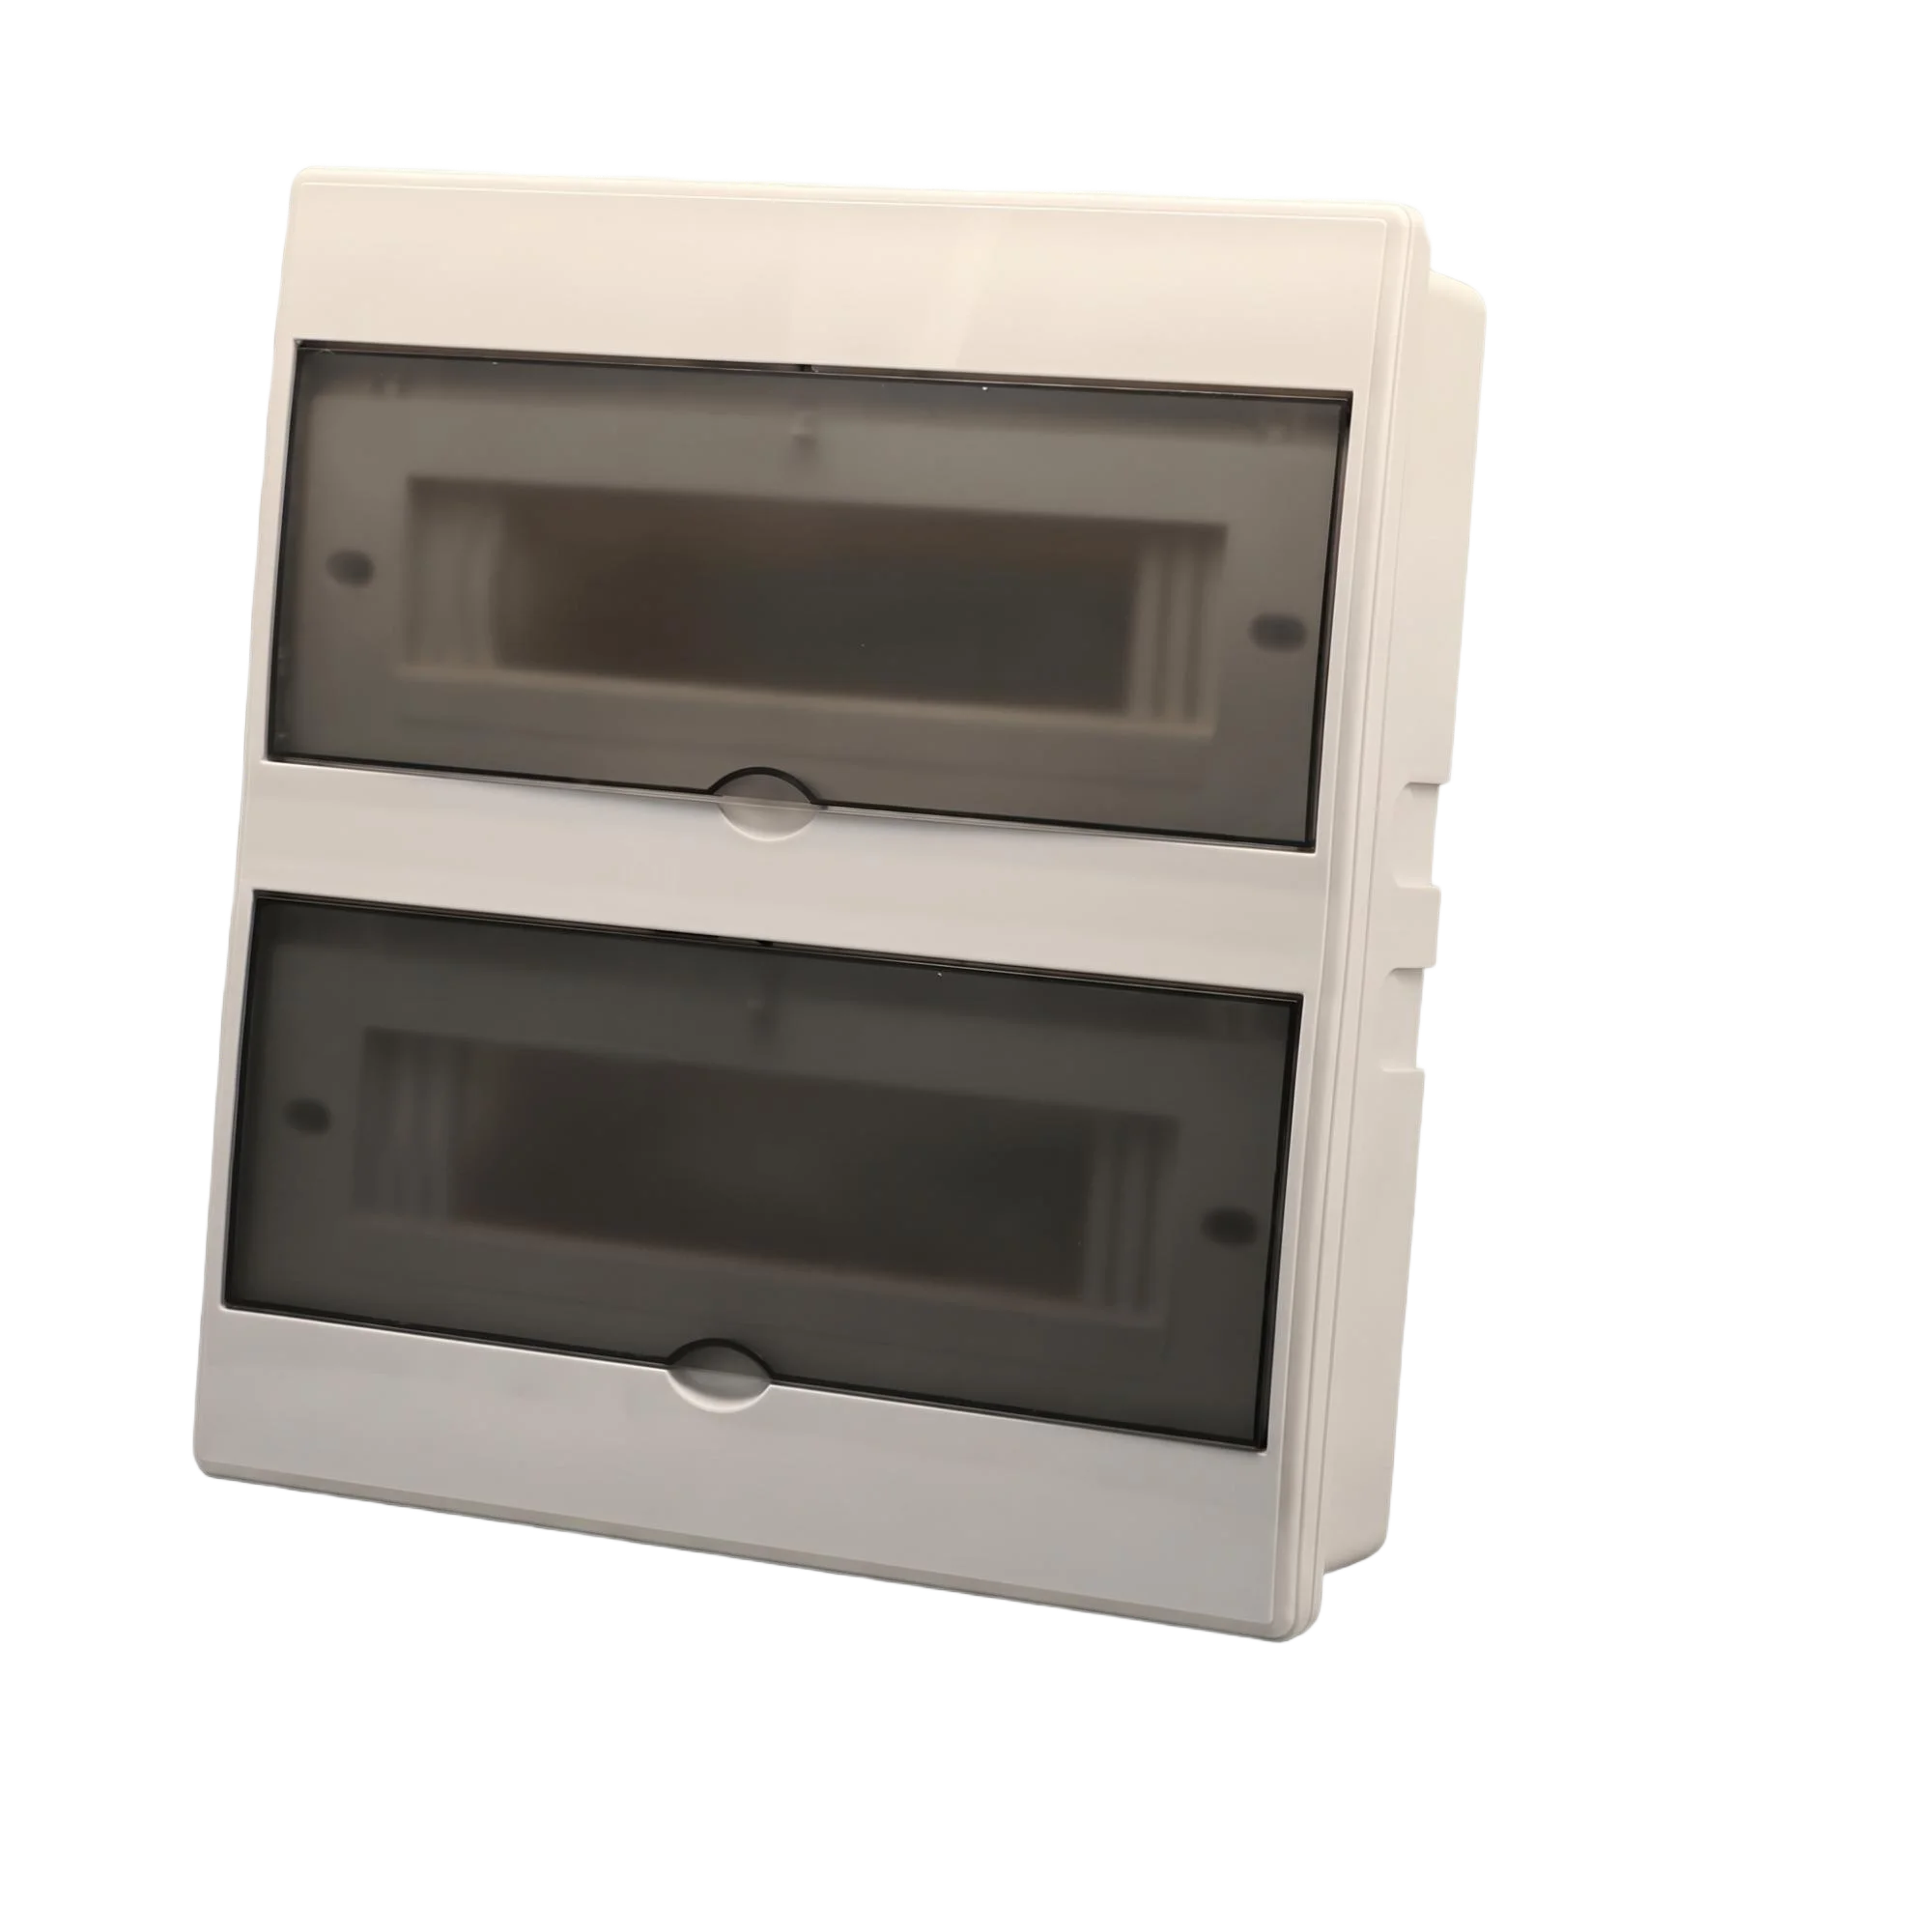
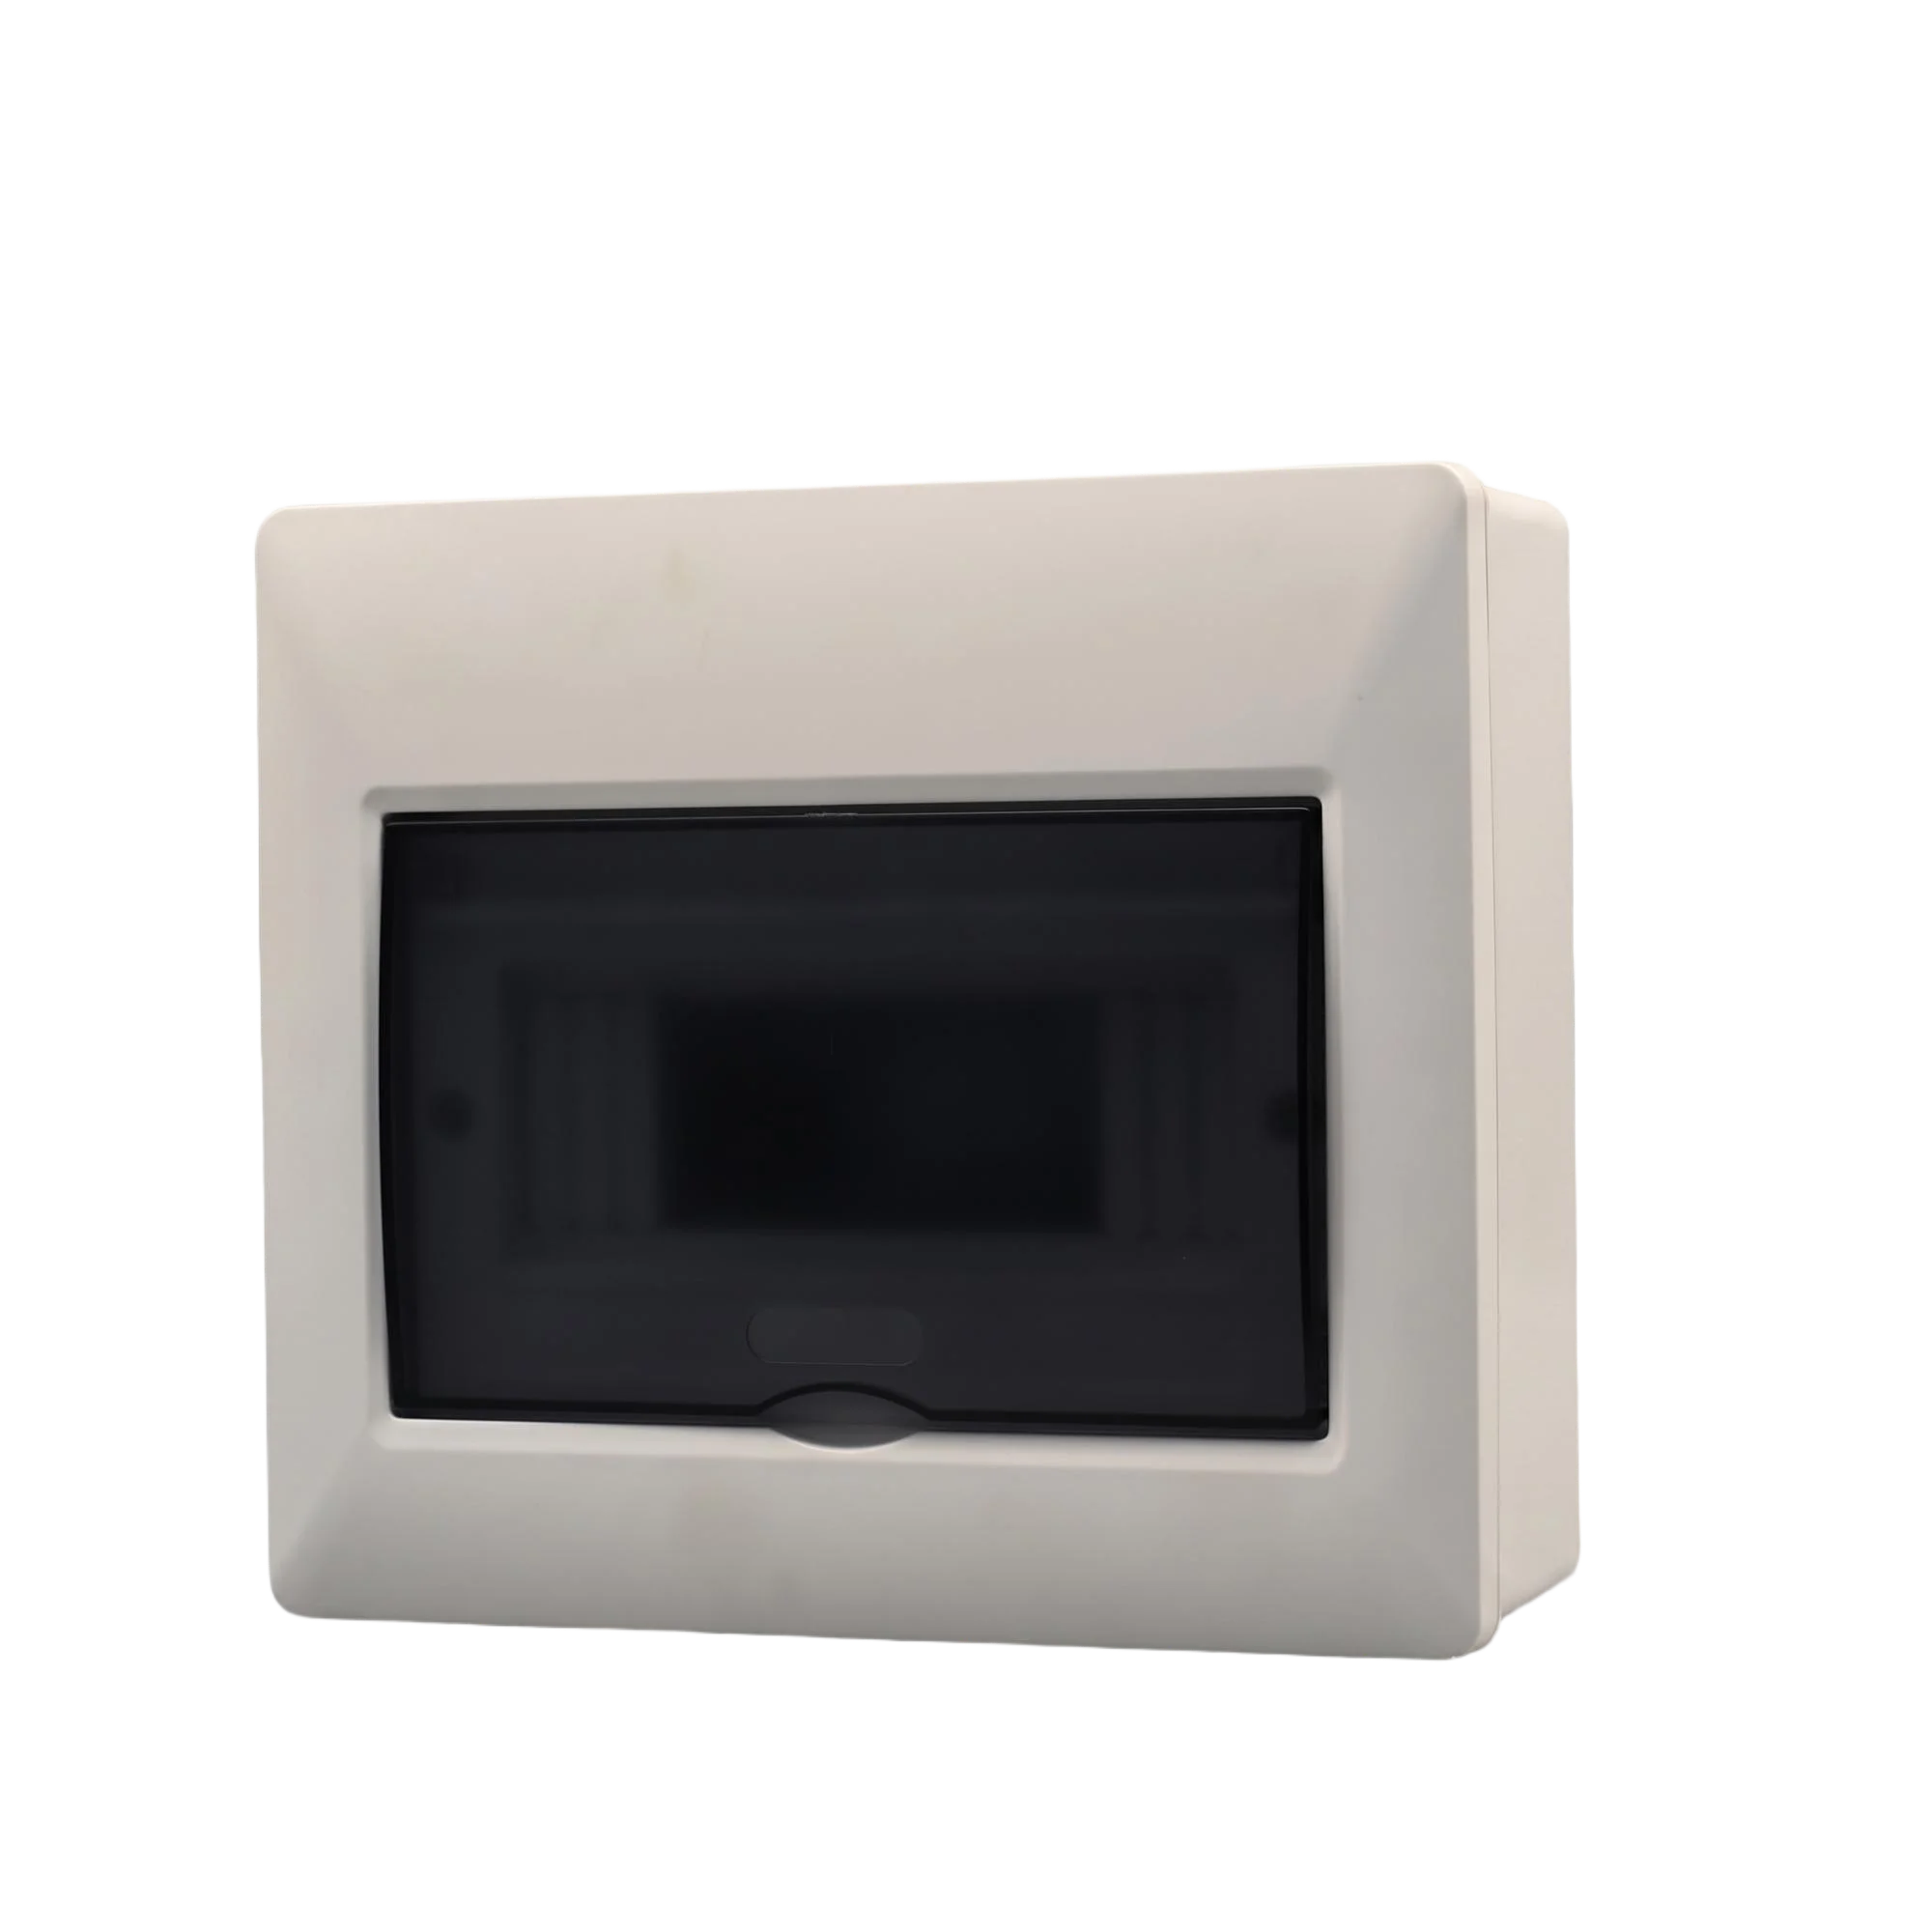
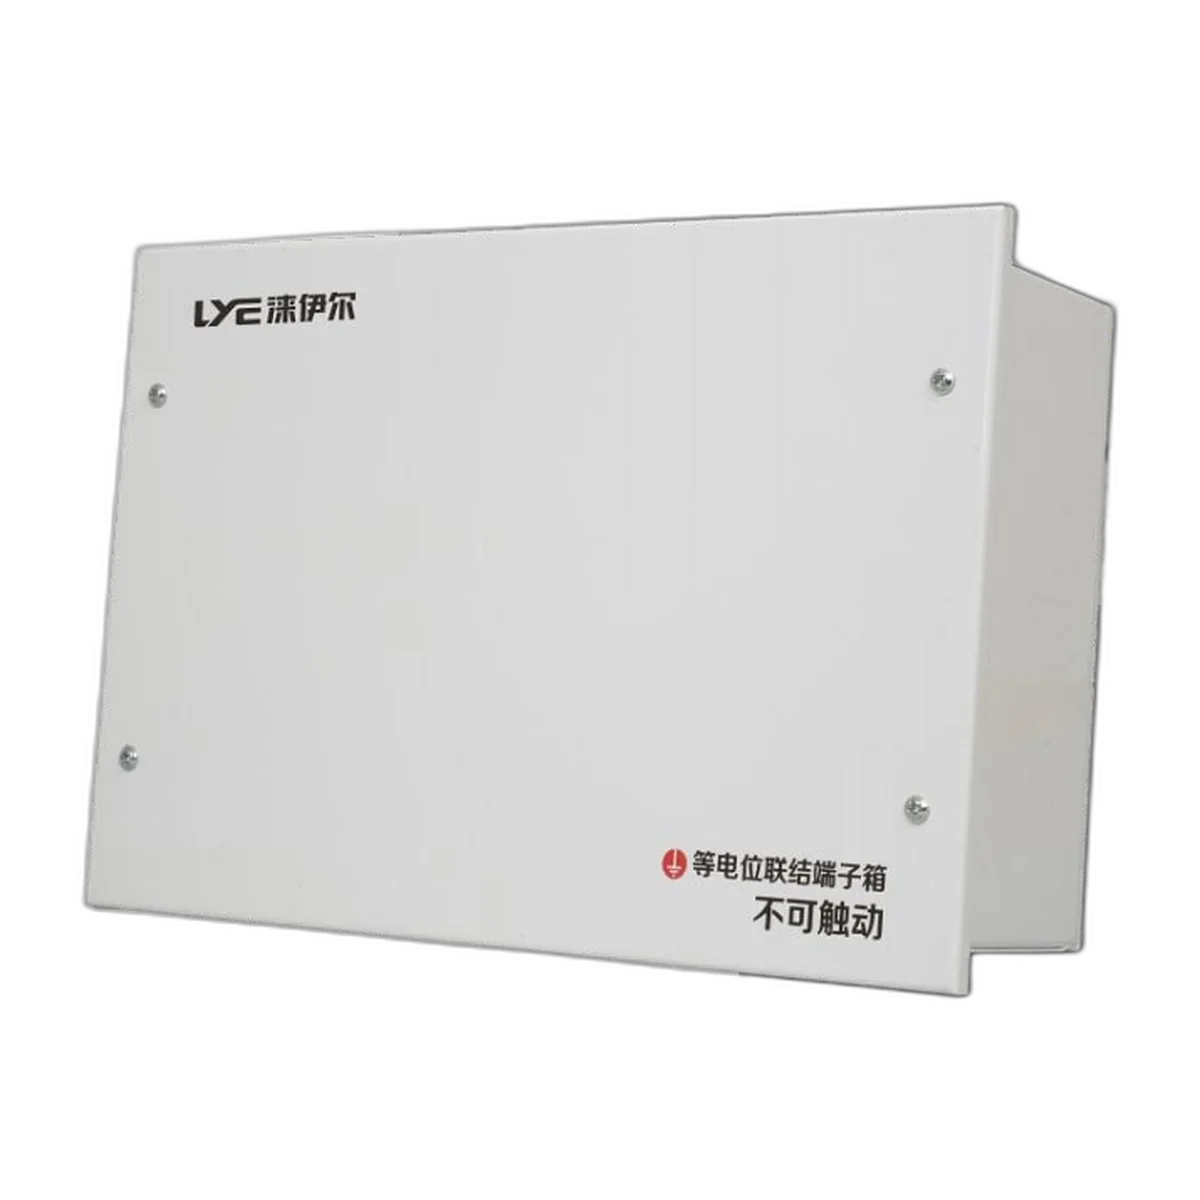
For residential and light commercial ranges, dimension chains are usually already published. The full product range includes models such as an 8-way box at 222 × 210 × 100 mm and a 40-way box at 438 × 335 × 100 mm overall, which is useful when a custom variant only needs a modified panel or depth rather than a completely new body.
2. Material and Thickness: One Call-Out Is Not Enough
Cold-rolled steel with powder coating, stainless steel and moulded ABS/PC behave differently at the same nominal thickness. State the grade for the body, the door and the mounting plate separately, because the door carries hinge and lock loads while the plate carries device weight. On the LYM1 residential range, for example, enclosure thickness options are 0.8 mm, 1.0 mm and 1.2 mm with a 1.0 mm DIN rail — a useful illustration of why thickness should be a line item rather than an assumption.
Thickness also interacts with cutouts. A large gland opening in a thin door needs reinforcement or a folded edge; specifying the hole without the reinforcement invites door flex and, eventually, a gasket that no longer seals evenly.
3. Doors, Hinges and Locks: Decide With the Installation in Mind
Record the hinge side, the required opening angle and what is next to the box on site. A door specified at 120° is useless if a pipe or an adjacent cabinet stops it at 75°. The same applies to lift-off versus screw-fixed covers, quarter-turn locks, keyed-alike requirements and whether the door needs to be reversible in the field.
4. Cutouts and Cable Entries: The Most Expensive Late Change
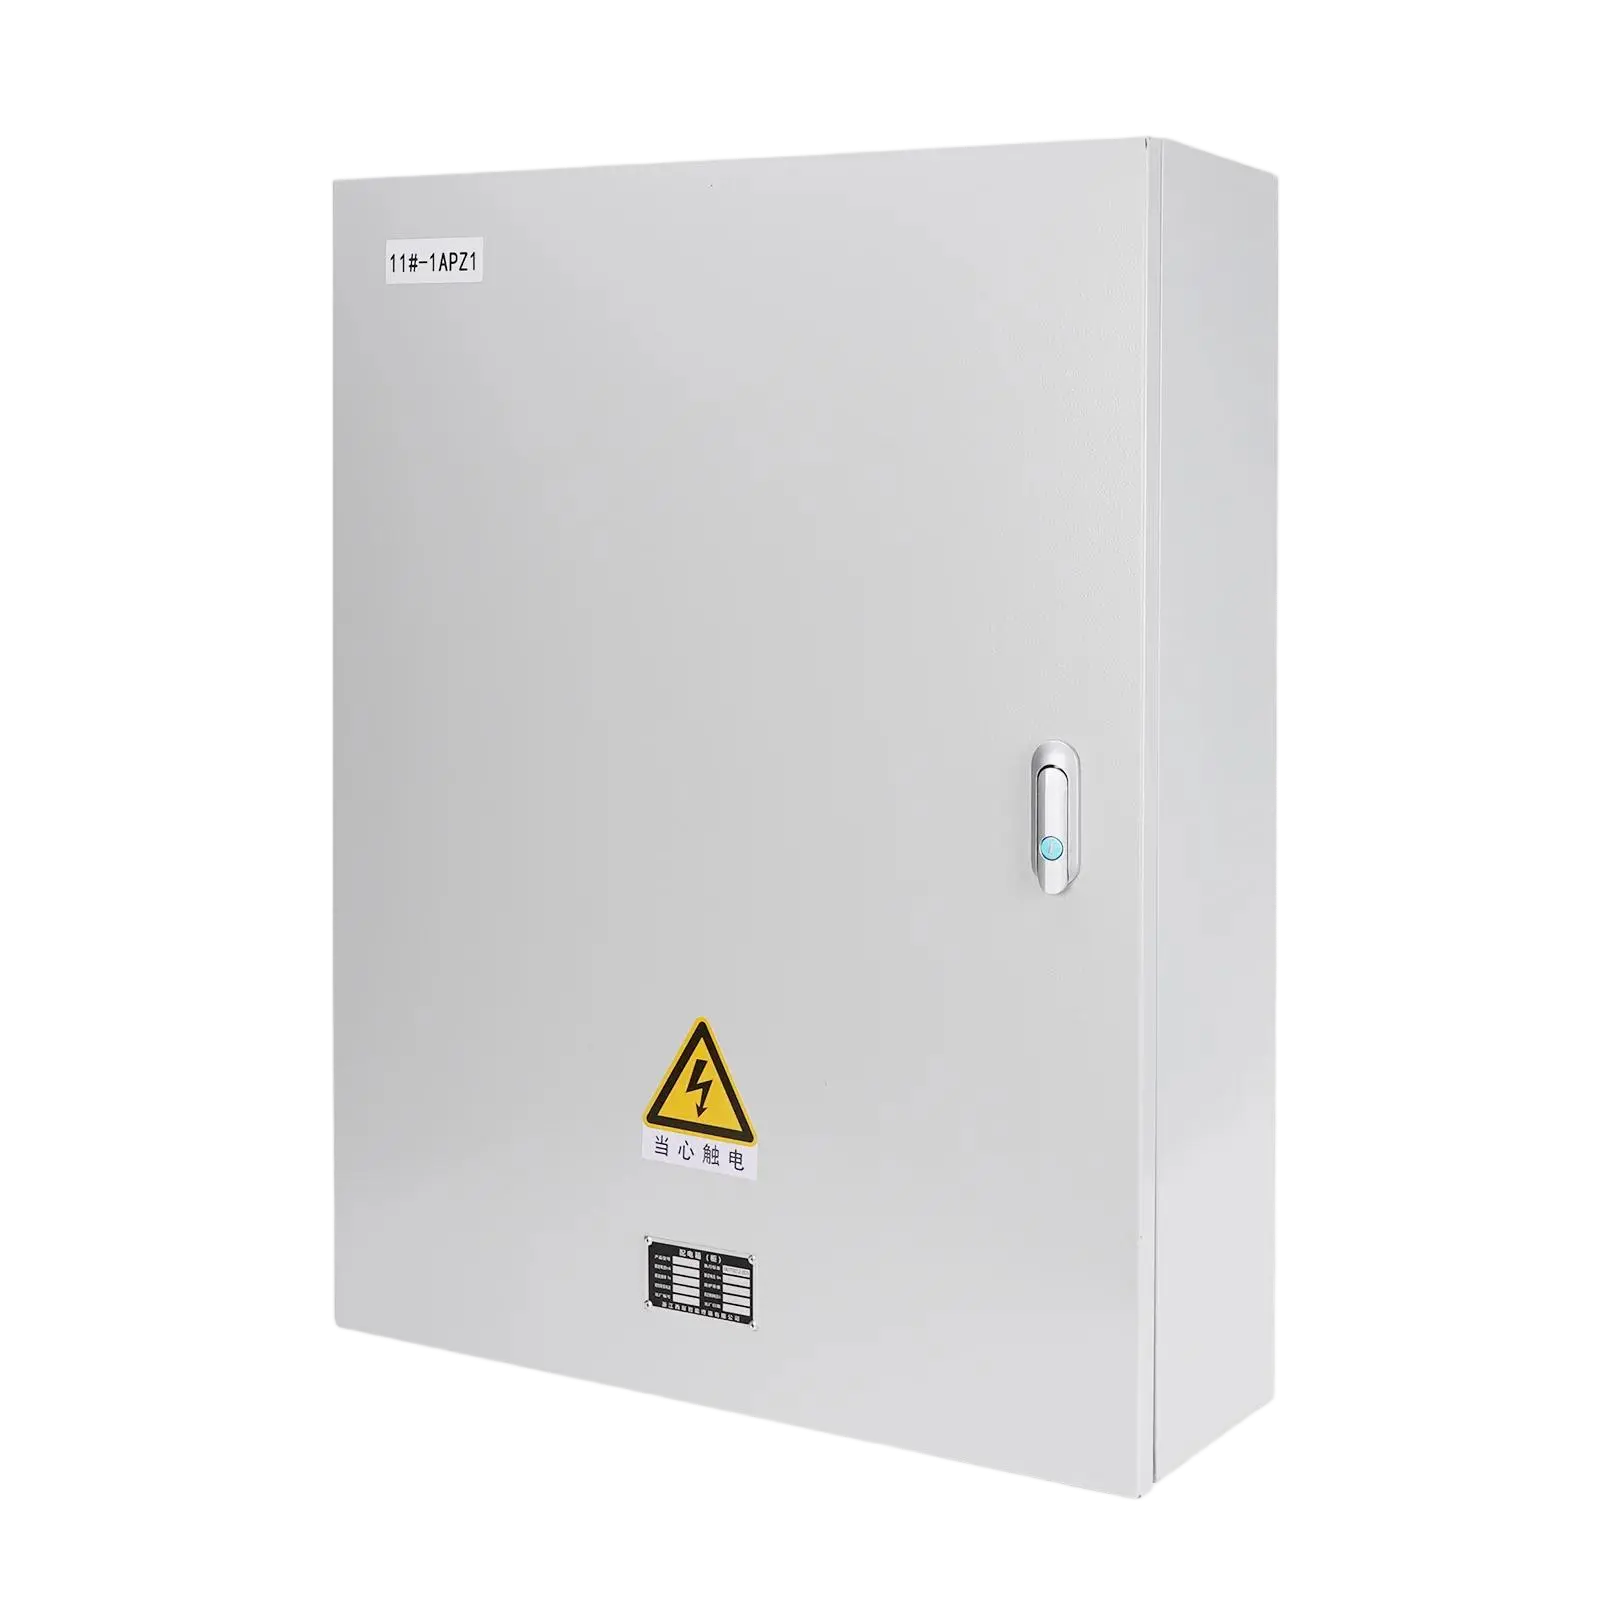
Every opening should be on the approved drawing with a diameter, a position referenced to a datum, and a quantity. Include blank knockouts that must remain closed, and state whether a gland plate is fixed or removable. Confirm the cable entry direction relative to the installed orientation — a top entry on outdoor waterproof distribution boxes needs a drip loop and a rated gland, or the enclosure rating is only valid on the test certificate.
5. Internal Layout: Clearance Is a Drawing, Not a Promise
Provide the component list or single-line diagram early. It determines the mounting plate size, DIN rail length and position, busbar arrangement, neutral and earth bar locations, and the space left for wiring. Where a project uses the same enclosure across many units, a consistent internal arrangement is worth more than a marginally smaller box: installers repeat one wiring pattern instead of re-learning it at every apartment or cabinet.
6. Finish: Approve a Sample, Not a Colour Name
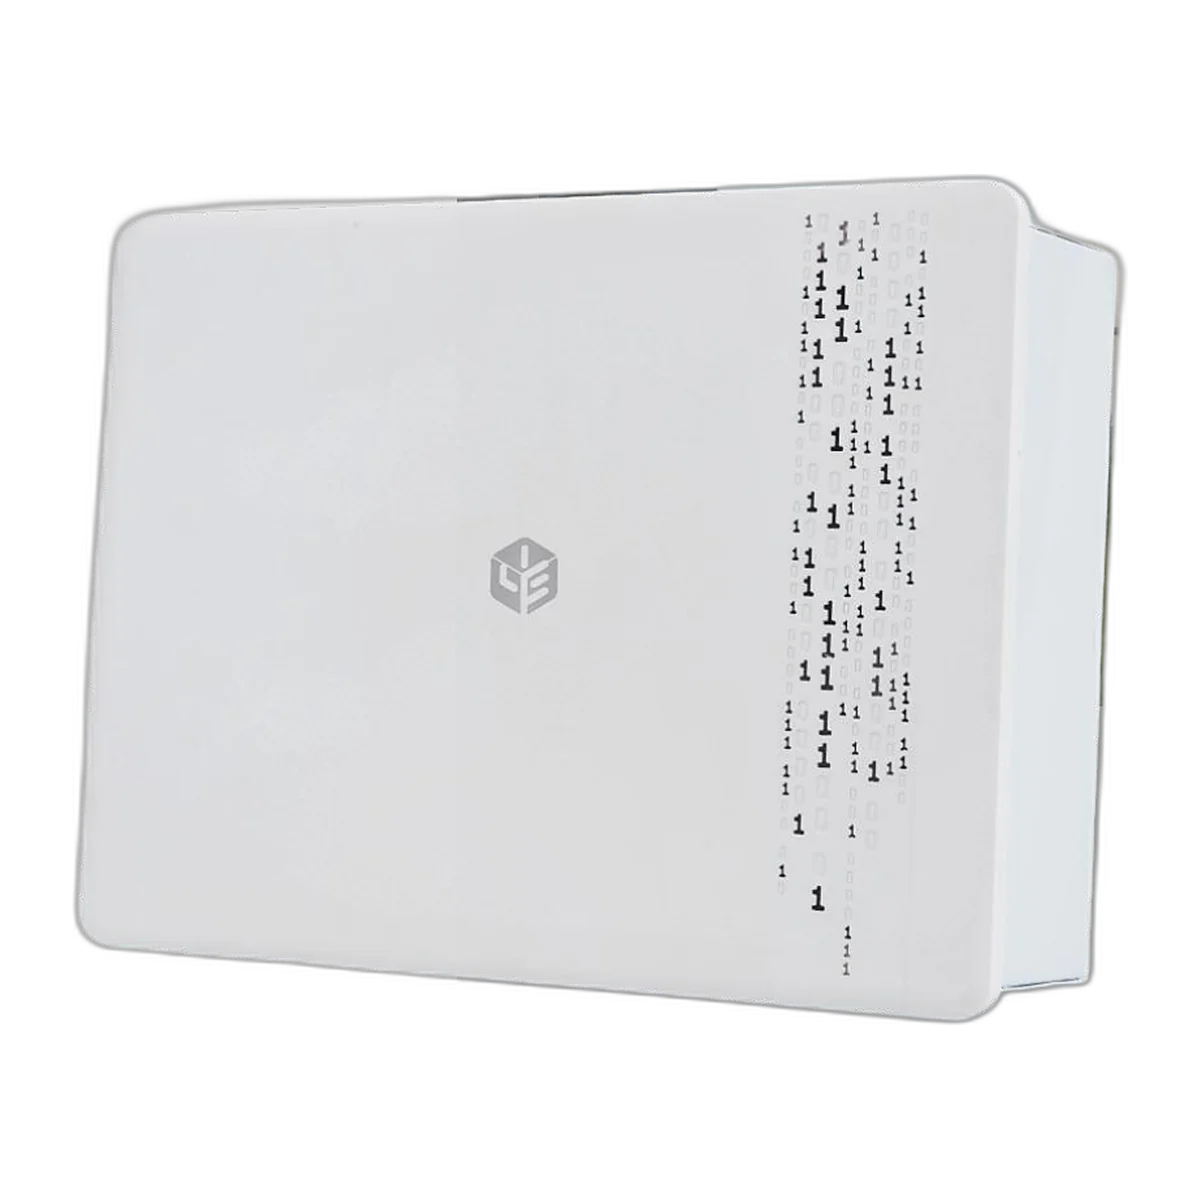
“White” and “grey” are not specifications. Agree a colour reference, a gloss level and a surface standard, and confirm whether the finish must survive outdoor UV exposure, salt-laden air or regular wash-down. For industrial distribution boxes and stainless steel enclosures, the finish decision should be made together with the material decision; applying an indoor coating system to an outdoor cabinet is a common and avoidable failure. Where appearance is part of the product — a two-tone panel, a logo, a specific texture — approve a physical or controlled colour sample before the production batch.
7. IP Rating: Specify the Assembled Enclosure
An ingress protection rating applies to the complete assembly as tested, including gasket, door hardware and cable entries. Drilling one additional hole on site, fitting an unrated gland or leaving a knock-out open invalidates it. Decide whether the position genuinely needs a higher rating: in a sheltered indoor plant room, an over-specified sealed cabinet costs more, takes longer to open for maintenance and can trap condensation. In an exposed outdoor position, the opposite applies — a service visit costs more than the rating upgrade.
8. Branding and Labels: Lock the Artwork Revision
Private-label work needs an artwork file, the exact text (including accents and regulatory symbols), label positions, the nameplate fixing method and the language of the accompanying documents. Chat approval is not a revision record. Put the approved artwork into the drawing pack with a version number.
9. Quantity, Spares and Packing
State the order quantity, any planned repeat runs, and whether spare locks, glands, keys or busbar parts ship with the order. Packing is a specification too: stackable cartons, corner protection for painted doors, pallet versus loose loading, shipping marks and the maximum carton weight accepted at destination all affect what arrives in usable condition.
10. Inspection and Documentation
Agree what gets checked before release — overall dimensions, hole positions, door operation, finish, label content, accessories and packing list — and who records it. Request copies of any certificates or type-test documents with their scope and validity shown, rather than a list of logo names. The applicable standard depends on the product and destination market; confirm which one the project actually requires before it is written into the purchase order.
The Minimum “Quotation-Ready” Drawing Pack
A supplier does not need a full engineering dossier to quote. It does need these eight items, in one version-controlled file set:
- General arrangement drawing — external dimensions, door swing, mounting points and tolerances.
- Hole and cutout schedule — diameters, datum references, quantities and blank knockouts.
- Internal layout or single-line diagram — component list, DIN rail, busbars and wiring space.
- Material and finish schedule — grade and thickness per part, colour reference, exposure class.
- Installation context — indoor/outdoor, wall or floor mounting, available depth, site photos.
- Commercial inputs — quantity, destination, target delivery window and packing requirement.
- Branding kit — artwork, nameplate text, label language and revision number.
- Document requirements — inspection records, certificates and the language of delivery files.
If an item is genuinely undecided, mark it “to be confirmed” rather than leaving it out. A visible gap invites a question; an invisible one invites an assumption.
Six Gates From Requirement to Delivery
A controlled process is what turns one approved sample into a repeatable order. The sequence below mirrors a typical drawing-based custom enclosure OEM & ODM workflow:
| Gate | What is confirmed | Output |
|---|---|---|
| 1. Requirement input | Function, model or reference, quantity, destination, timing | Enquiry record |
| 2. Drawing / sample review | Dimensions, structure, openings, hardware, manufacturability | Review comments and open-point list |
| 3. Material & structure | Material, thickness, finish, mounting parts, seals, environment | Frozen technical specification |
| 4. Sample confirmation | Physical sample or controlled drawing, final revisions | Approved sample / released drawing |
| 5. Controlled production | Cutting, forming, welding, finishing, assembly to the approved basis | Batch production record |
| 6. Inspection & packing | Agreed checks, labels, packing list, shipping marks, delivery files | Release documentation |
Gate 4 is the one worth protecting. Once volume production starts, changes to cutouts, colour and labels are no longer engineering questions — they are cost and schedule questions.
Three Reasons First Samples Come Back Wrong
“Same as the old one.” The reference unit may have been modified on site, may have a different wall depth, or may carry a fault the new design was supposed to fix (“the door always caught on the frame”). Ask what problem the old box caused before copying it.
Cable entry decided after the box is made. This is the single most common cause of a compromised outdoor enclosure. Cable diameter, gland type and entry direction belong on the first drawing.
Colour and labels approved in a chat thread. Without a versioned artwork and a controlled drawing, purchasing, production and the customer are each working from a different “final” version.
What to Ask Your Supplier to Put in Writing
Before releasing a project order, request: the approved drawing with revision and date; the material and finish schedule; the agreed dimensional and appearance inspection items; the packing list and label artwork; and copies of any qualification documents with their scope and validity visible. For household and similar distribution boards, ask which product standard the type-test documentation refers to and confirm that it matches the destination market’s requirements. A supplier who can supply a controlled drawing pack is usually a supplier who can repeat the order.
Frequently Asked Questions
What information does a manufacturer need to quote a custom enclosure?
At minimum: a dimensioned general arrangement drawing, a cutout schedule, the internal layout or component list, the material and finish call-out, the installation environment, quantity, destination and required delivery documents. Photographs of the site and an existing unit are useful supporting material but do not replace dimensions.
Can a supplier work from a photograph or an existing sample instead of a drawing?
Usually yes, as a starting point. The sample is measured and reverse-engineered into a controlled drawing, which is then approved before production. Expect to confirm wall depth, hole positions, hardware and label text separately — a photograph cannot carry tolerances.
When is a custom enclosure actually necessary?
When a standard model cannot satisfy the wall opening, the required cutout pattern, the environmental exposure, the internal component layout or the branding requirement. If only the panel colour or the way count changes, a variant of an existing range is usually faster and cheaper than a new body.
Does a higher IP rating always mean a better enclosure?
No. Higher ratings add sealing, hardware and maintenance time, and a sealed box in a humid location may need condensation management. Select the rating for the exposure and the cable entry method, then verify that the assembled unit — with its glands and knockouts — still meets it.
How are revisions handled after a sample is approved?
Record the change on the drawing with a new revision and date, and re-confirm anything the change touches: material nesting, cutouts, finish, artwork, inspection items and packing. A revision agreed only in conversation is the most common source of a repeat order that does not match the first.
Send a Specification, Not a Guess
The fastest enquiry is a complete one. Put the ten checklist items into a single drawing pack, mark anything still open, and send your drawings for review with the quantity, destination and target delivery window. Our team reviews dimensions, materials, openings, mounting arrangements, accessories, branding and packaging before quotation, and returns a manufacturability comment along with the commercial proposal — so the sample you approve is the enclosure that ships.