
What Is a Good Box to Hide Cables Behind My TV?
The suitable box pertains to the most crucial question that most individuals don’t think about until it is too late: is the wall already complete, or are you going to get started on the wall immediately?
This crucial question also reveals whether you will spend 20 bucks to buy a piece of plastic that holds on to the wall, or you are looking for a reputable recessed box that you will attach to the walls. Its answer will also indicate whether a task would take only 15 minutes or need the presence of the electrician.
Quick summary: For mounting a wall TV, a helpful choice is the use of the recessed media box with an inlet and outlet of rated power and a second low-voltage hole from behind the TV which is connected in the wall. For a tall TV, an ordinary cable box costing $15 to $40 can be used. For wiring a distribution system, the box that really does all the work is a distribution box located in a closet, while a single cable will be laid to the TV. In some cases use of the power cable that is run through the hole in the dry wall is not allowed due to NEC 400.8.
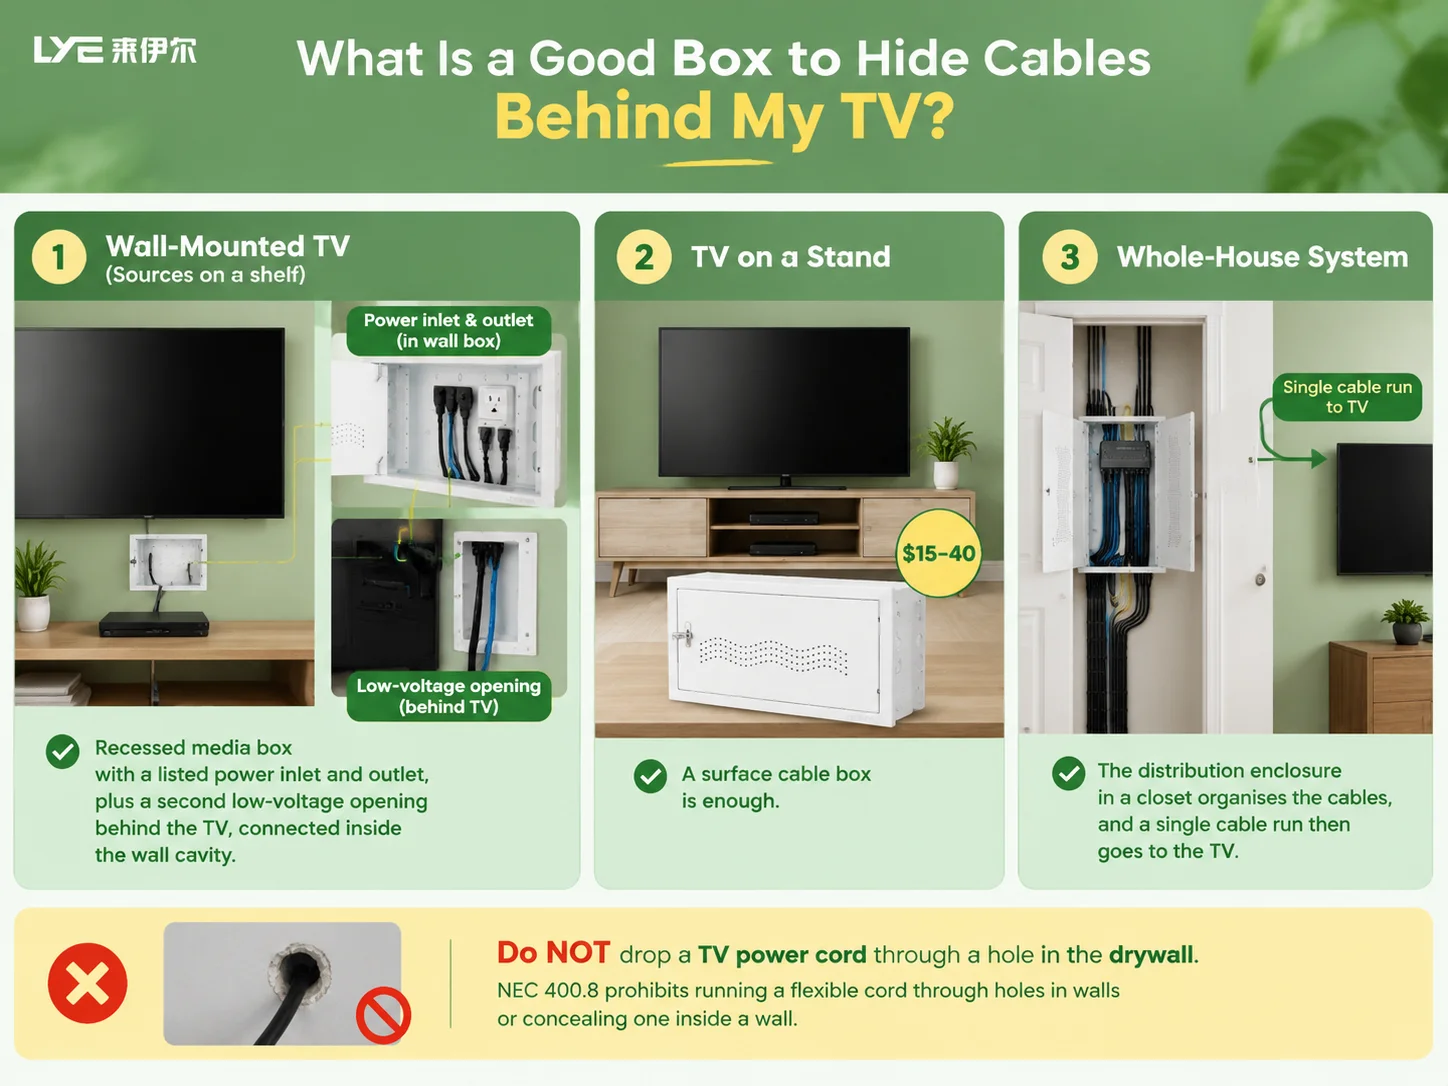
The Code Rule That Decides Everything
The thing that prohibits the vast majority of bad cable jobs on the TV is the flexible nature of the power cord, since a flexible cord cannot either be passed through an opening in a wall or be hidden inside one. Such usage is pointed out in Section 400.8 of NEC, so no discount for small TVs.
This rule explains why YouTube has multiple videos showing power cables passing through a hole in the sheetrock while not talking about the compliant operation on this subject. This rule also explains why this category of products was invented in the first place – the goal is to connect a power outlet with the TV but without running a wire inside walls.
Two main methods of achieving this. The first one is bringing the permanent circuit to the recessed box that is situated behind the TV, which requires the skills of an electrician and a permit in the majority of cases. The second method involves using a special kit designed for in-wall relocation of power cords.
Low voltage cabling such as HDMI, speaker wires, and optical cables is a separate issue. Such cabling may go inside of the wall if the wires are specifically made for it, such as marked with clauses CL2 or CL3. An ordinary HDMI cable will fail in a matter of the summer.
Four Products That Solve Different Problems
| Product | What it does | Typical cost | Best for |
|---|---|---|---|
| Surface cable box / cord hider | Adhesive or screw-mounted shroud over the cables on the wall face | $15–$40 | TV on a stand, rental, no drilling |
| Recessed media box + power inlet kit | Two openings in the wall, power and low voltage separated, connected in the cavity | $50–$150 in parts, $150–$400 installed | Wall-mounted TV, finished wall |
| Pass-through plate | A single low-voltage opening with a brush or grommet faceplate | $8–$30 | One cable, minimal wall damage |
| Surface raceway / trunking | PVC channel along the wall to a corner or the floor | $10–$35 for a 6 ft run | Long vertical runs, offices, no wall opening |
One other way is often overlooked, even by experts: all devices could be placed in some distribution box far away from the TV, and then only one cable would come to the TV. This option is more expensive, but also the most efficient, with the potential to adapt to many devices.
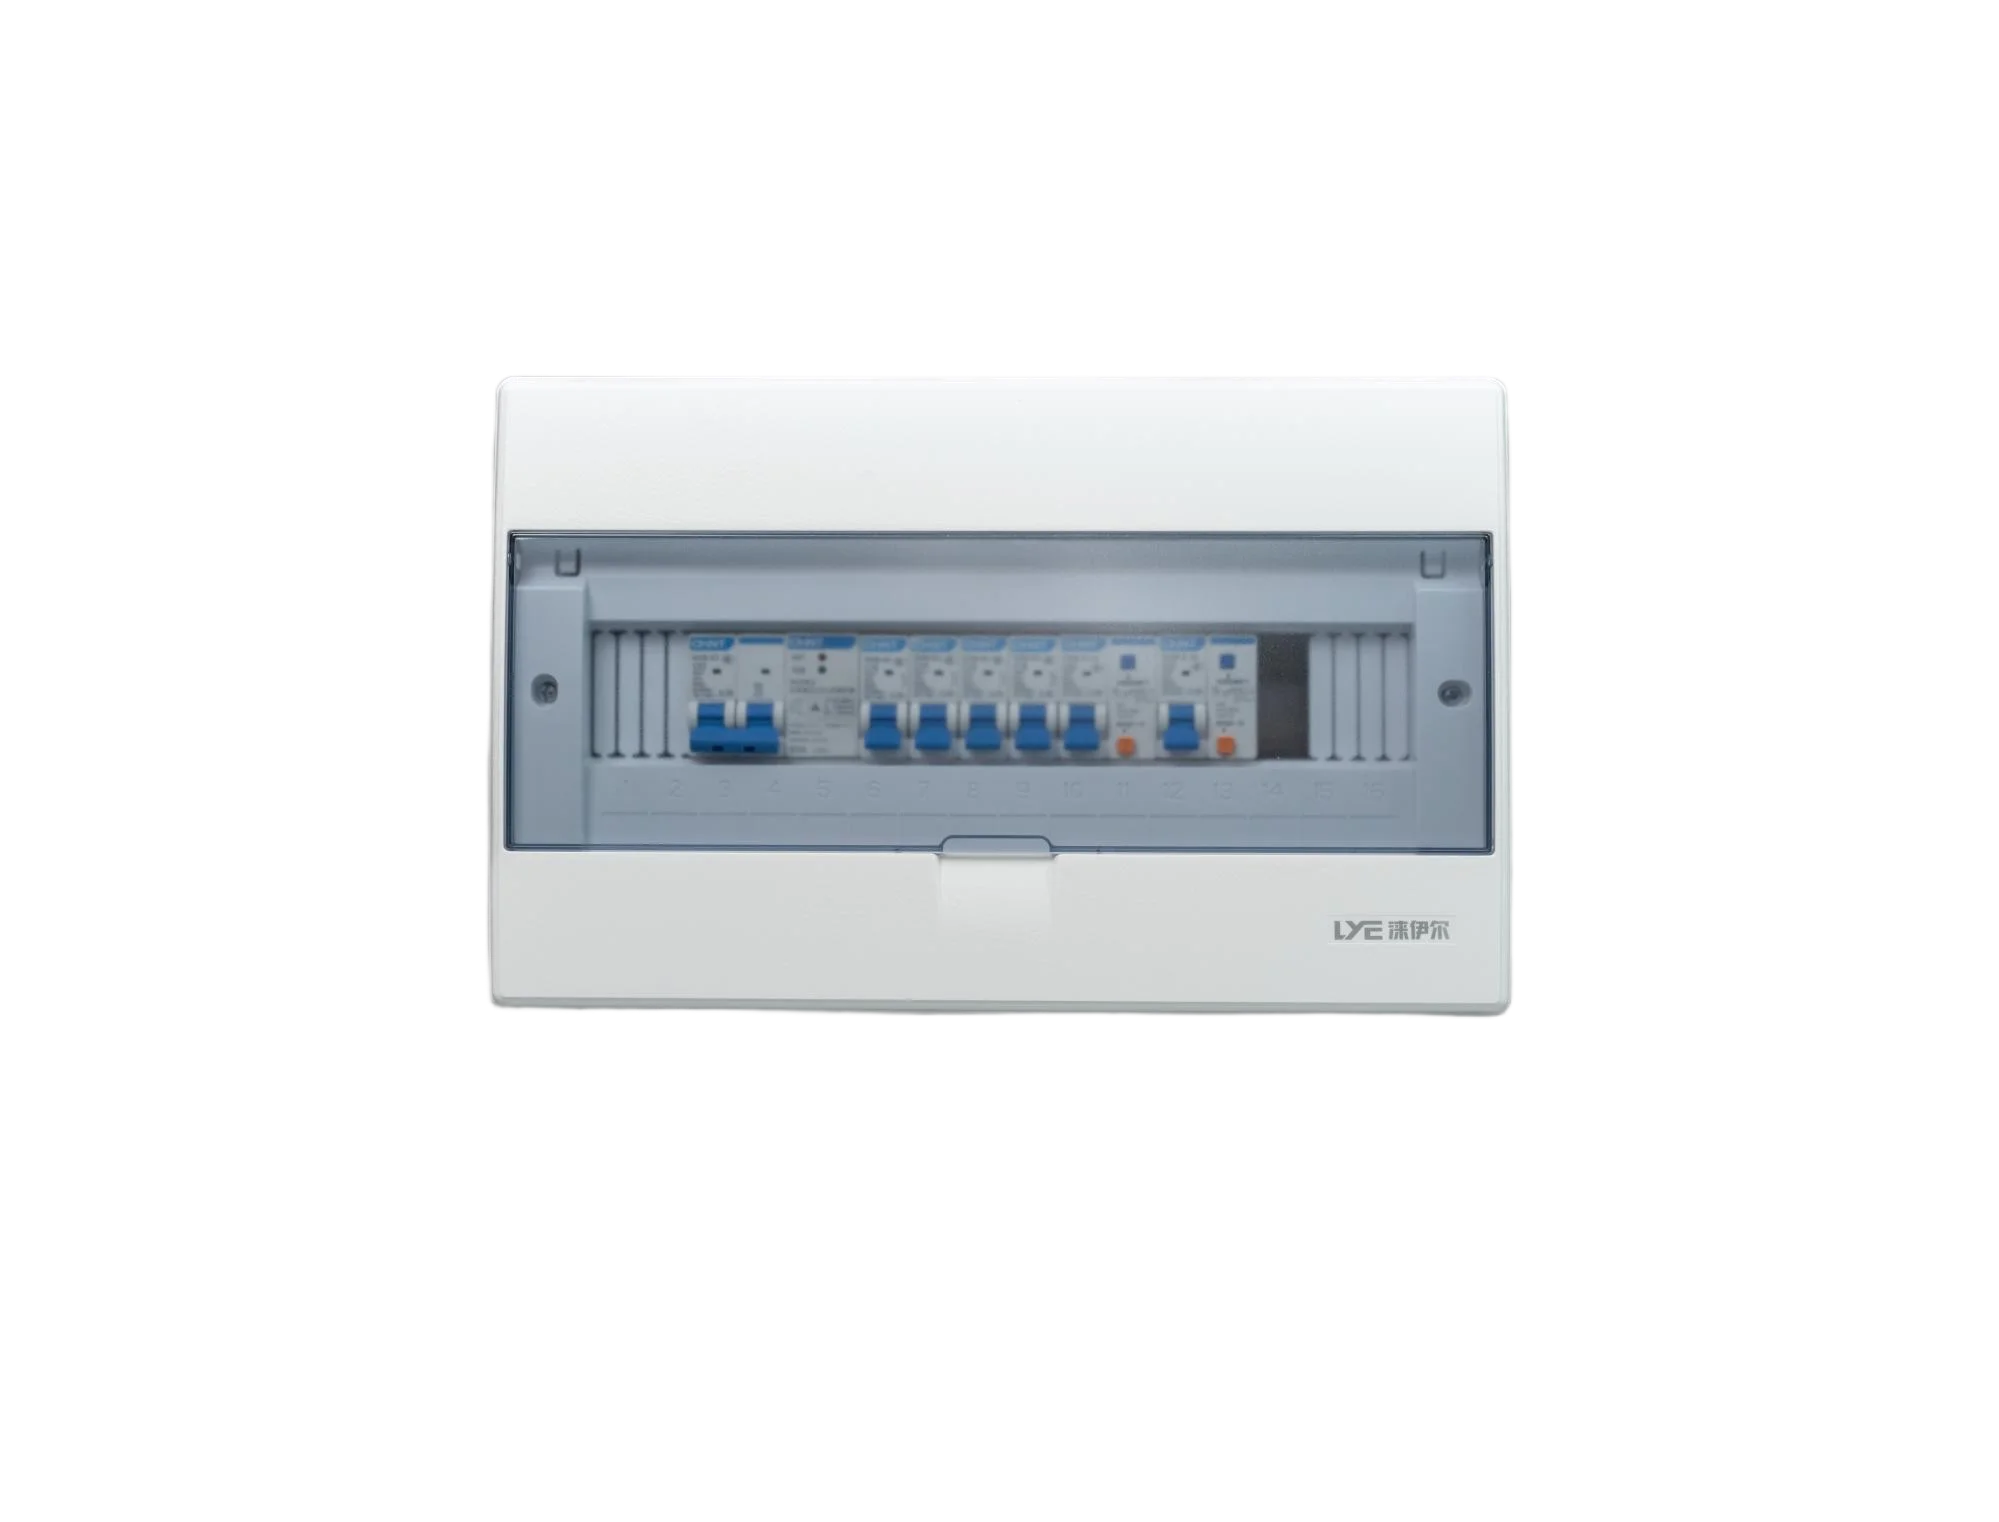
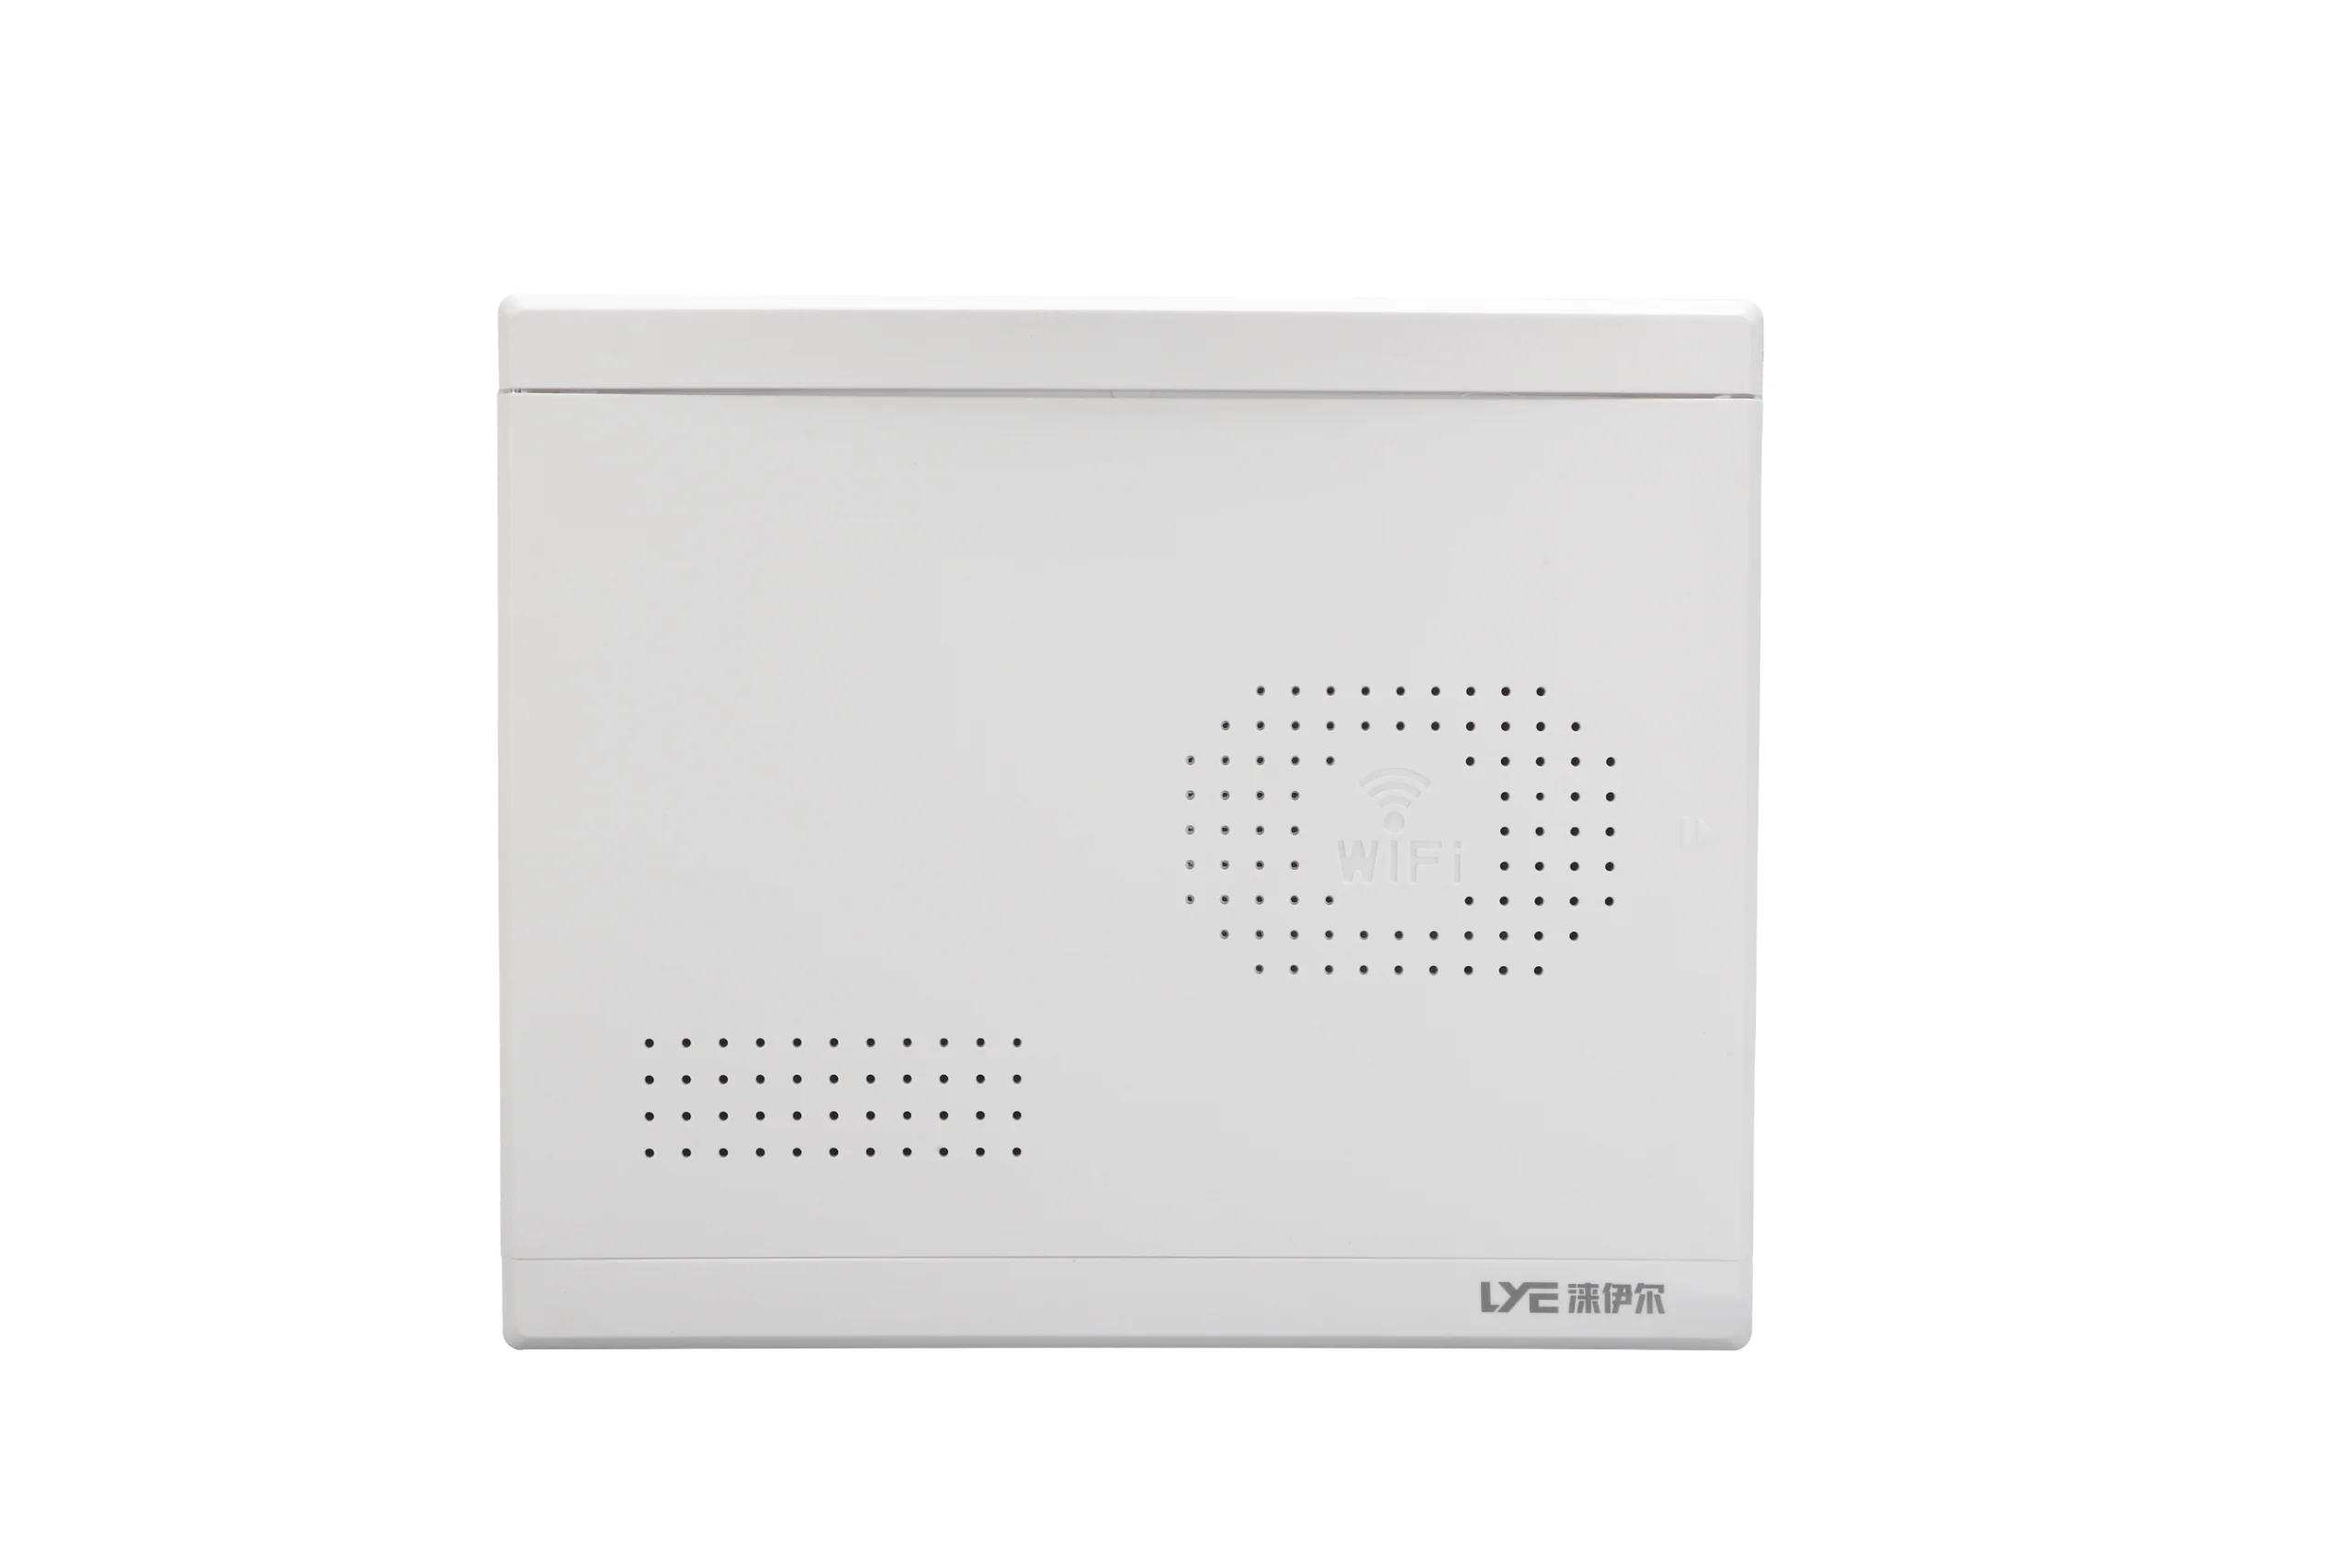
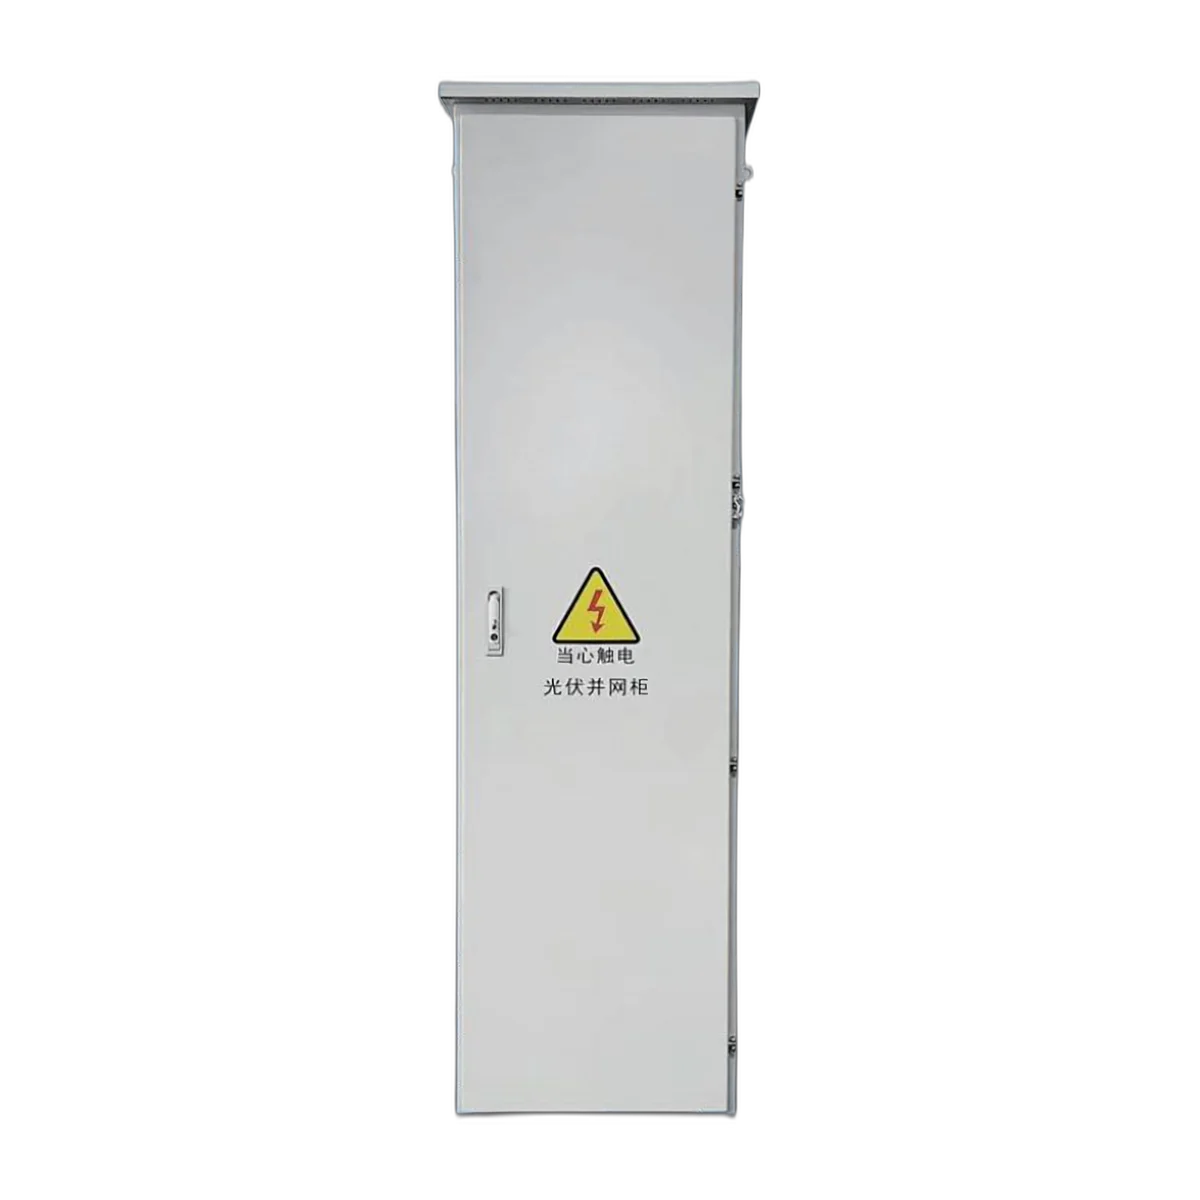
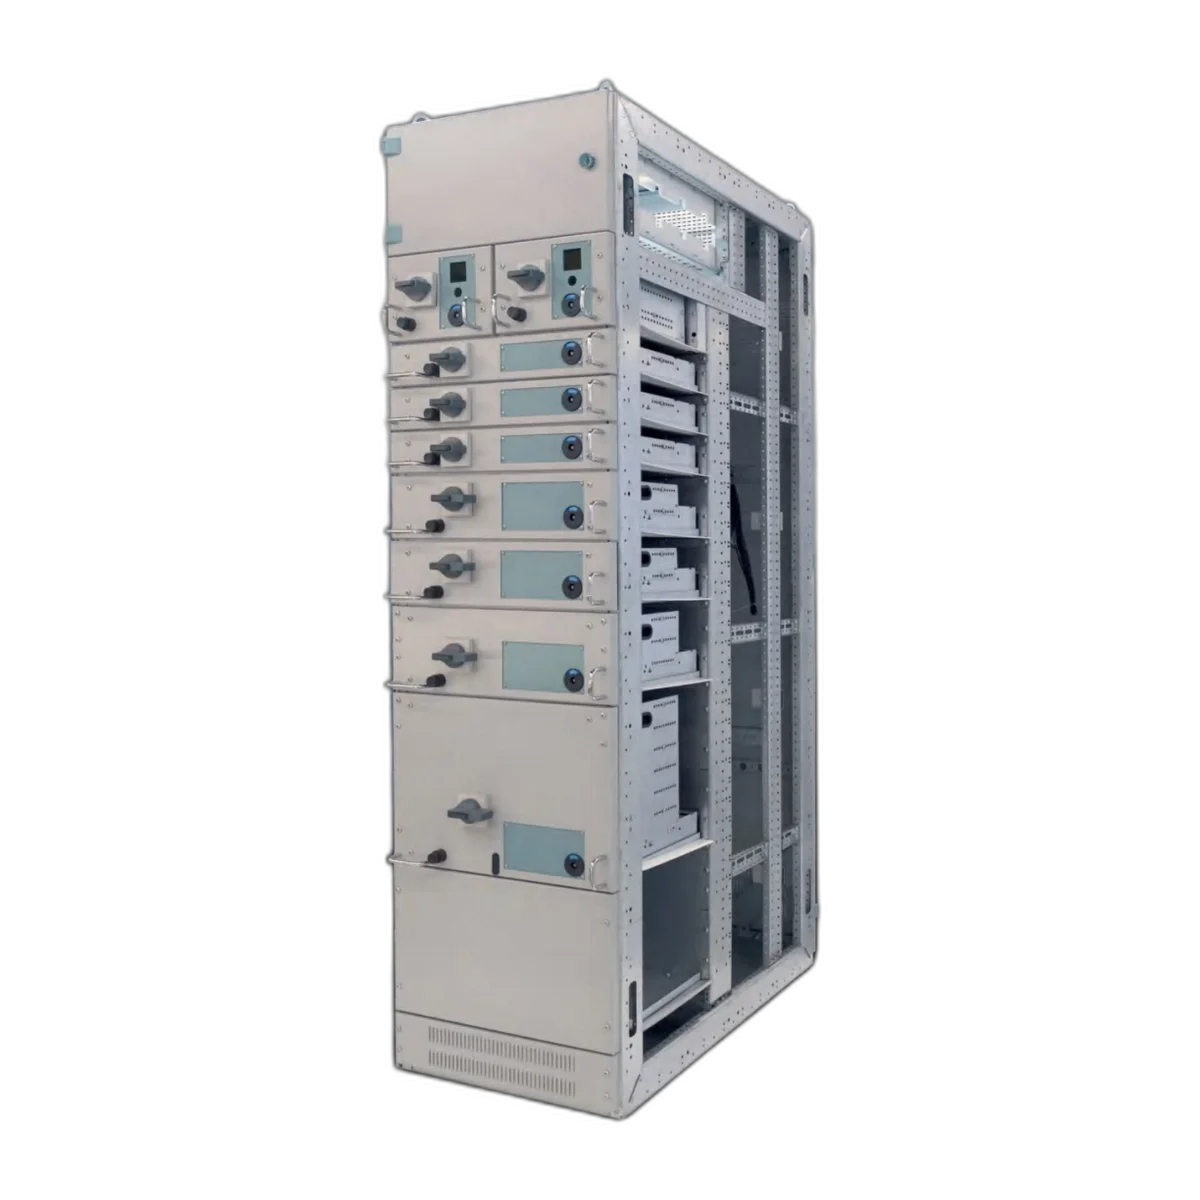
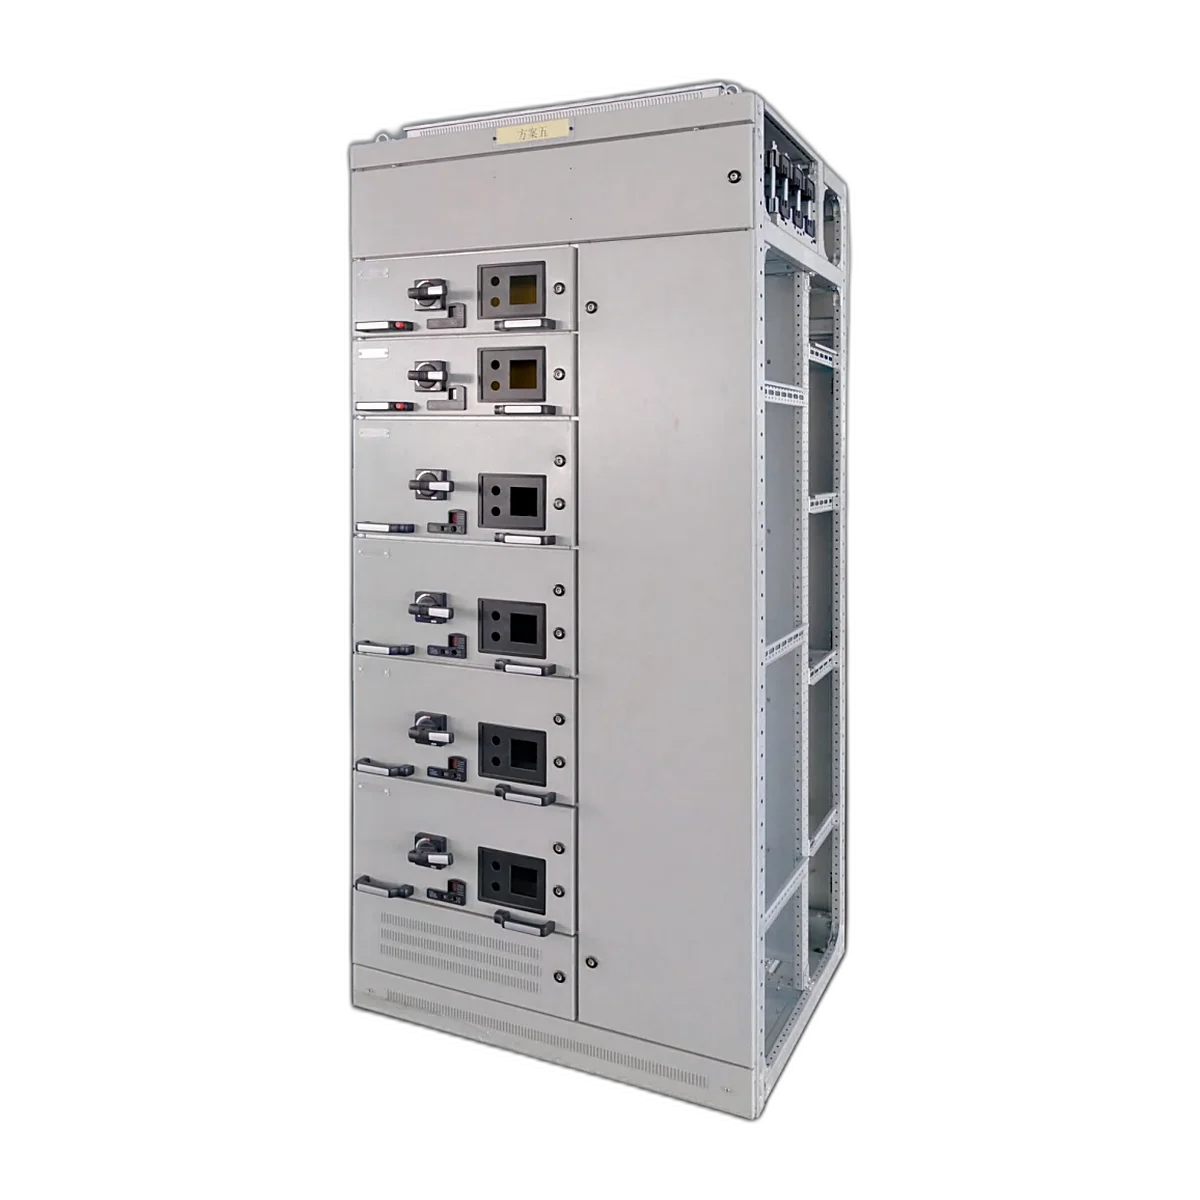
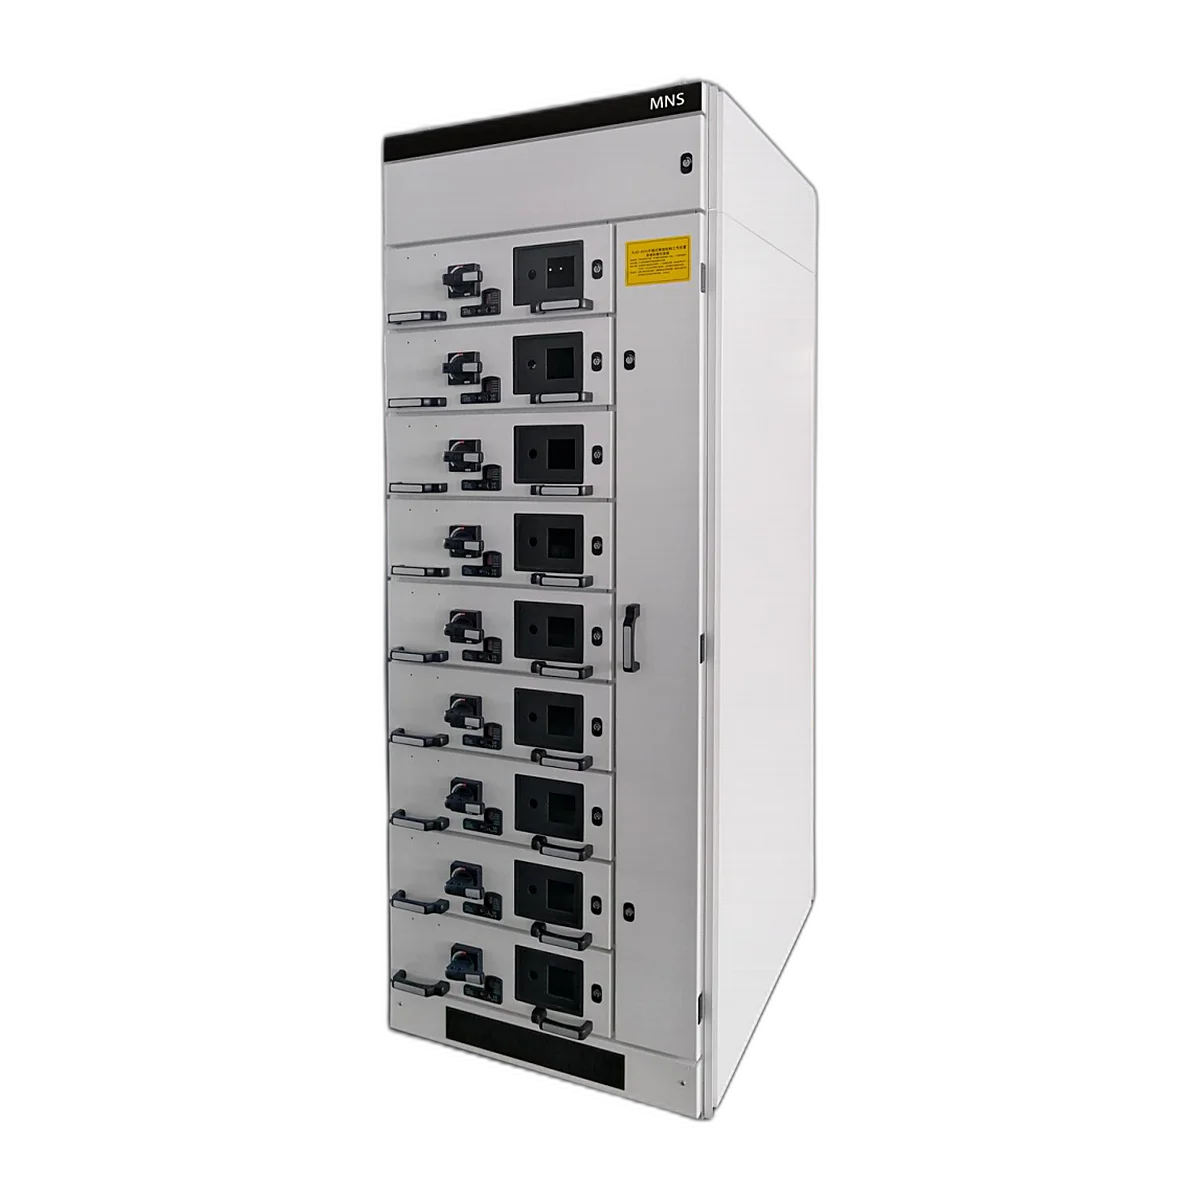
The wiring architecture behind that approach, including how an incoming service, a router and the internal distribution are arranged in a residential enclosure, is set out in this residential building distribution solution.
The Surface Box: Cheapest, Easiest, Most Limited
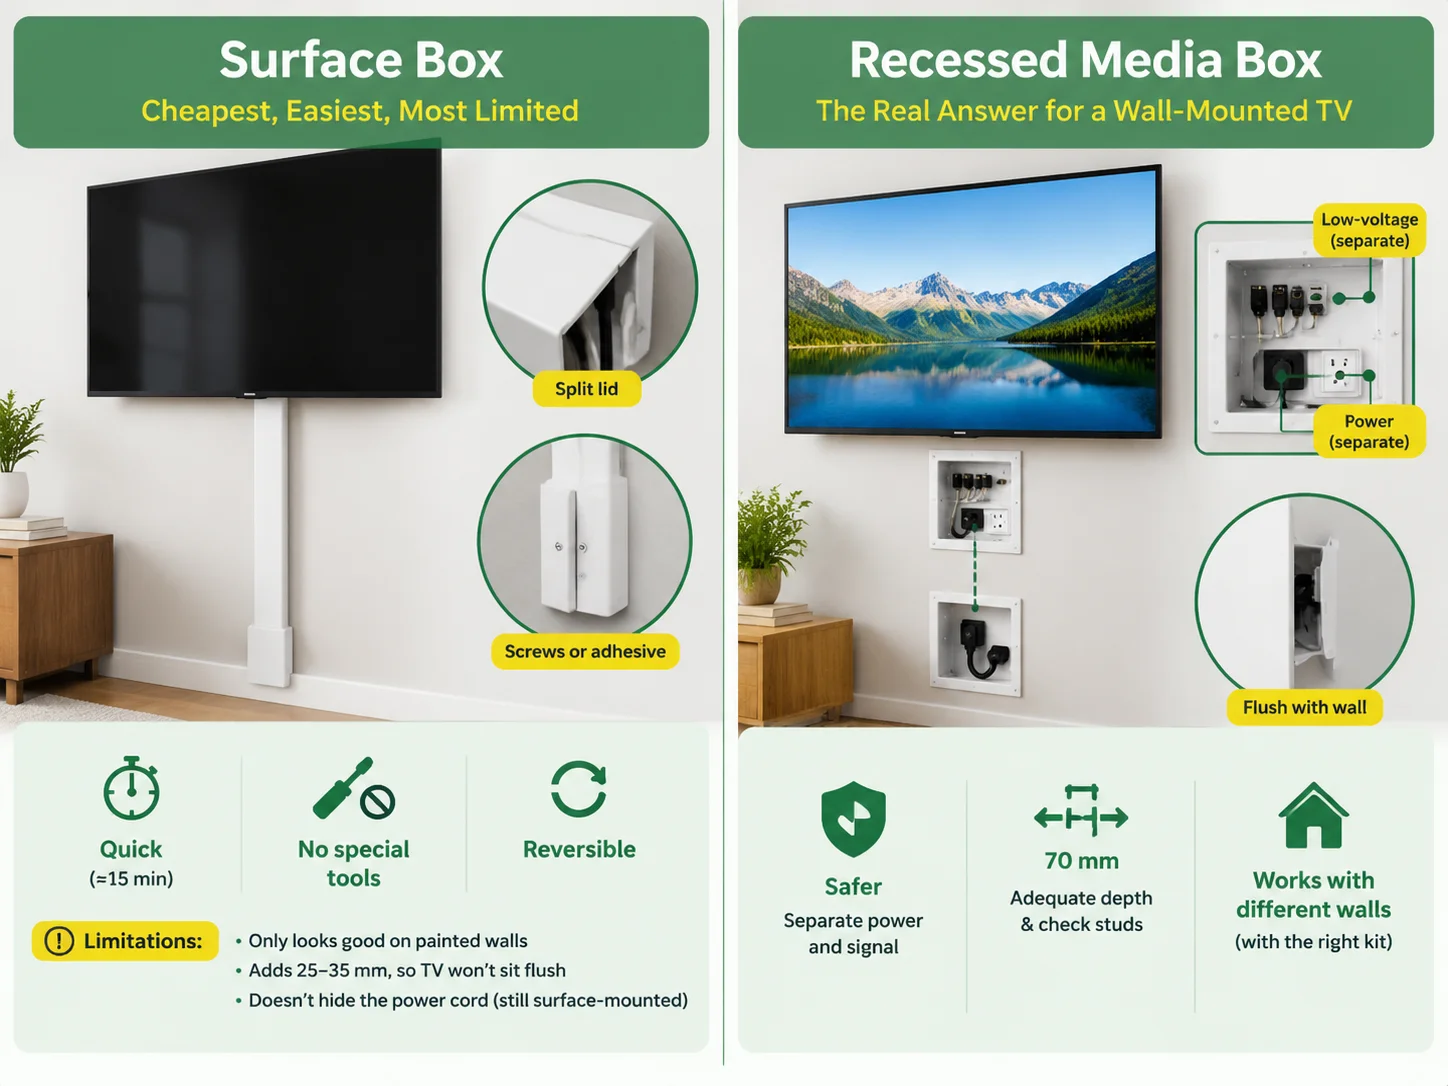
The surface cable box is a plastic covering that either attaches to the wall with screws or sticks without leaving a mark. It takes a mere fifteen minutes to set up, requires only a screwdriver, and is fully reversible, making it perfect for renters.
However, the surface cable box does have its limitations. Firstly, it looks good only on a wall that has been painted and where its color matches that of the surface. Secondly, it cannot cover up a flat-mounted television, as the box protrudes by 25-35 mm. Moreover, it does not cover the power cable that runs from the device to the outlet. Nevertheless, since the cord is externally attached to the wall, there are limited options when it comes to hiding the outlet.
Make sure to buy a model that has a split lid and sufficient internal volume, and always measure the cable bundle size beforehand. A 40 mm depth box is designed to fit a couple of HDMI cables and the power cable, while if you need to hide the soundbar optical and network cables along with the power one, the box with a minimum of 60 mm height has to be selected.
The Recessed Media Box: The Real Answer for a Wall-Mounted TV
A recessed media box is a device that consists of a metal or plastic body and can be fixed into the opening of a wall. Recessed media boxes are basically the elements of a kit, consisting of 2 units: one below the wall and one above the television set. The first unit is the one that receives the input wire running from the existing electrical outlet; the second one is the unit that is fixed behind the television set and has the power inlet and an assortment of low voltage openings that allow establishing connections. The connection between the two units is made in the wall cavity.
There are two points that separate the quality of a good installation from that of a bad one:
- Separation of power and signal. A quality kit has separate compartments for mains conductors and low voltage openings. A generic box has all the installations in the same compartment. This results in the violation of codes and a number of the issues connected with the noise.
- The other aspect is depth and position of the studs. An ordinary old-work box needs more than 70 mm of depth and, very often, the wall cavity behind the television set has a stud, a fire block or a conduit in it. Knowing the position of the stud in advance makes the installation easier and neater.
- If we are talking about the kind of a wall that is not standard drywall, the choice is limited. Lath and plaster walls are relatively thicker and crumbling at the cut line, so the corresponding box needs a flange with enough width to cover all the damages. Brick and blocks require an entirely new approach, which is usually made through surface raceways.
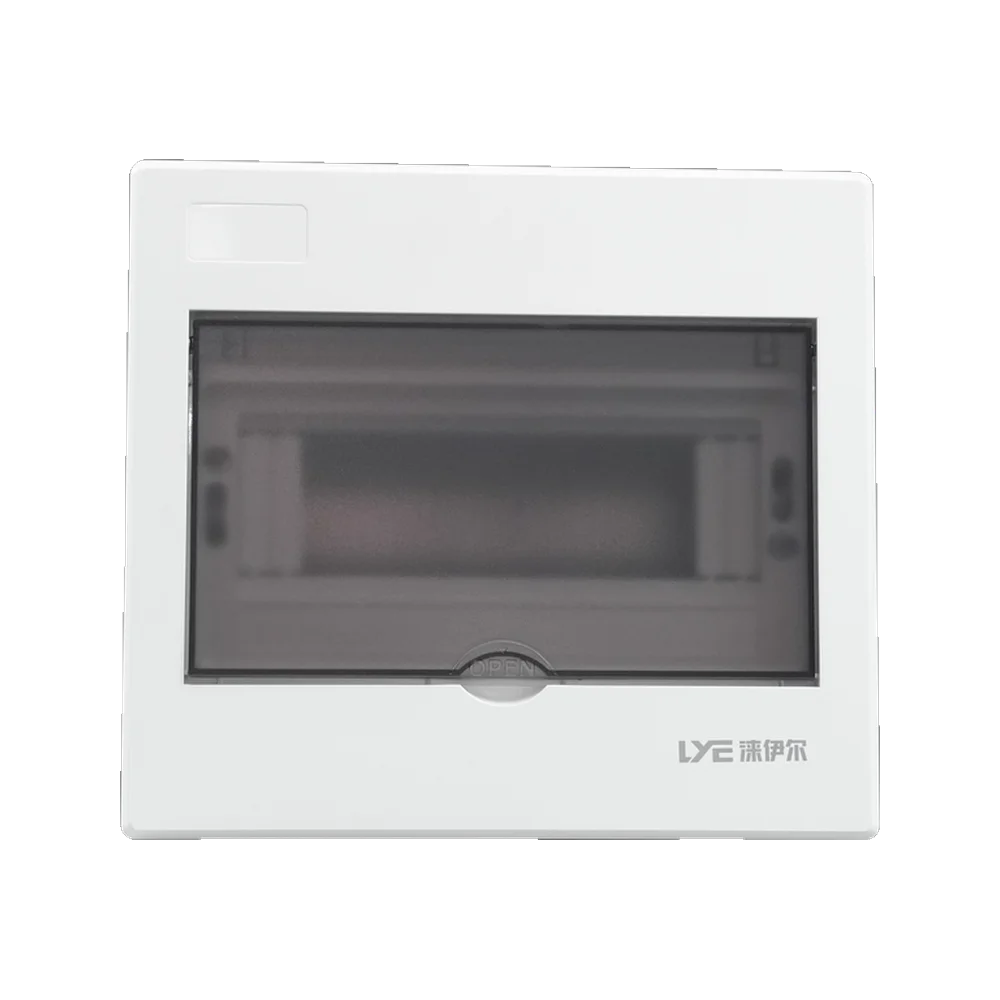
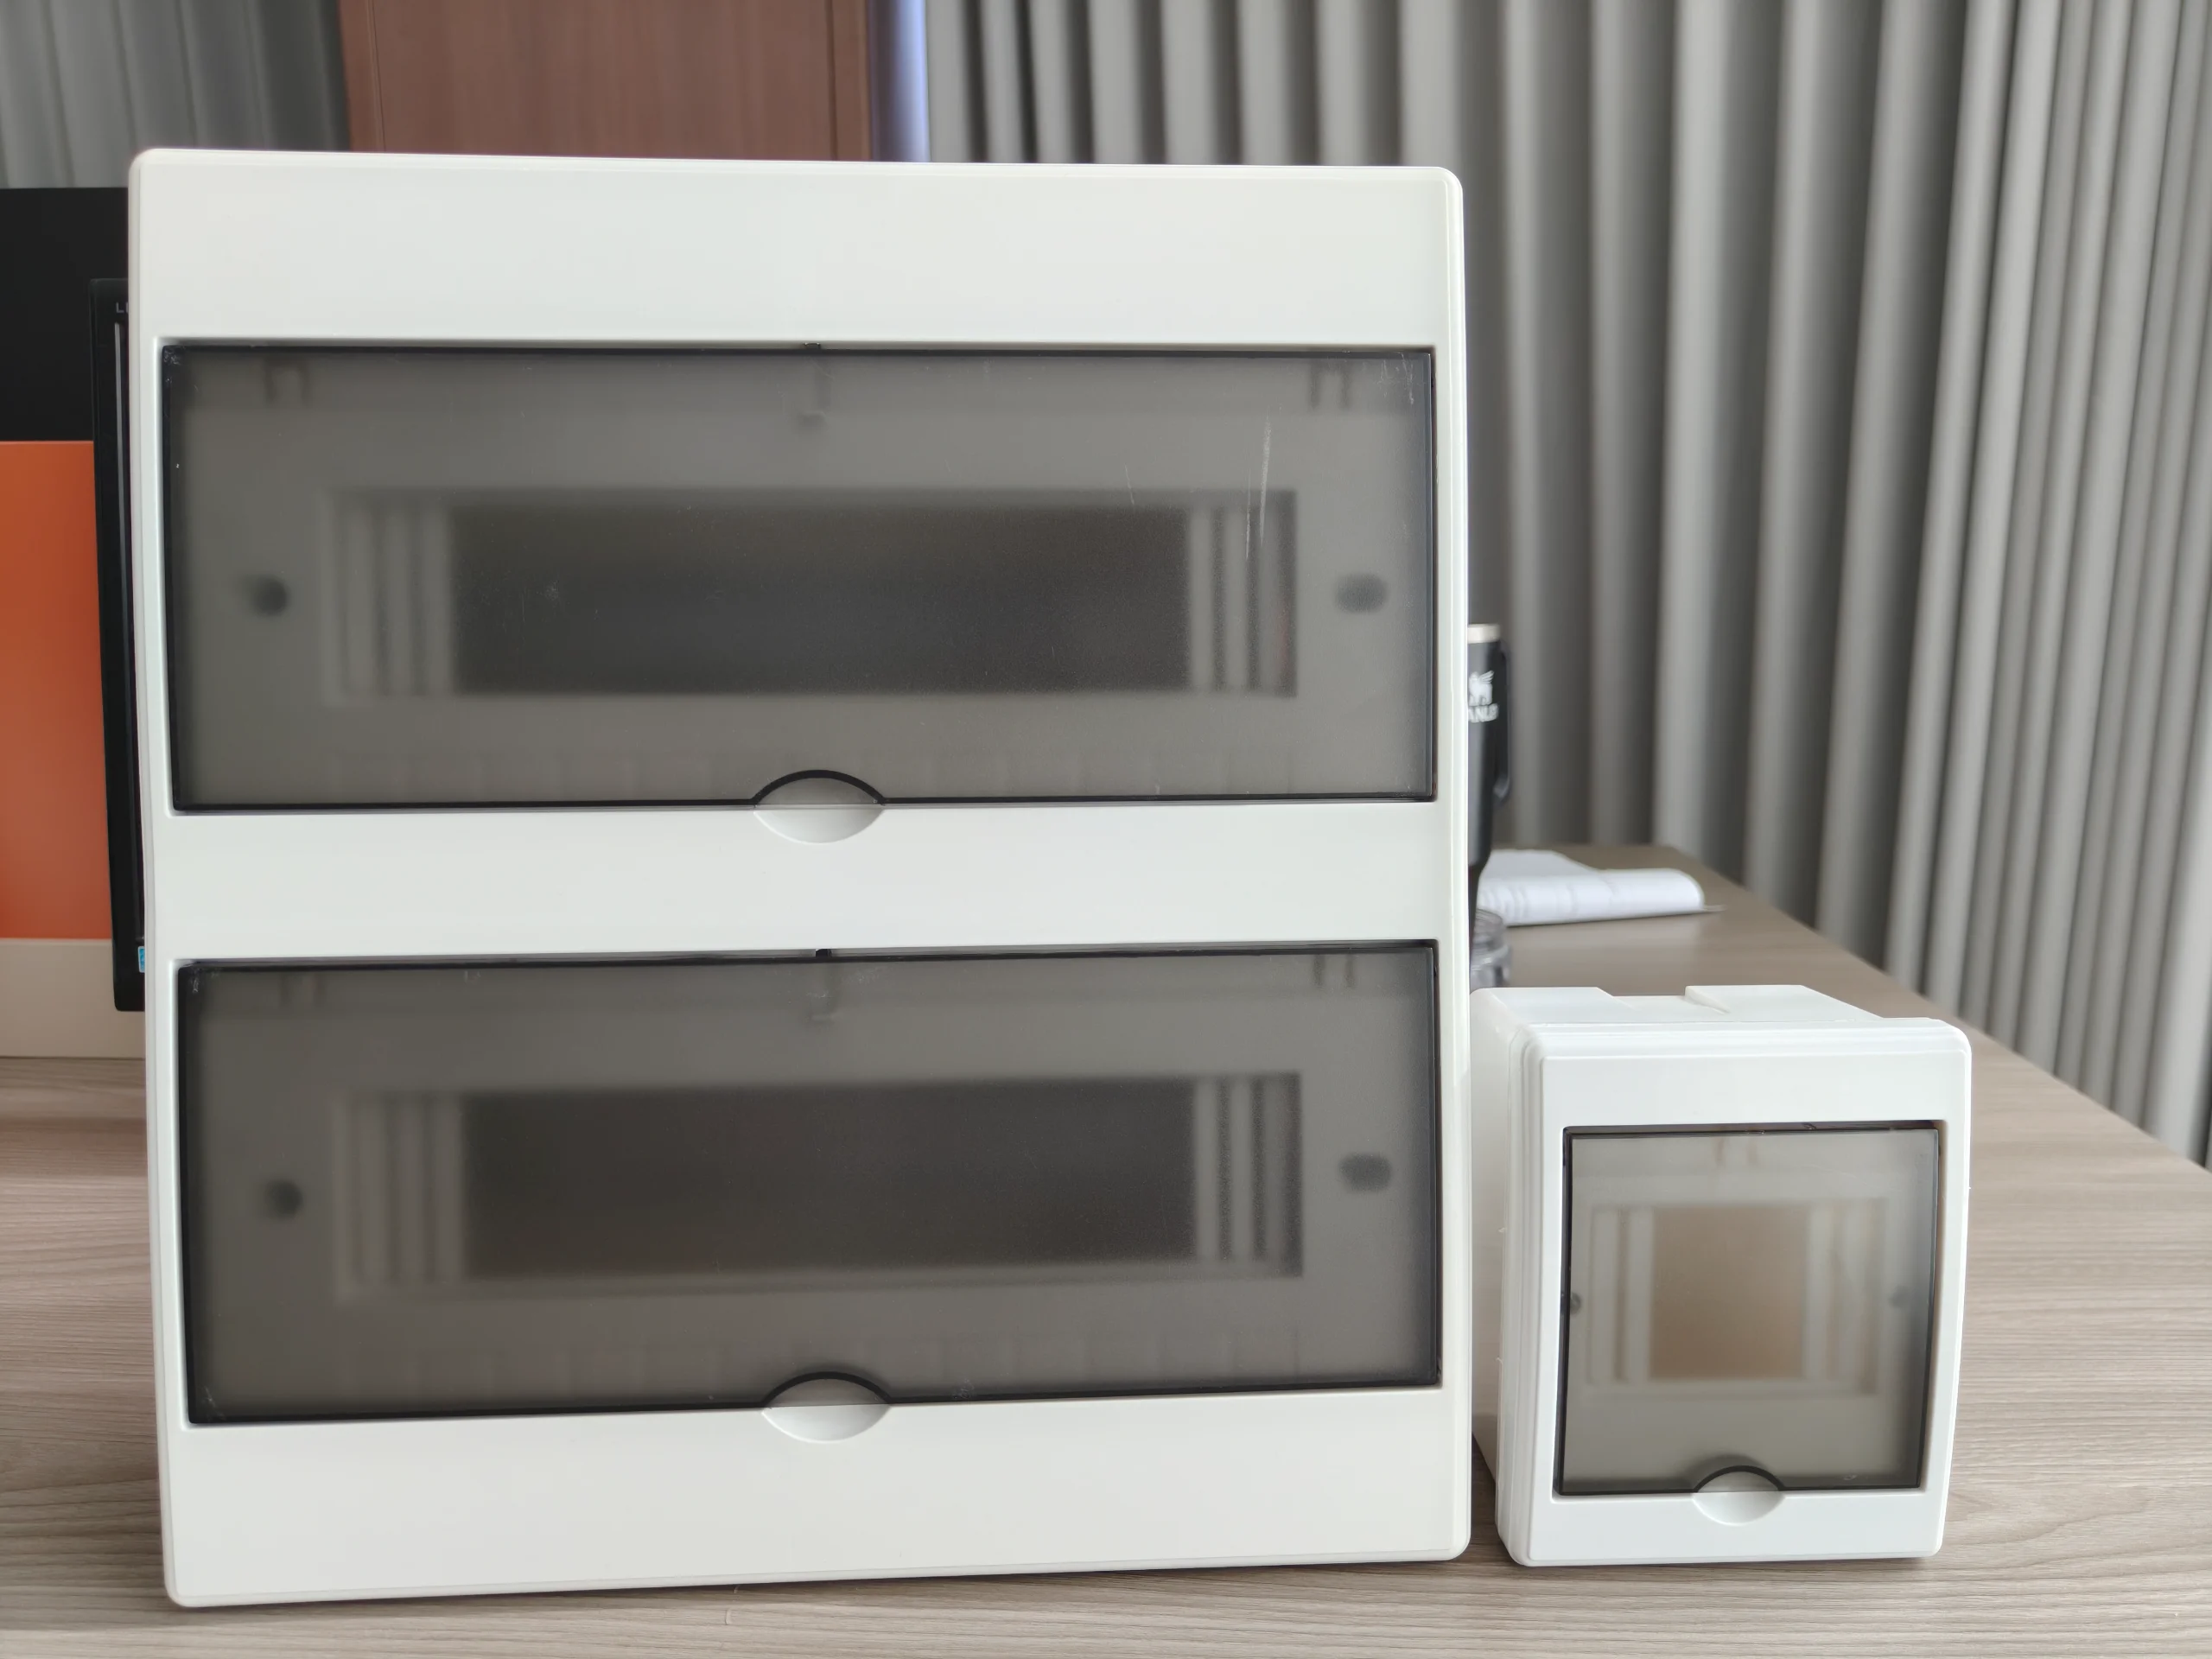
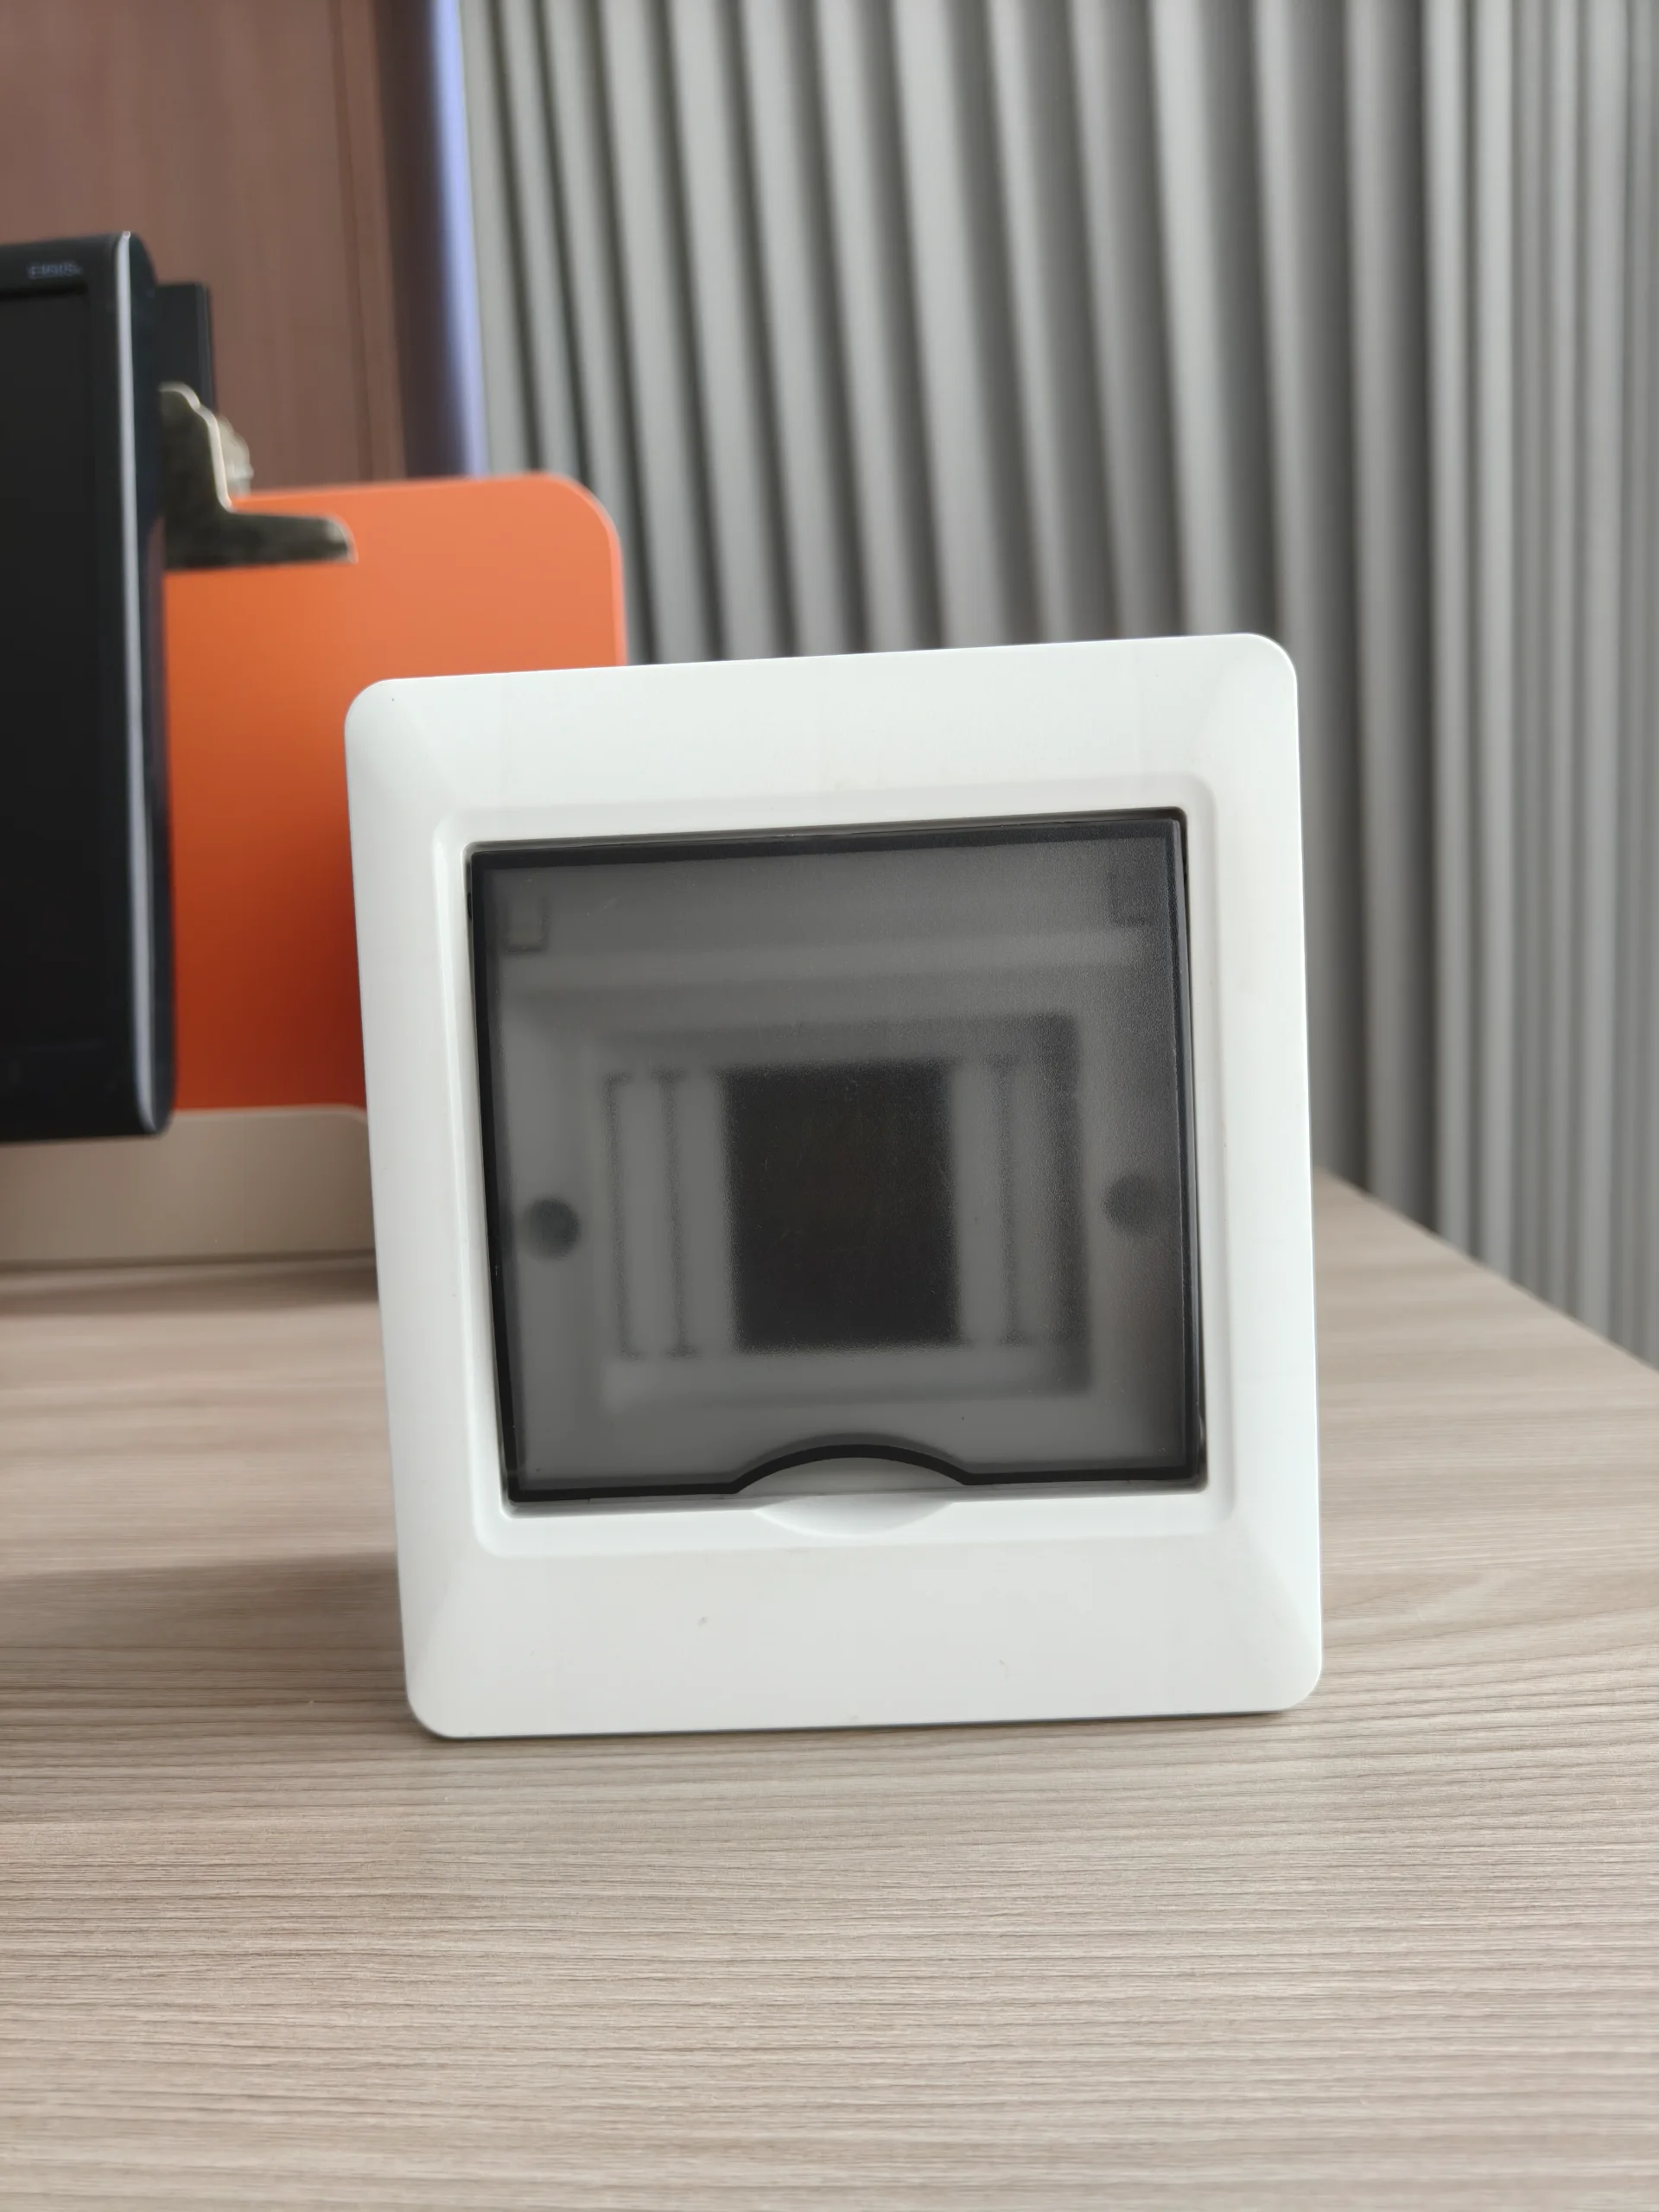
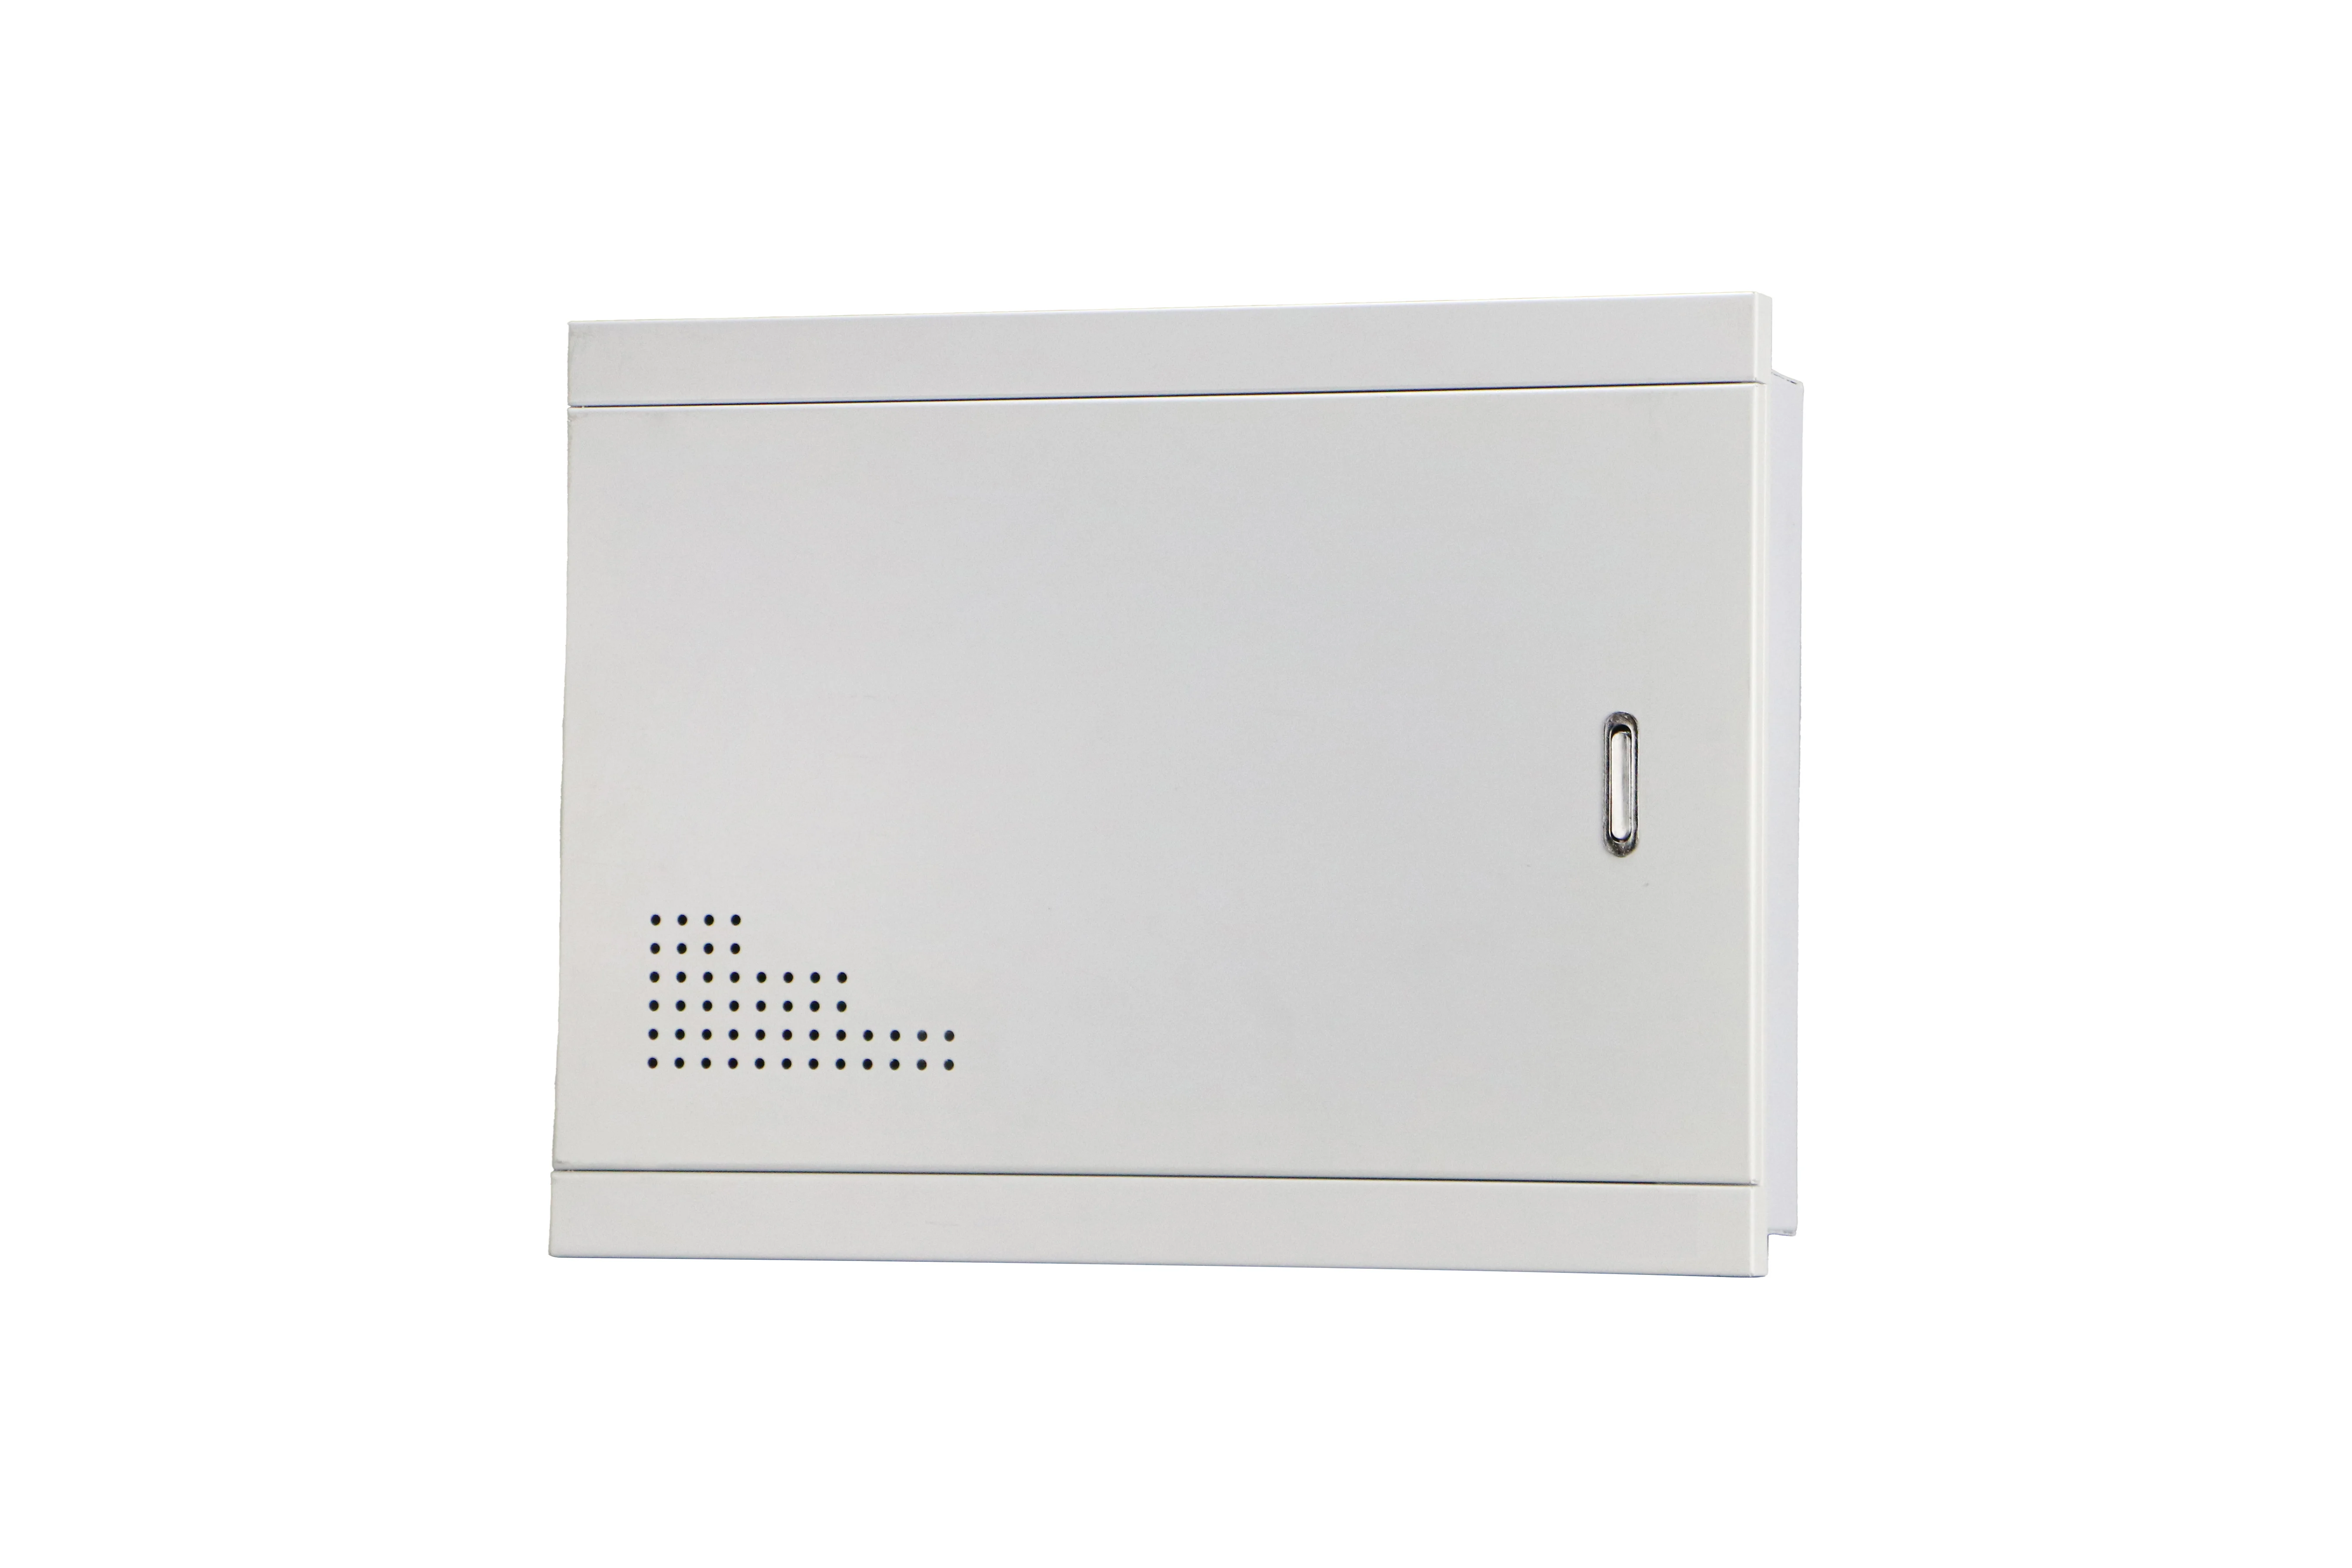
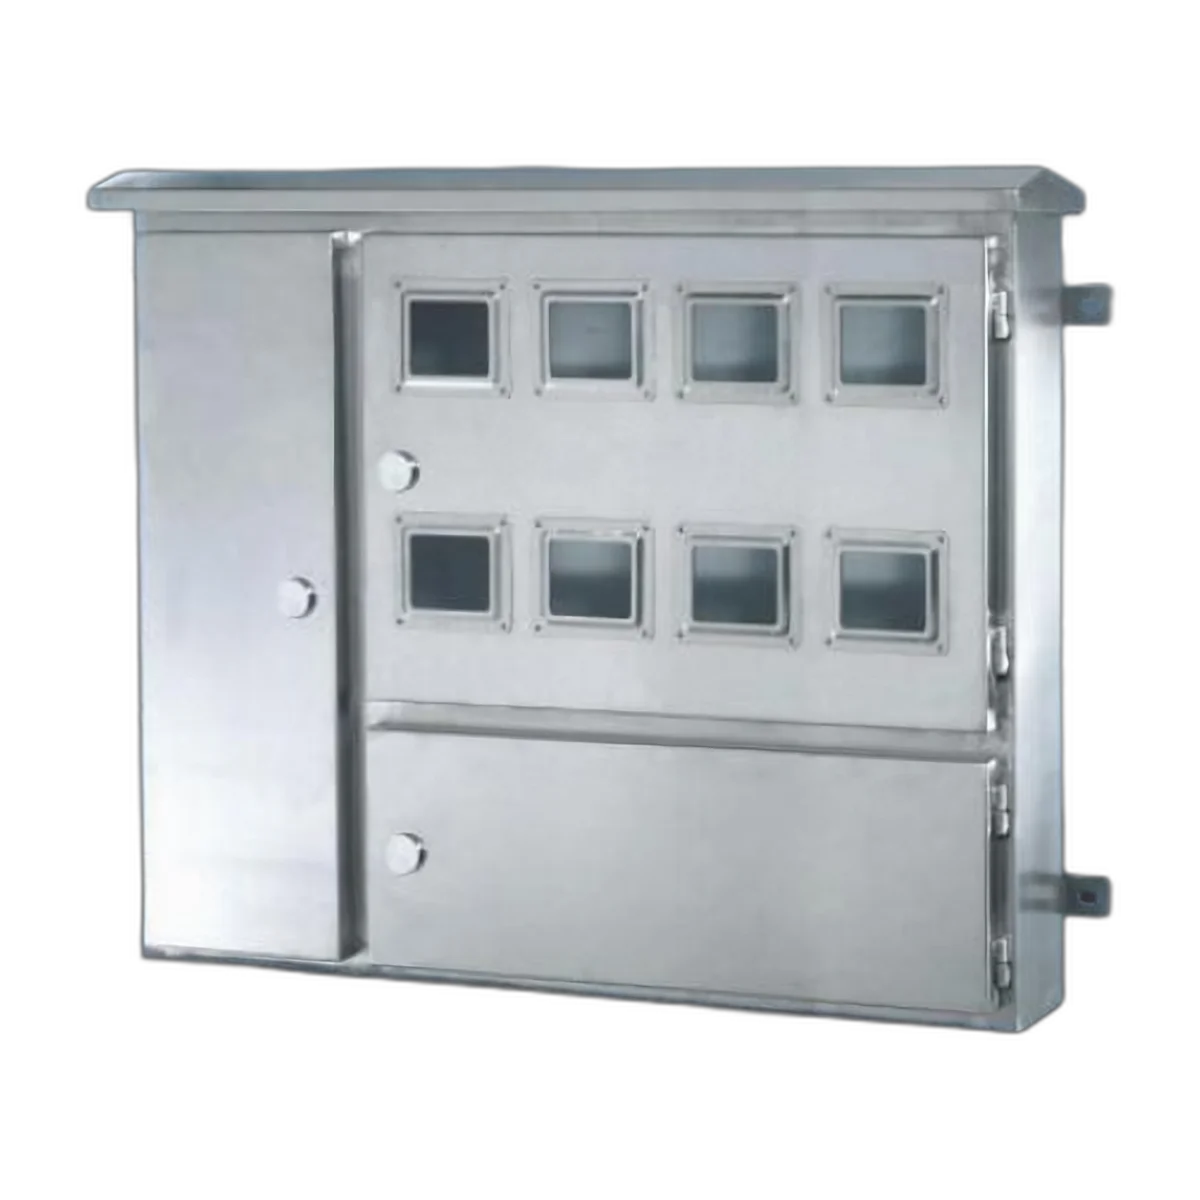
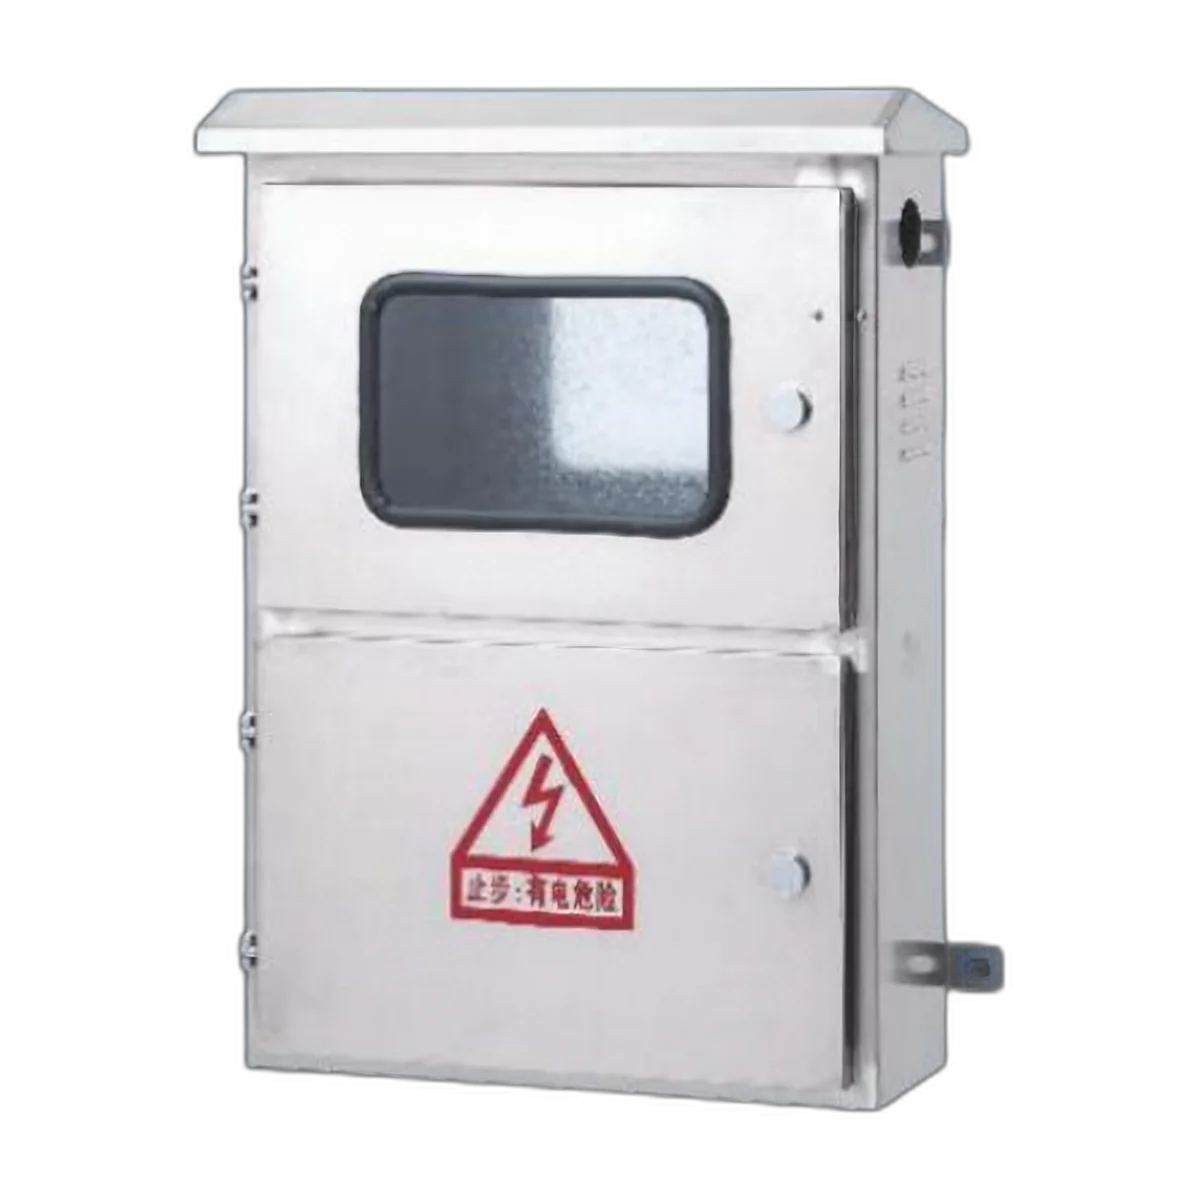
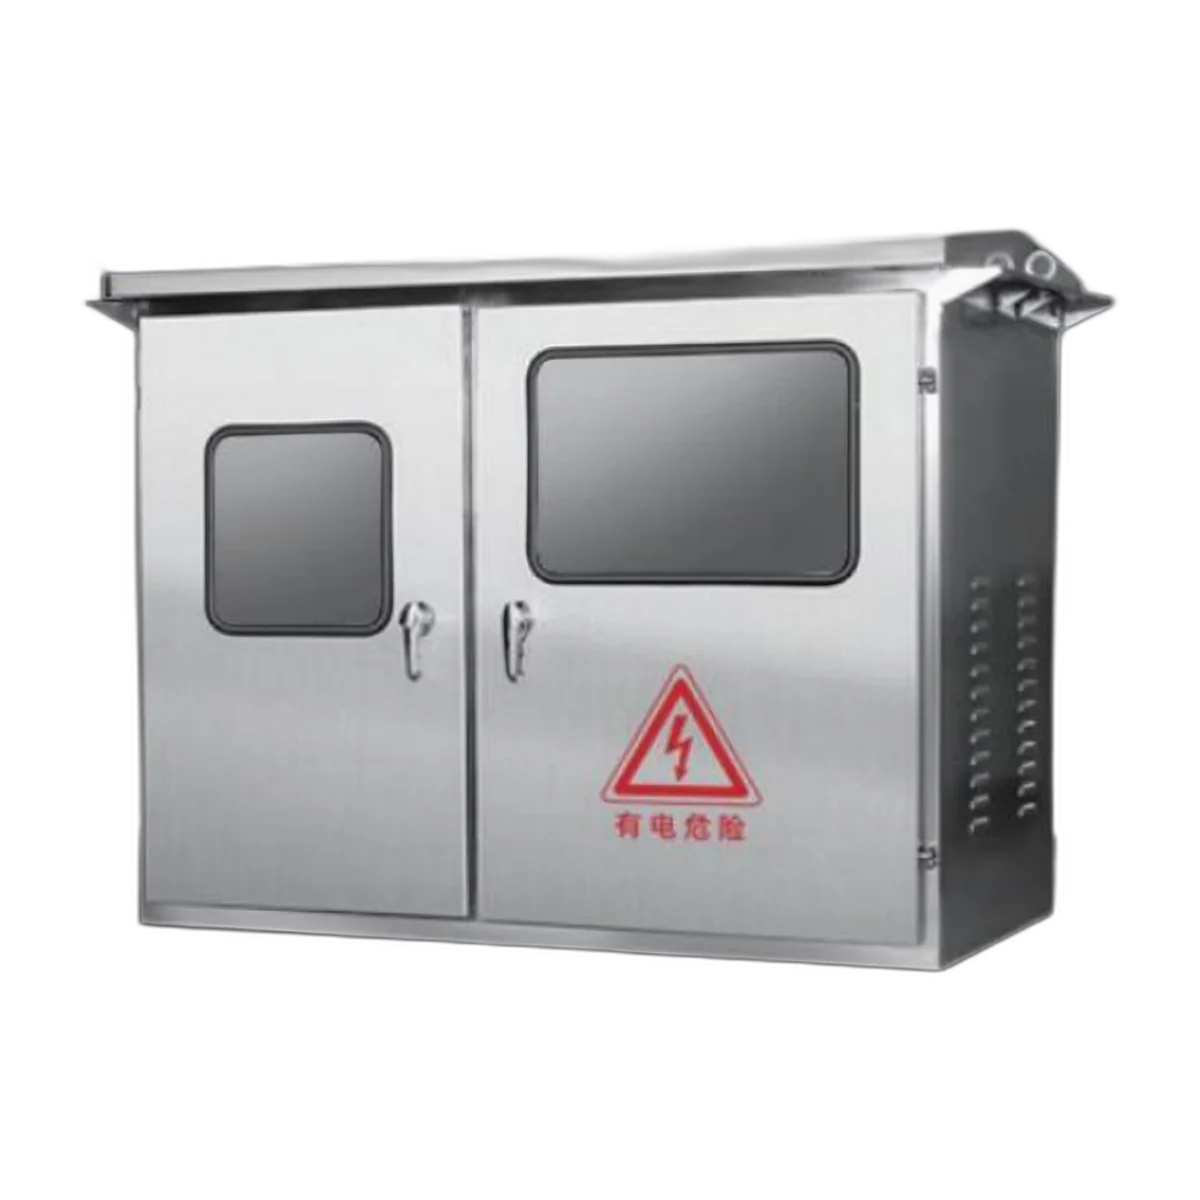
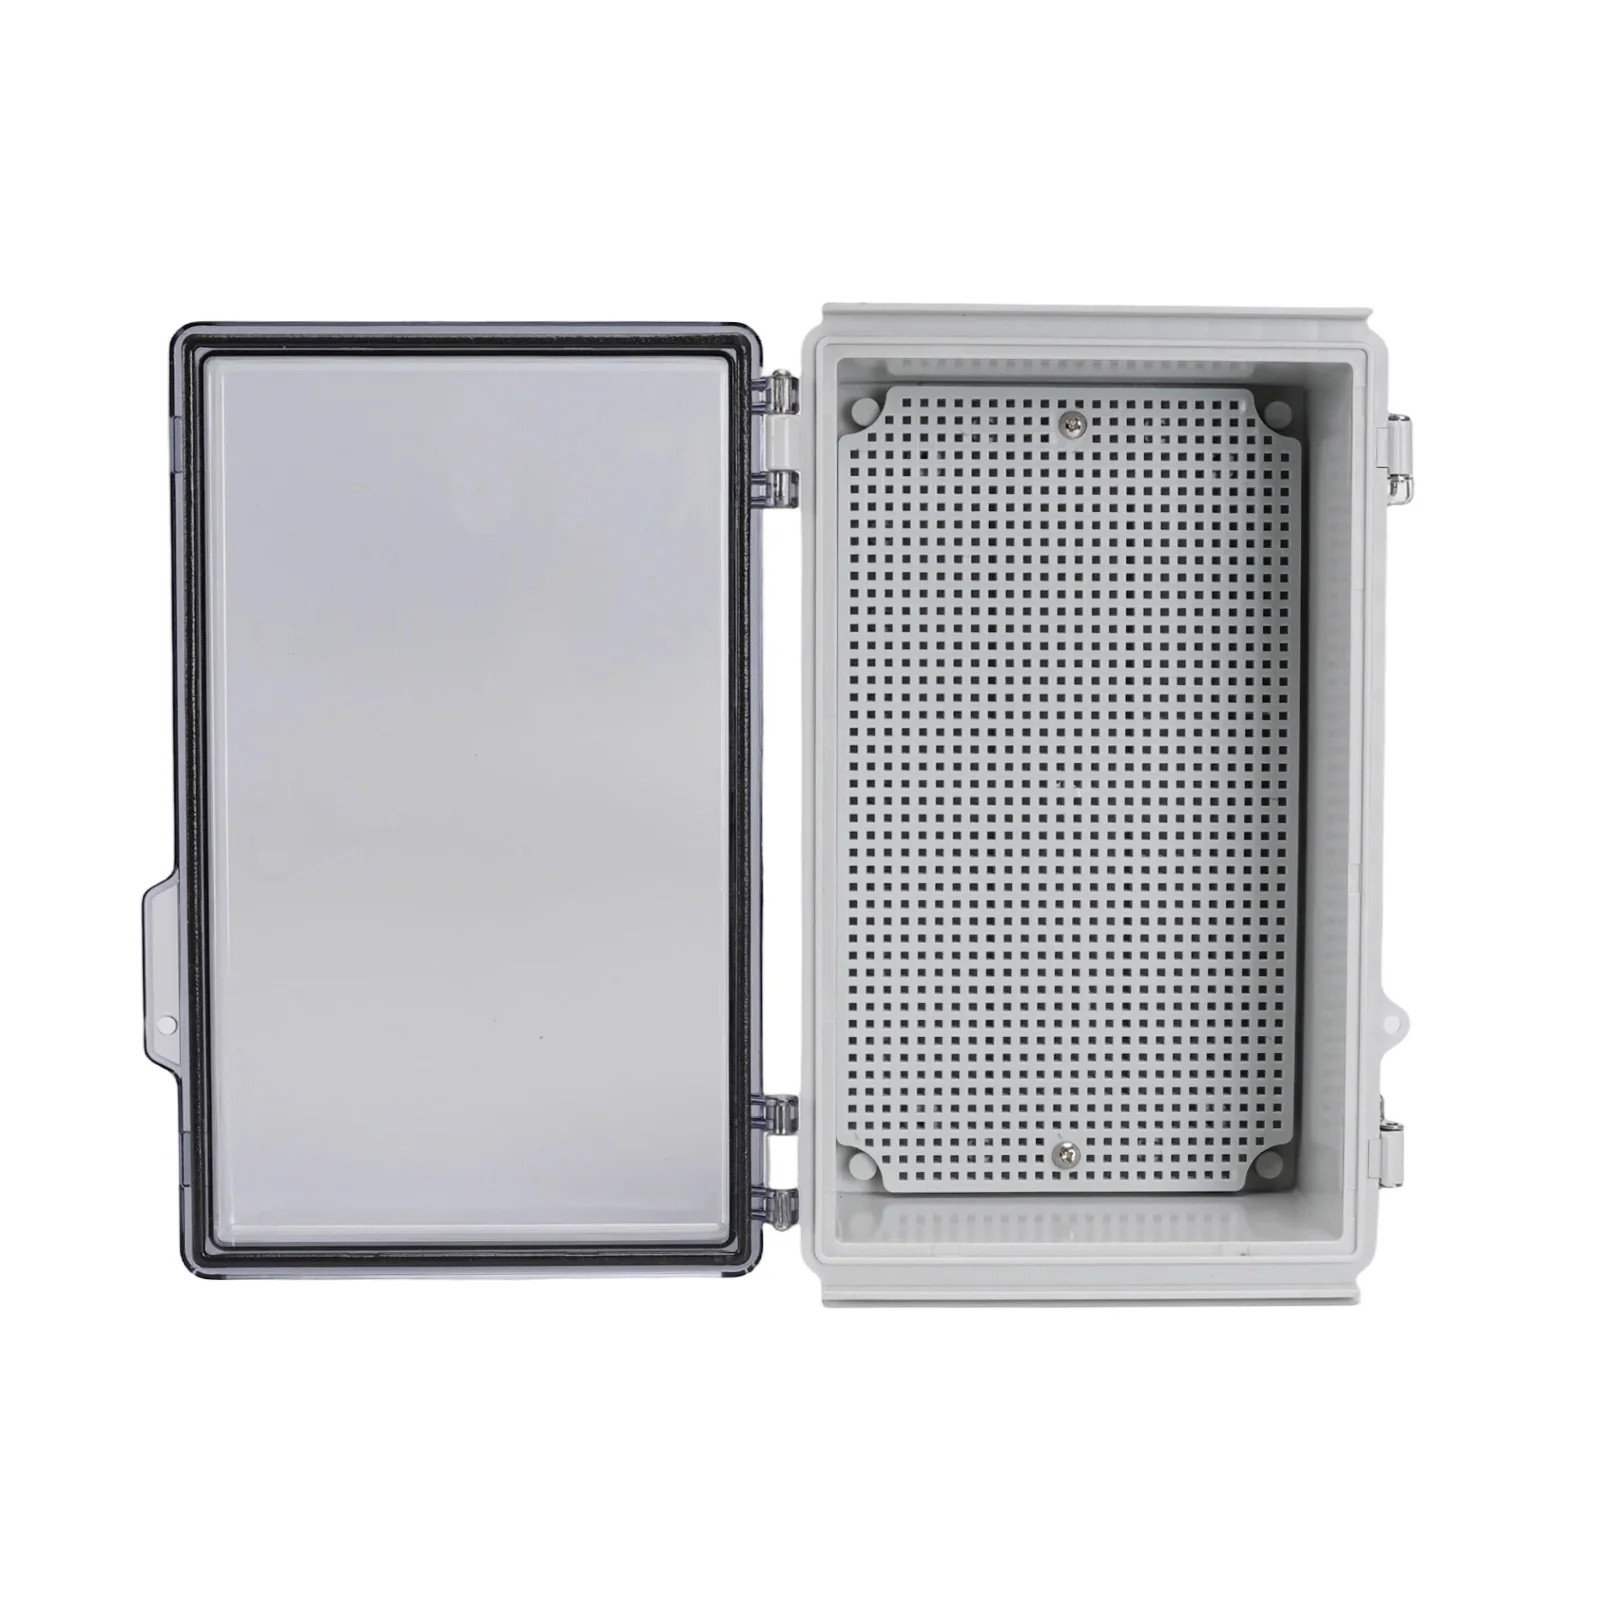
If the recessed unit is going into a visible location rather than behind a screen, appearance starts to matter, and the shallow flush-front enclosures used for that purpose are a step up in cost from a plain plastic frame, as with this glass-panel multimedia information box.
Pass-Through Plates and What They Cannot Do
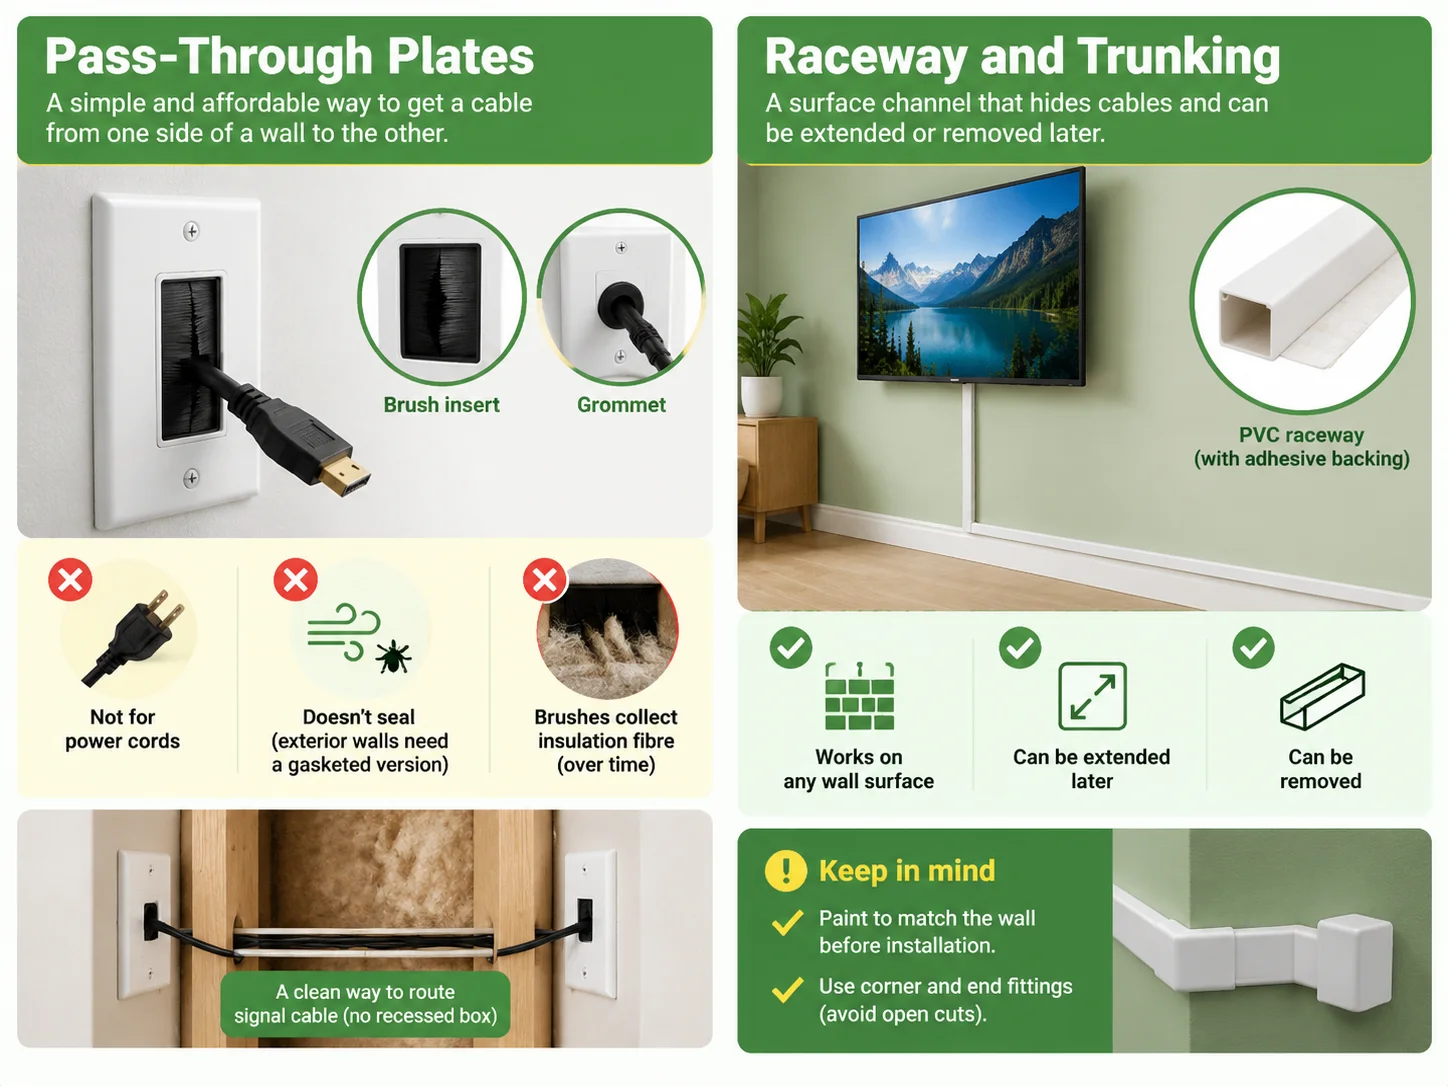
A pass-through plate is a faceplate equipped with brushed inserts or grommets, that are attached in a single-gang outlet and therefore, it’s the cheapest option when you need to carry a wire from one side of the wall to the other. It’s a great solution if you need to run just one HDMI from a storage room to a sitting room.
However, you cannot run a power cable through as explained above. Also, pass-through plates do not create seal so if installed on an outside wall you will need a gaskets version; otherwise, it will turn into air leaks and insects route. What is more, a brush pass-through plate installed on the wall with insulation will be clogged with fibers in one week which is safe but looks horrible.
Correctly used, two pass-through plates placed on the opposite sides of framing stud are a good solution for carrying a signal cable without an electrical box. If misused it would lead to the ill-fated wiring described in the previous part.
Raceway and Trunking
The term surface raceway refers to a PVC channel that includes adhesive backing and is mounted on the wall to run cables from the television down to the level of a skirting board and around the corner. It has three benefits that the other types of raceways don not have: it can be installed on any wall, it can be extended in the future and it can be removed.
It is suitable in cases where there is a brick wall, when the television is not to be mounted on the wall, or when the length of run is so long that a single shroud will not suffice. It is a compromise in terms of the visual bulk: a 20 mm raceway on a painted wall is observable across the room, which was exactly the goal of the wall-mounted television.
Two practical recommendations. Paint the raceway to match the wall tone before installation and buy the corner and end fittings with the channel instead of improvising with tape, because a raceway, which ends in an open cut looks worse than the cables it was meant to hide.
Where the Sources Actually Live
A chart-topping home theater installation has little-to-nothing behind the display unit. One cable or none at all!
This is accomplished by locating the inputs such as the router, switch, set-top-box, and gaming system in a closet or utility room. A single wire is then run from the utility point to the rear of the display.
The piece of equipment responsible for this is the multimedia box: It has a plug system for electricity, a rail system, and an internal structure that will enable it to make connections between different sources.
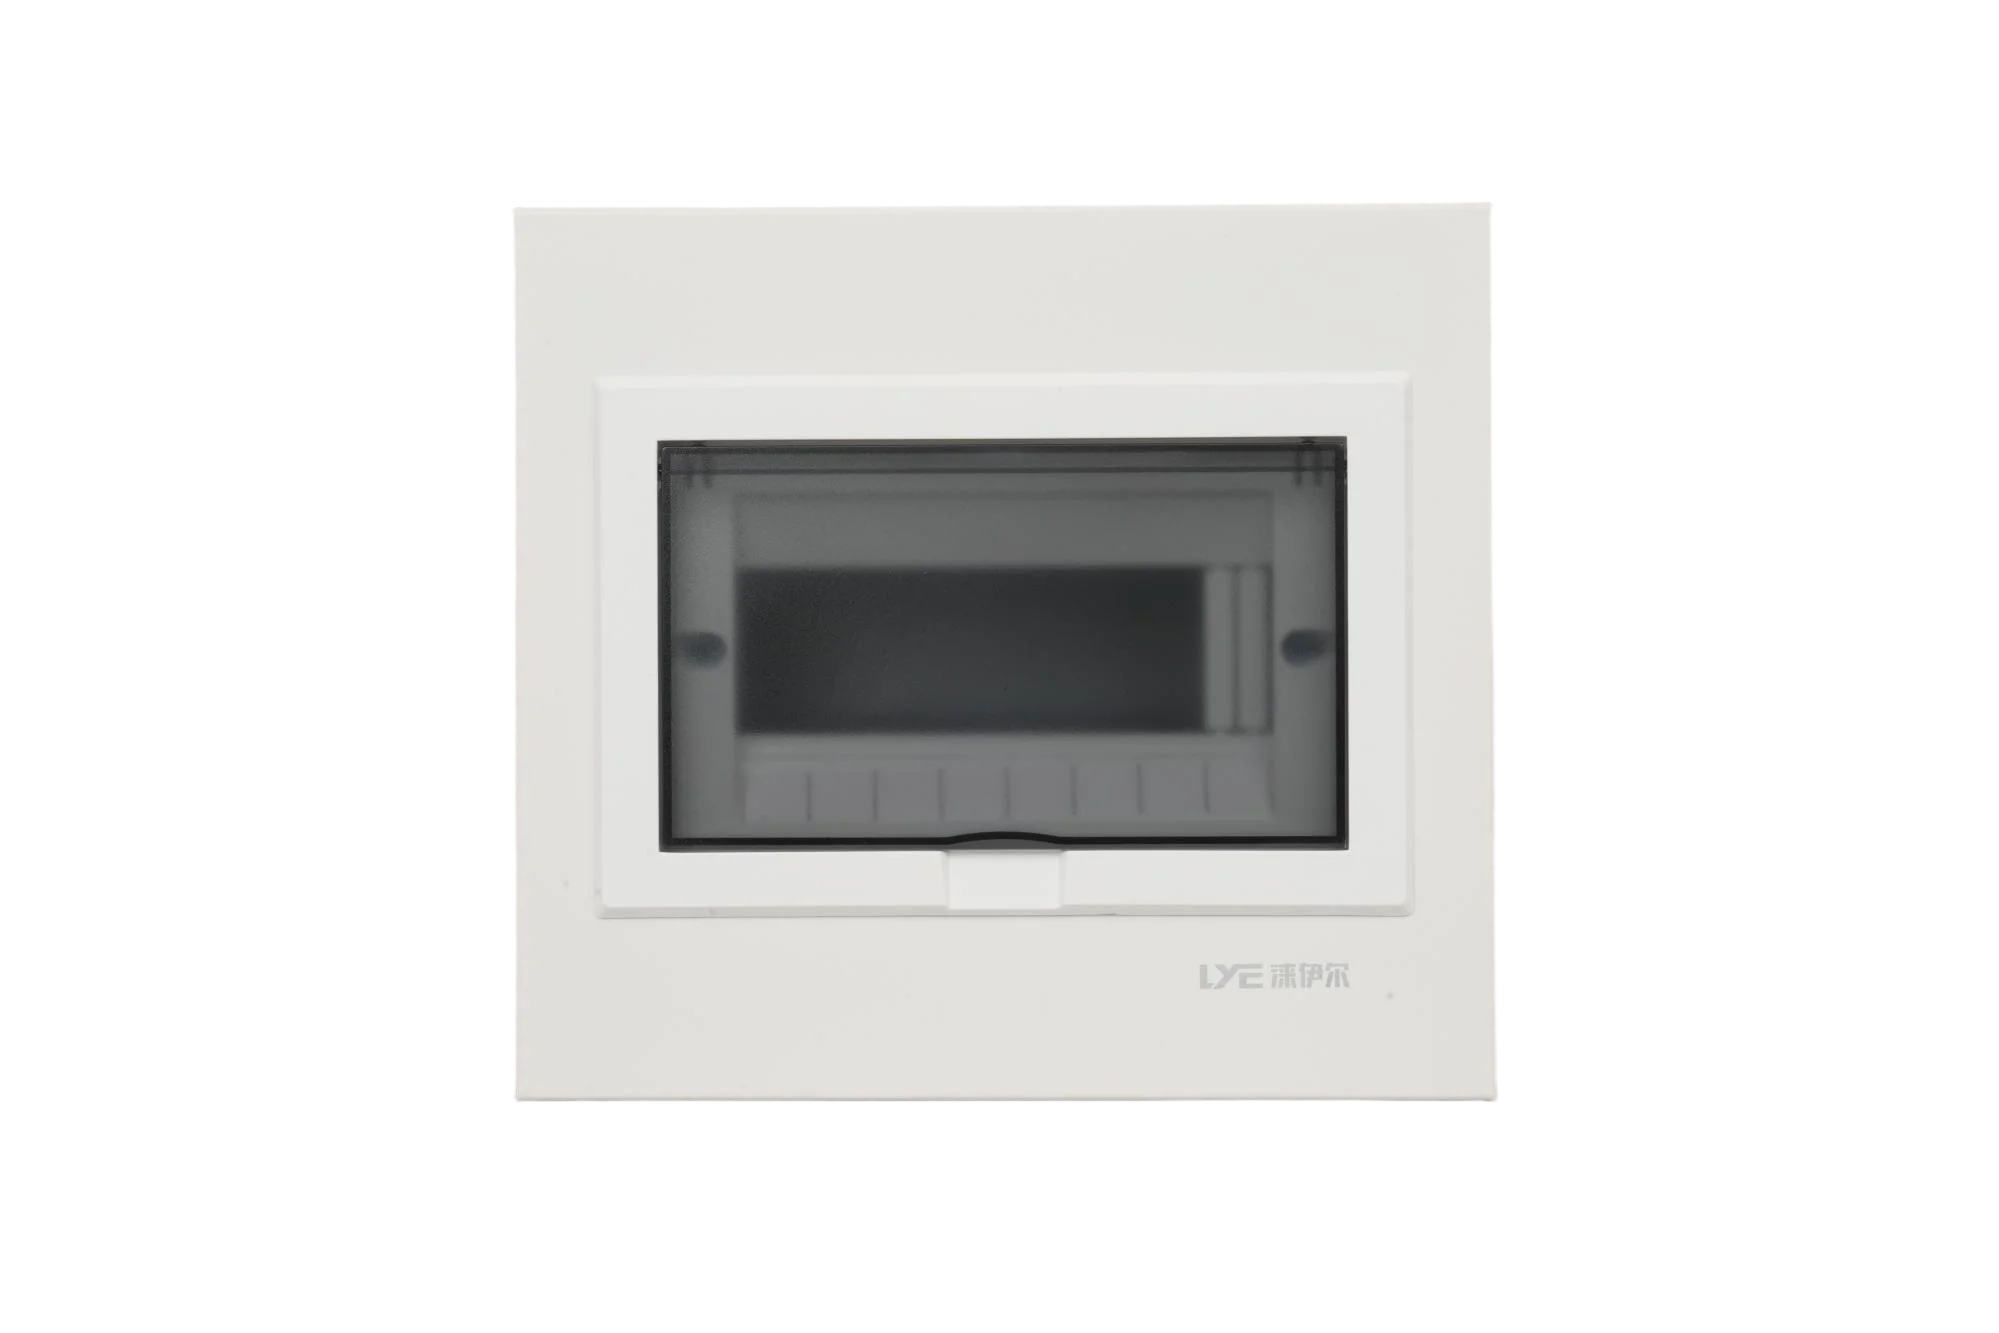
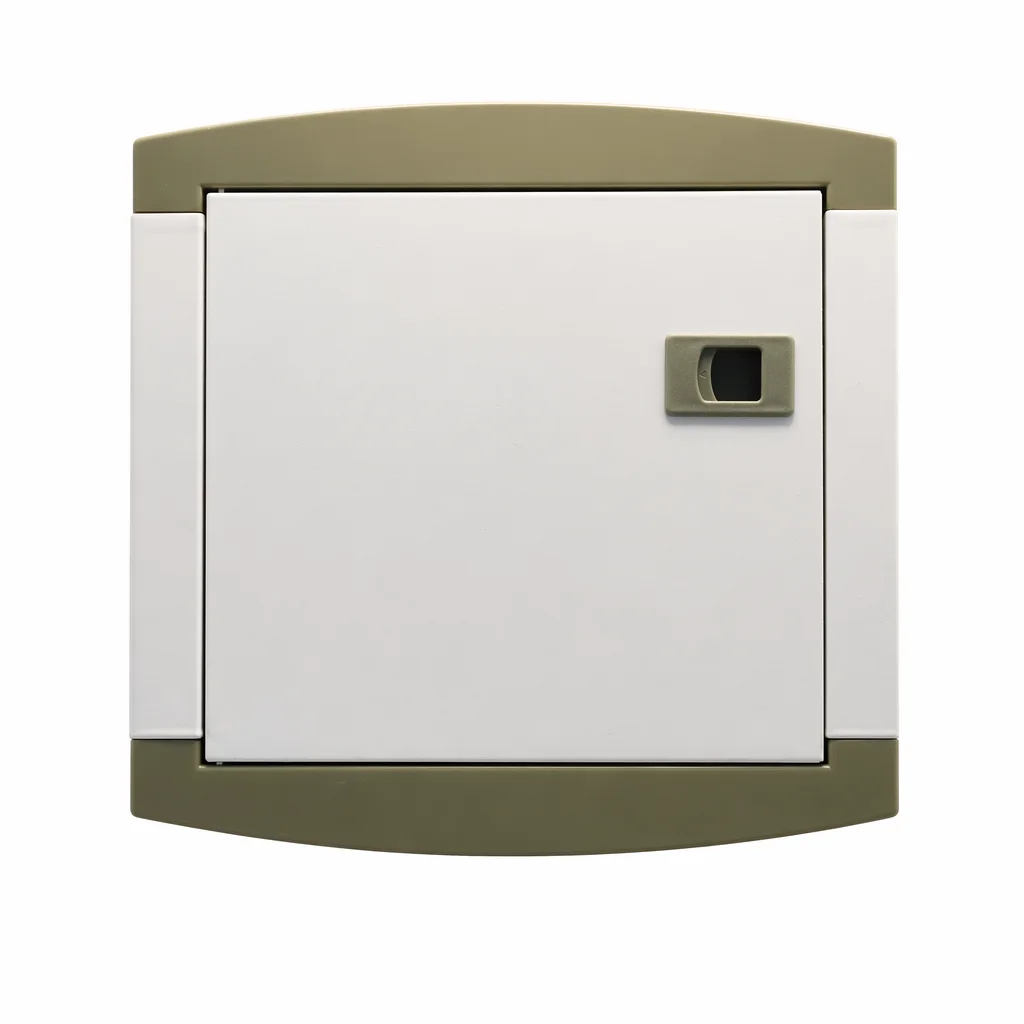
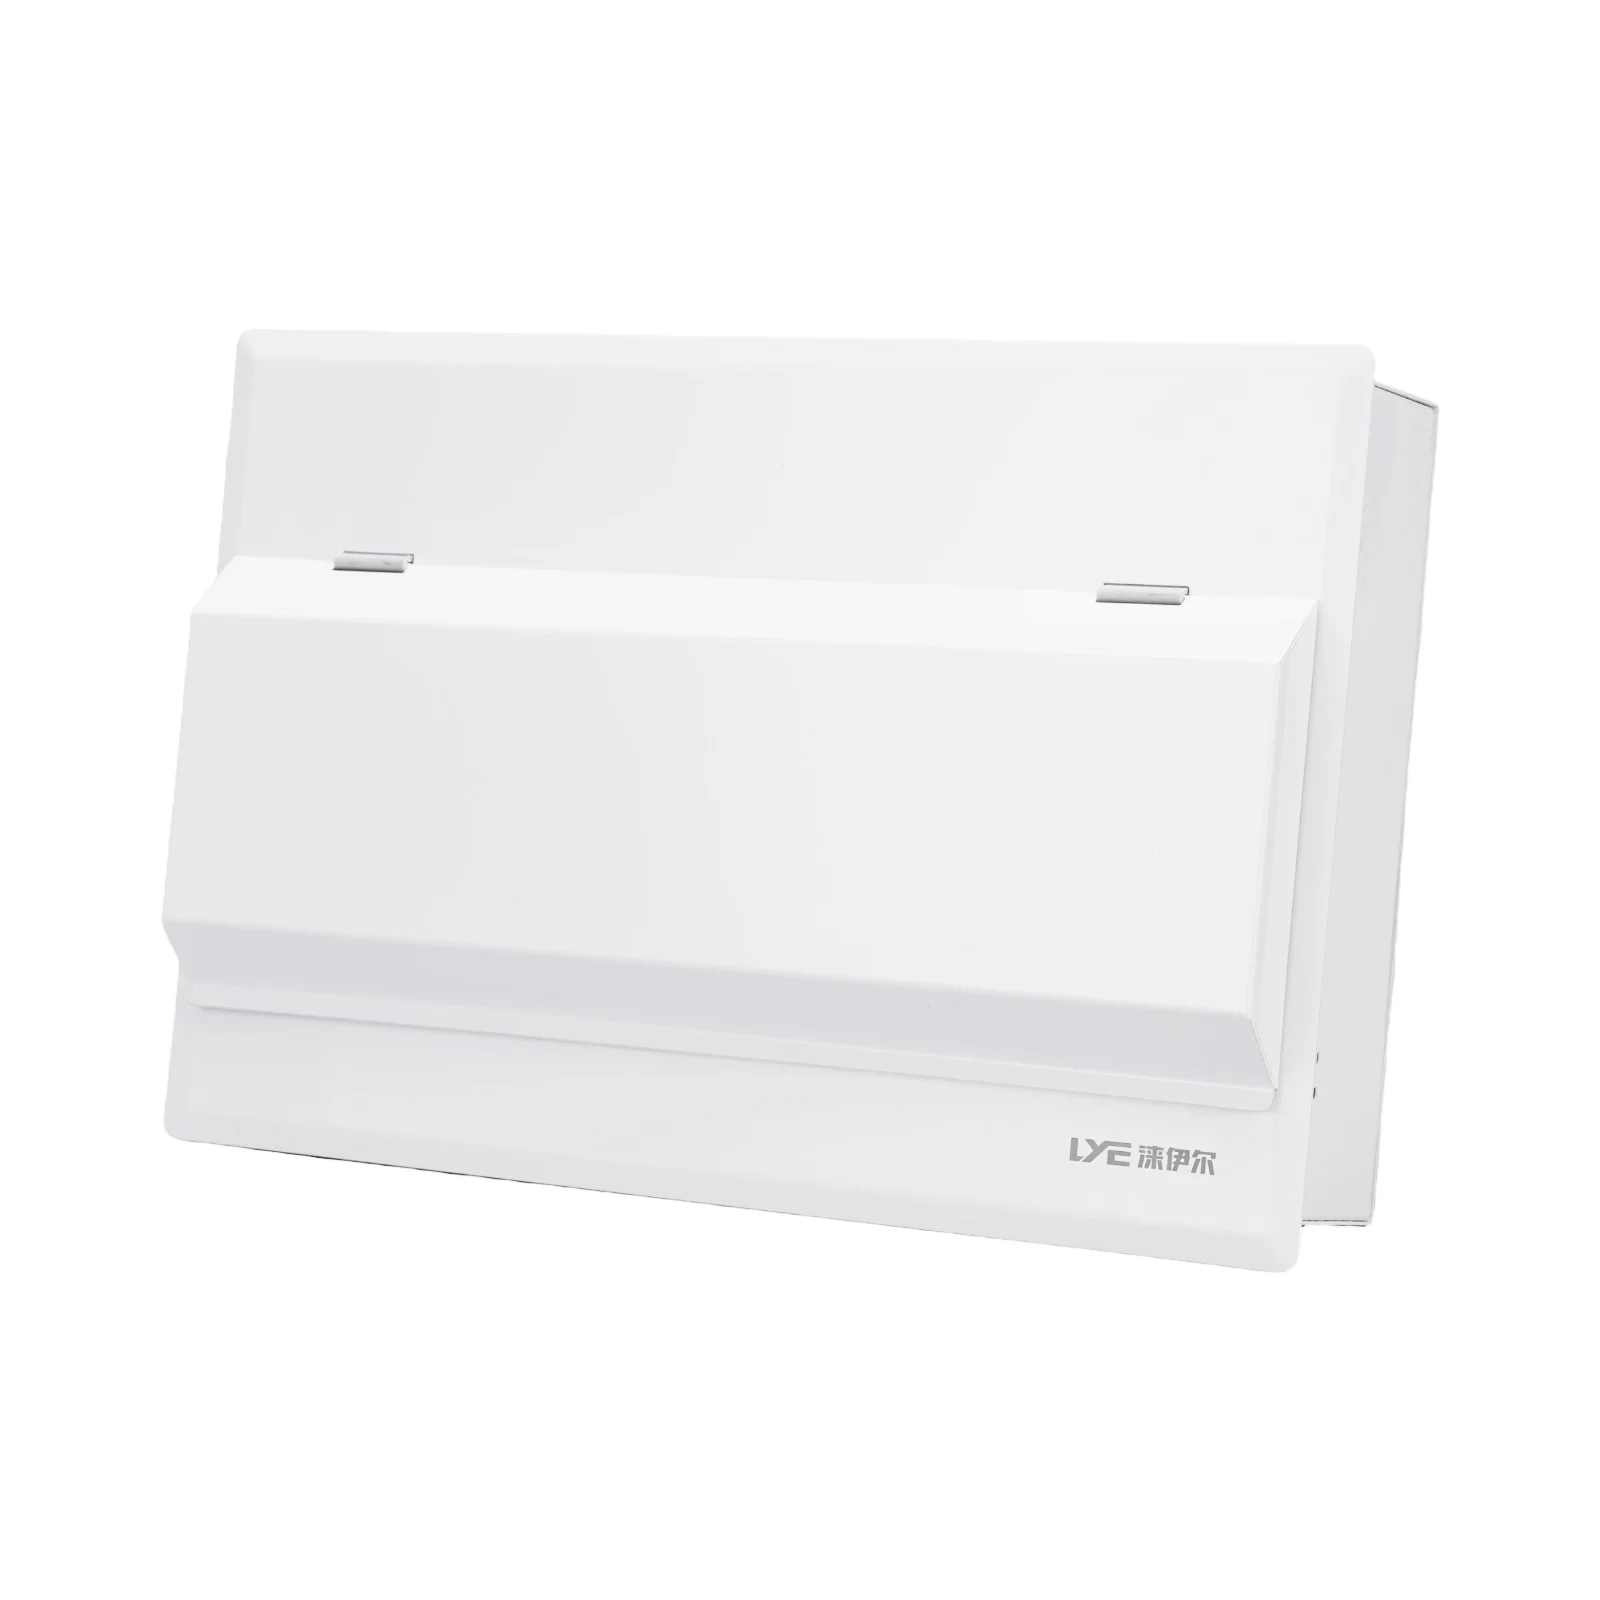
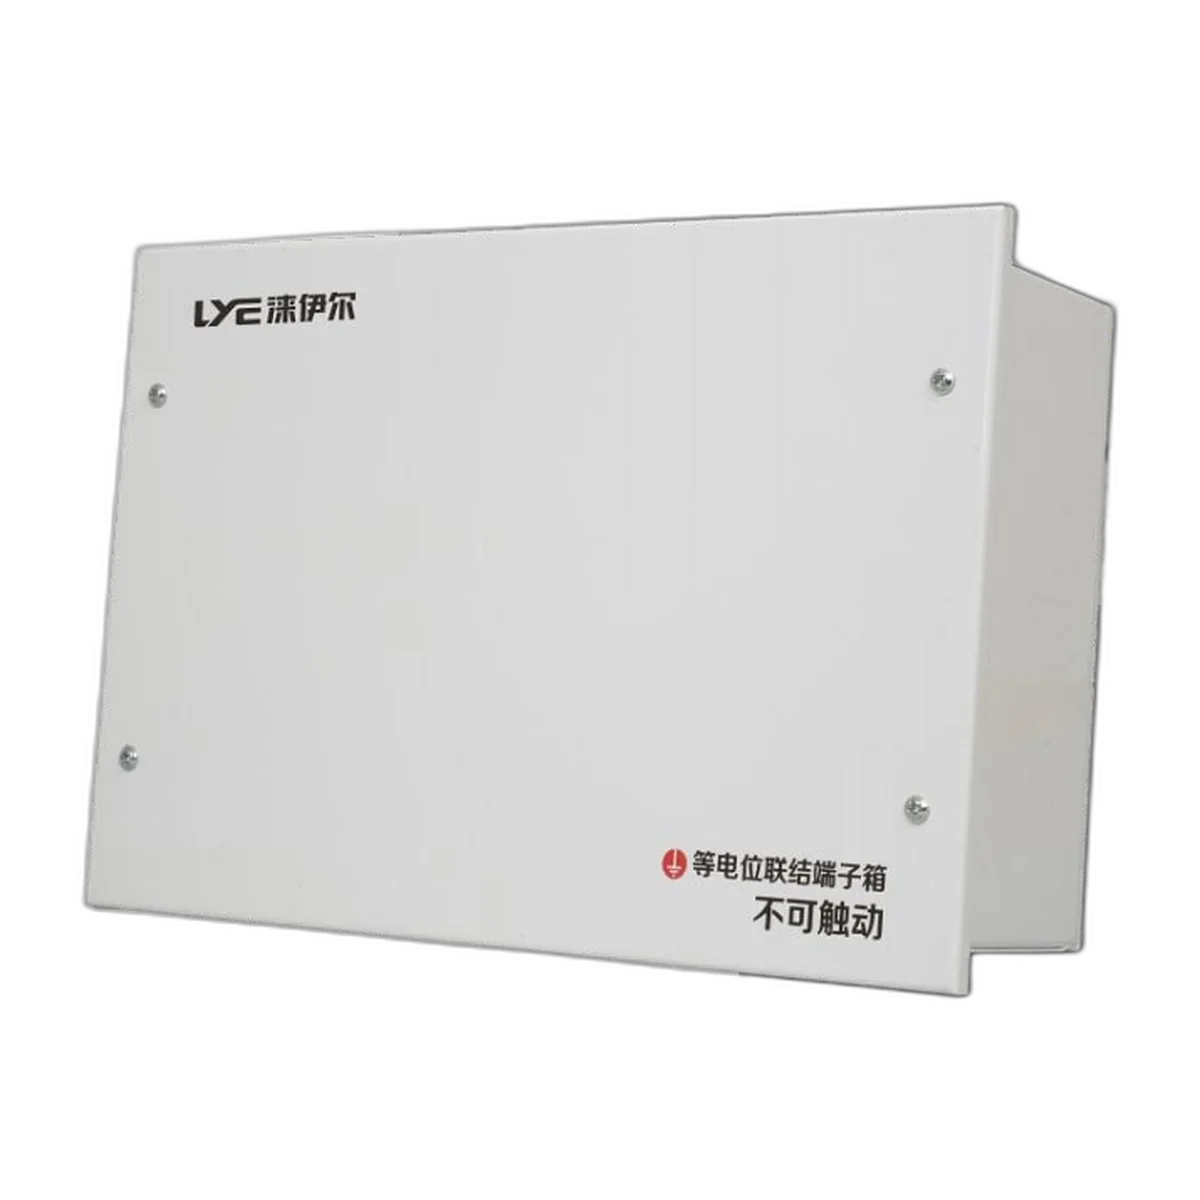
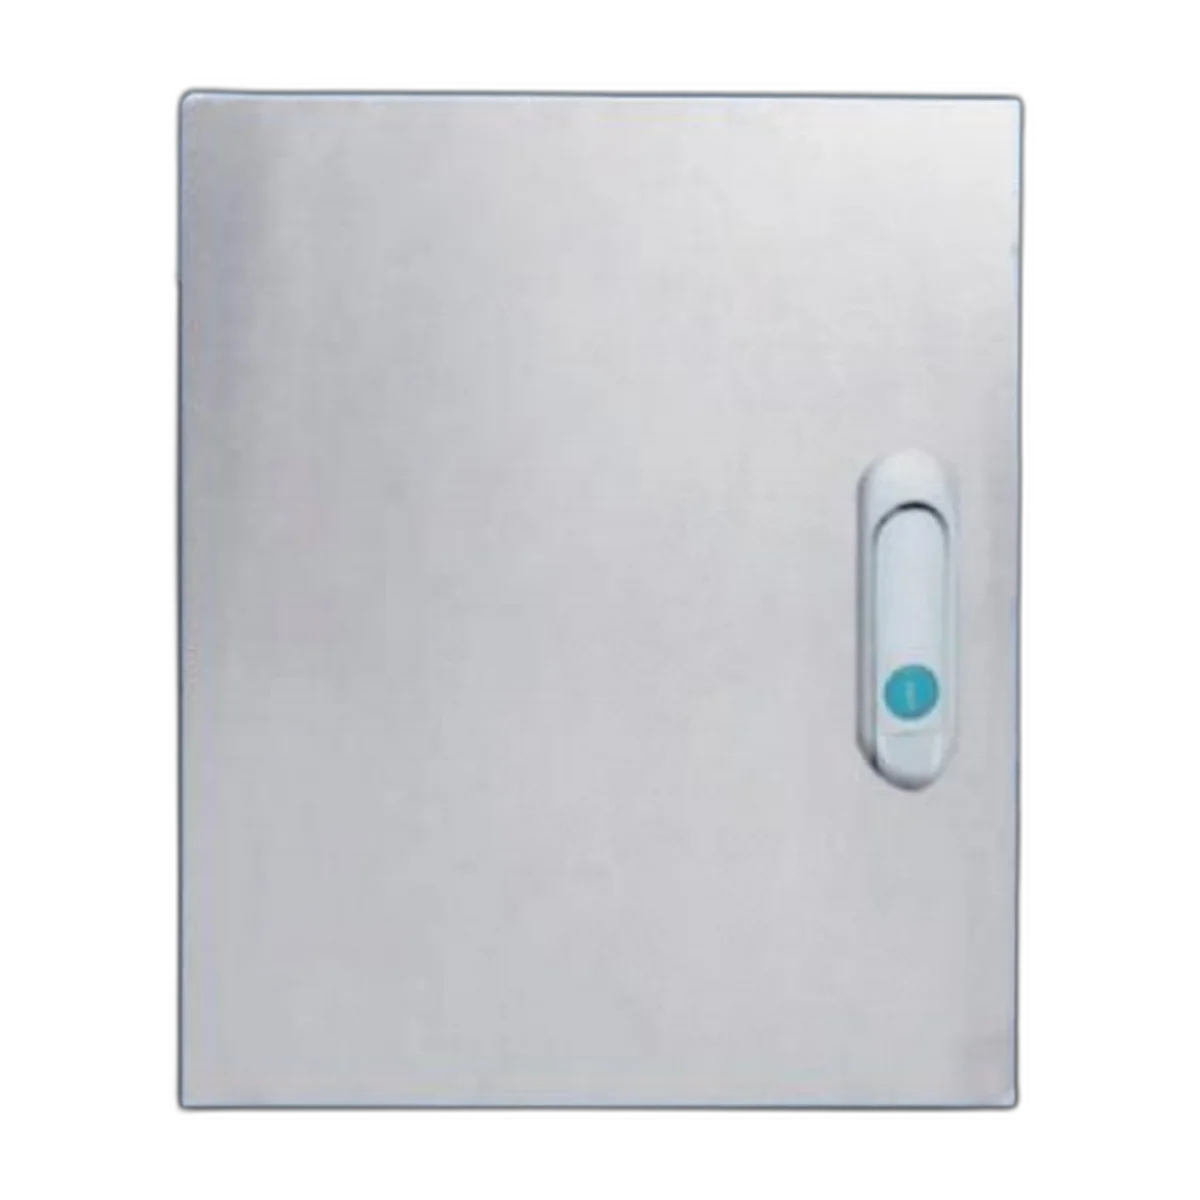
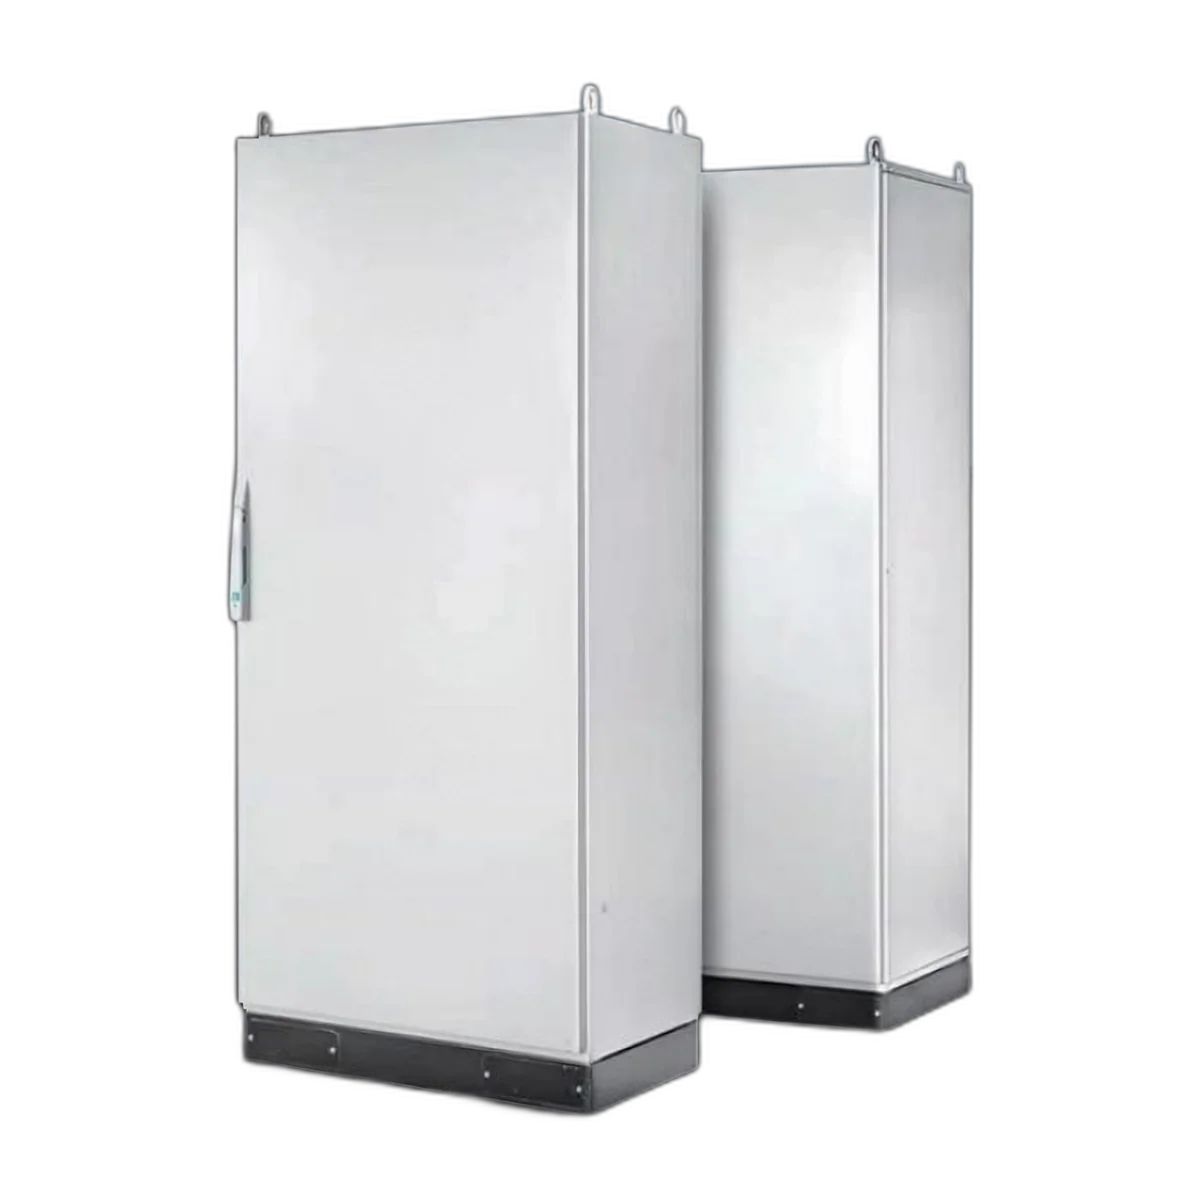
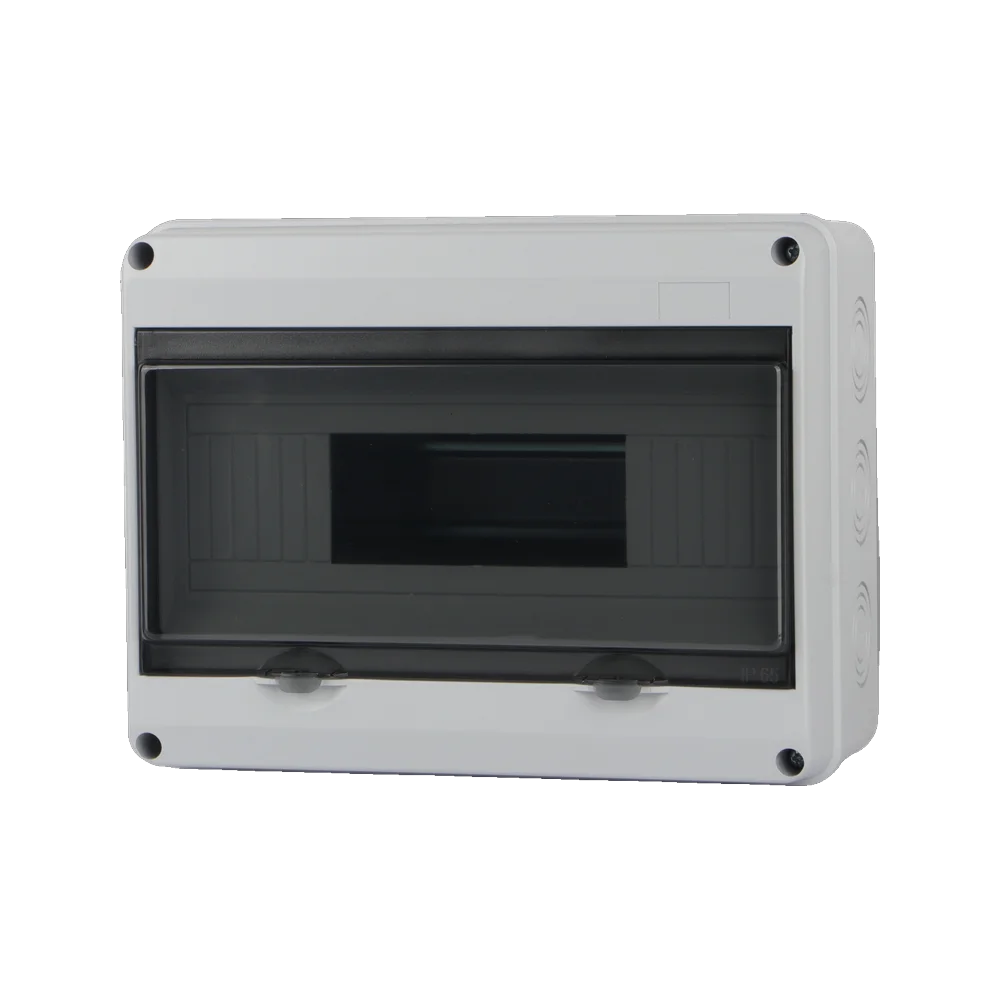
In order for a house to have a successful multimedia installation, the box must be designed according to its future plans and not just the current existing features only. Using the 200 mm deep box with a rail system today allows the connections to be made with fibre optics, switchers, and power supply systems at a later stage while taking into account the future possibility of adding additional equipment in the future. The residential-grade unit in that role is illustrated by this all-white multimedia information box, and the difference between that and a plain plastic shell is the interior structure rather than the enclosure itself.
Installation: Wall Type, Studs and Depth
Five steps are common in all recessed solutions.
- Identify the studs and services in the wall. A stud finder device along with a system for locating wires and plumbing components can be used for this purpose. Making a mistake by drilling through concealed wiring junction is an expensive mistake and also a safety risk.
- Mark both holes before drilling any of them. The first hole behind the TV mount should be marked in such a position that it does not interfere with the arms of the brackets. The second hole next to the existing outlet can be precisely located if the first hole has already been established.
- Validate the depth of the hole. Take the measurements of the wall cavity as insulation, fire block and angles can be met inside the wall.
- Pull the wire before making the installations. It is easy to do it when both holes are open and nothing has been set in place.
- Use appropriate wire for the project: CL2 or CL3 rated for the signal connection and a certified kit for the power supply. In many areas, it is necessary to take into account the fire stopping aspect of works when the communication passes between floors or through the upper plate.
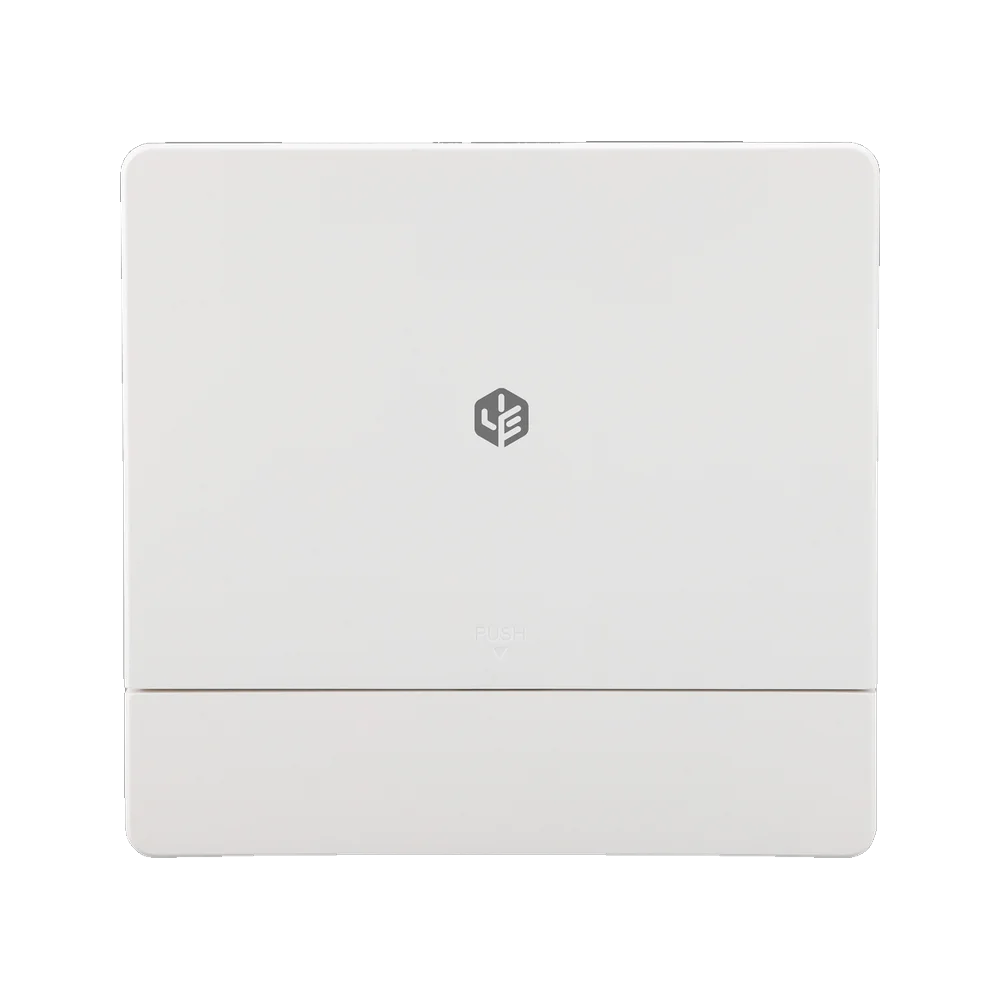
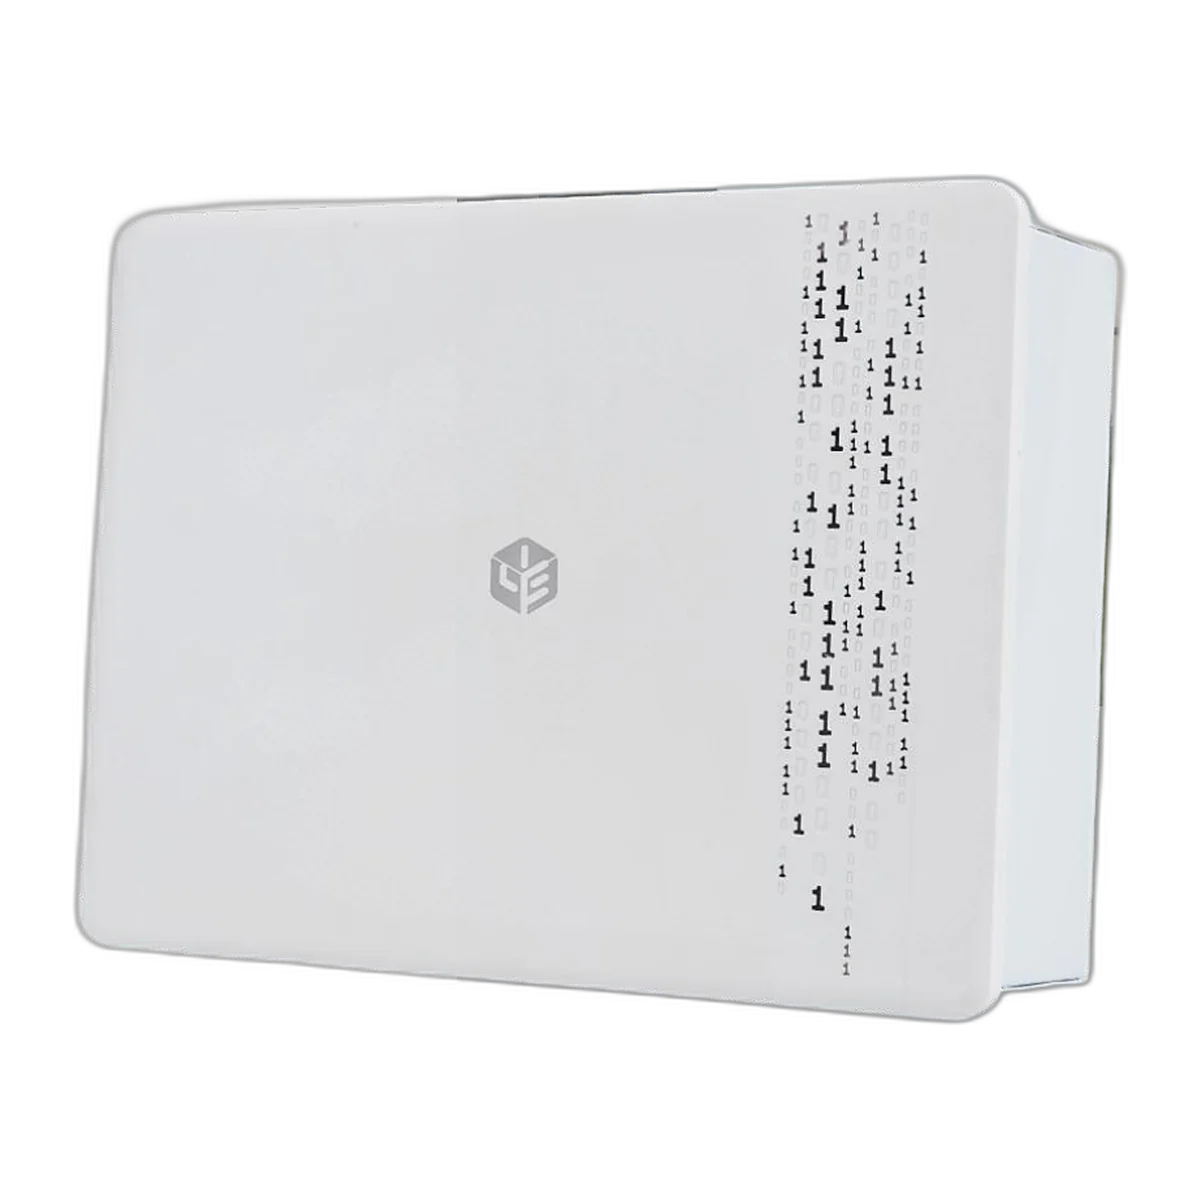
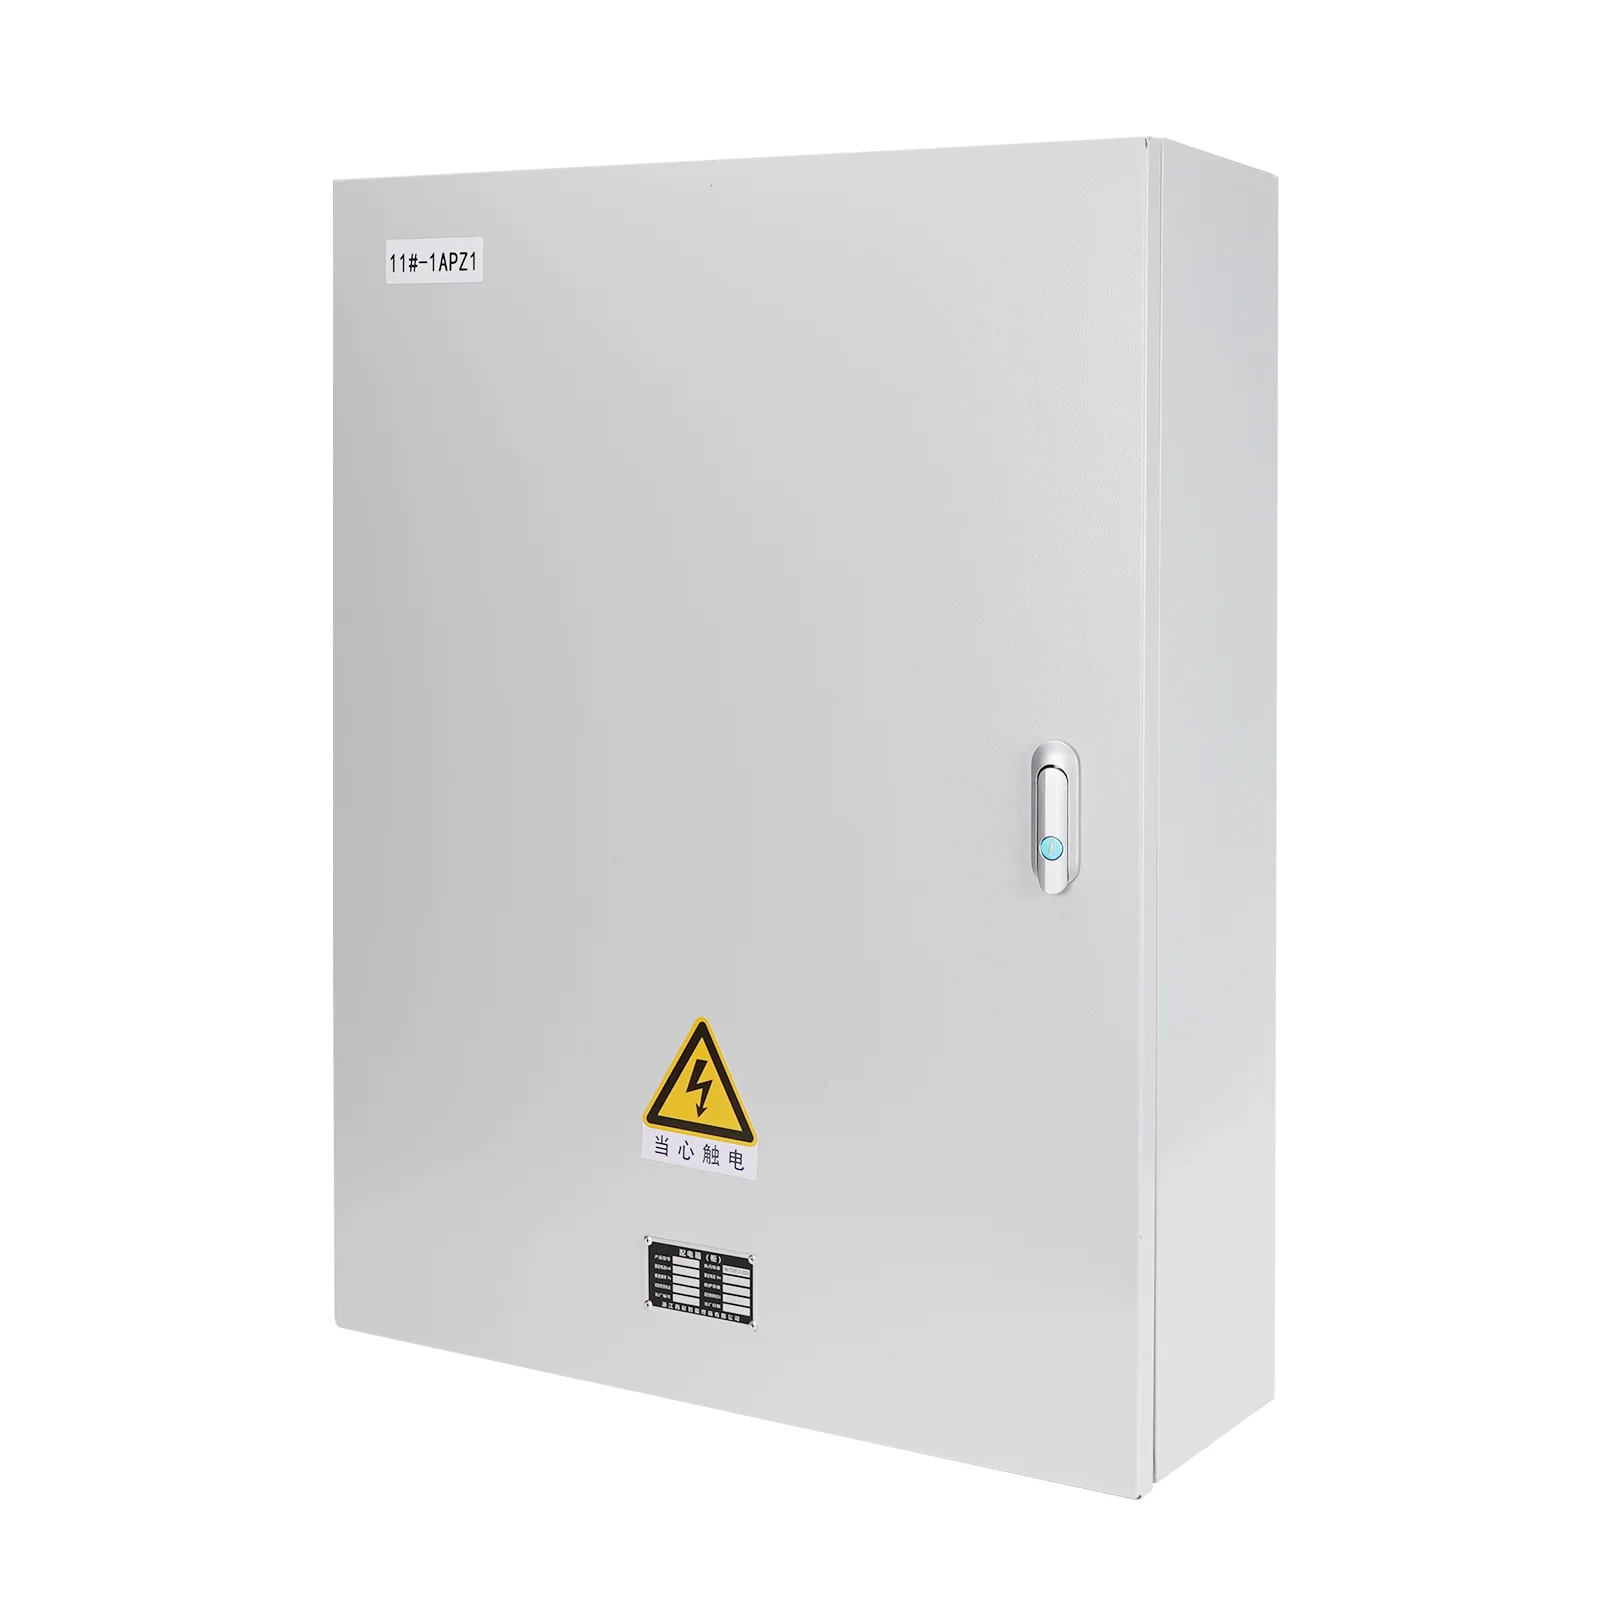
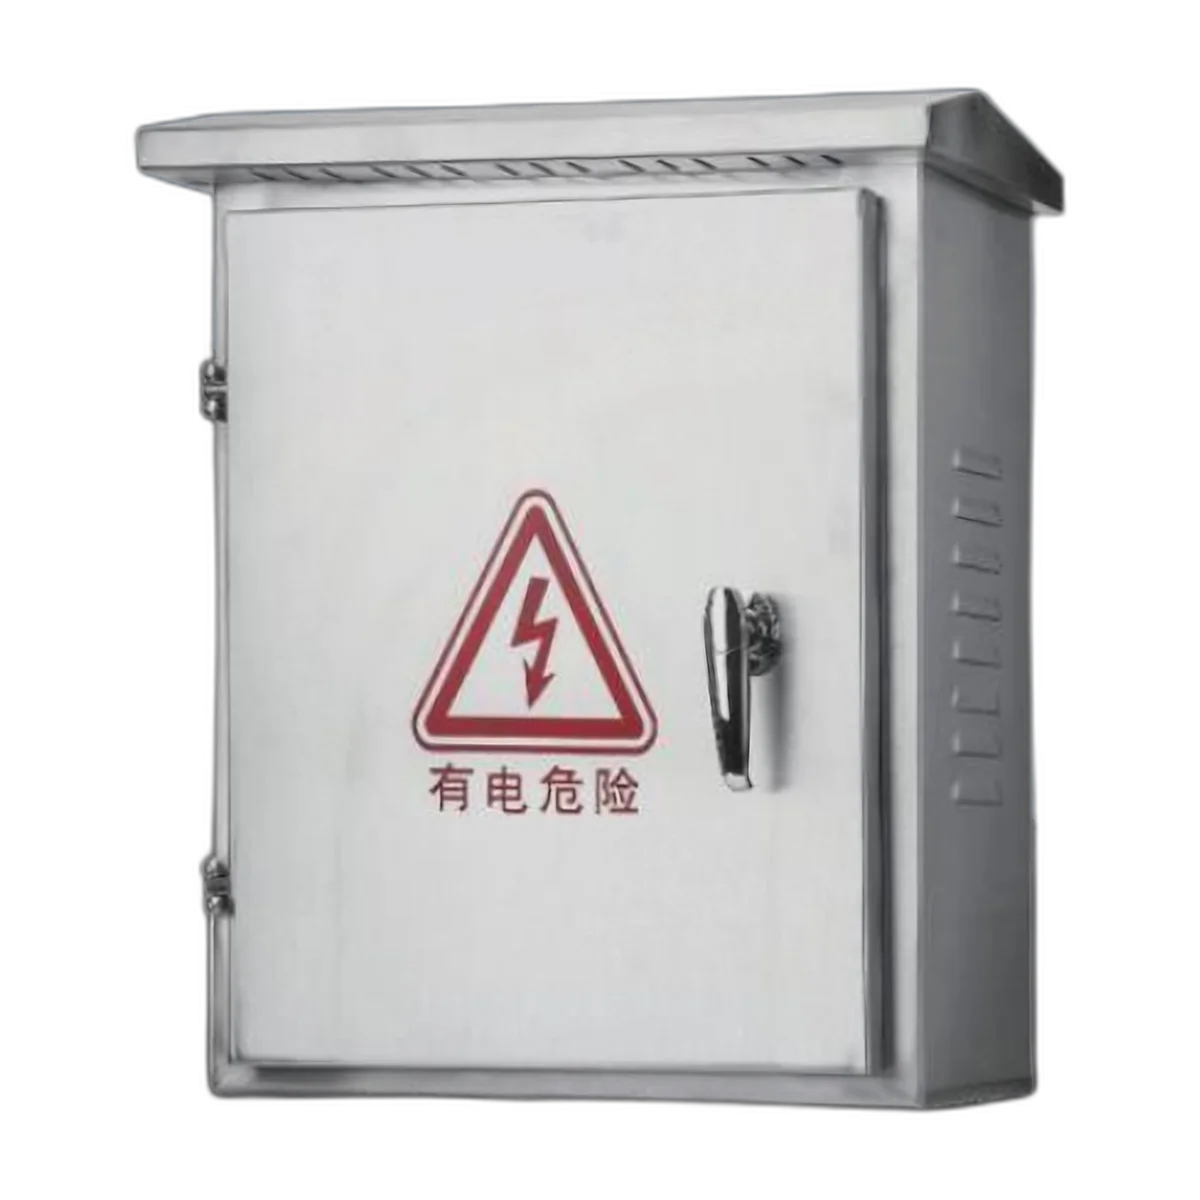
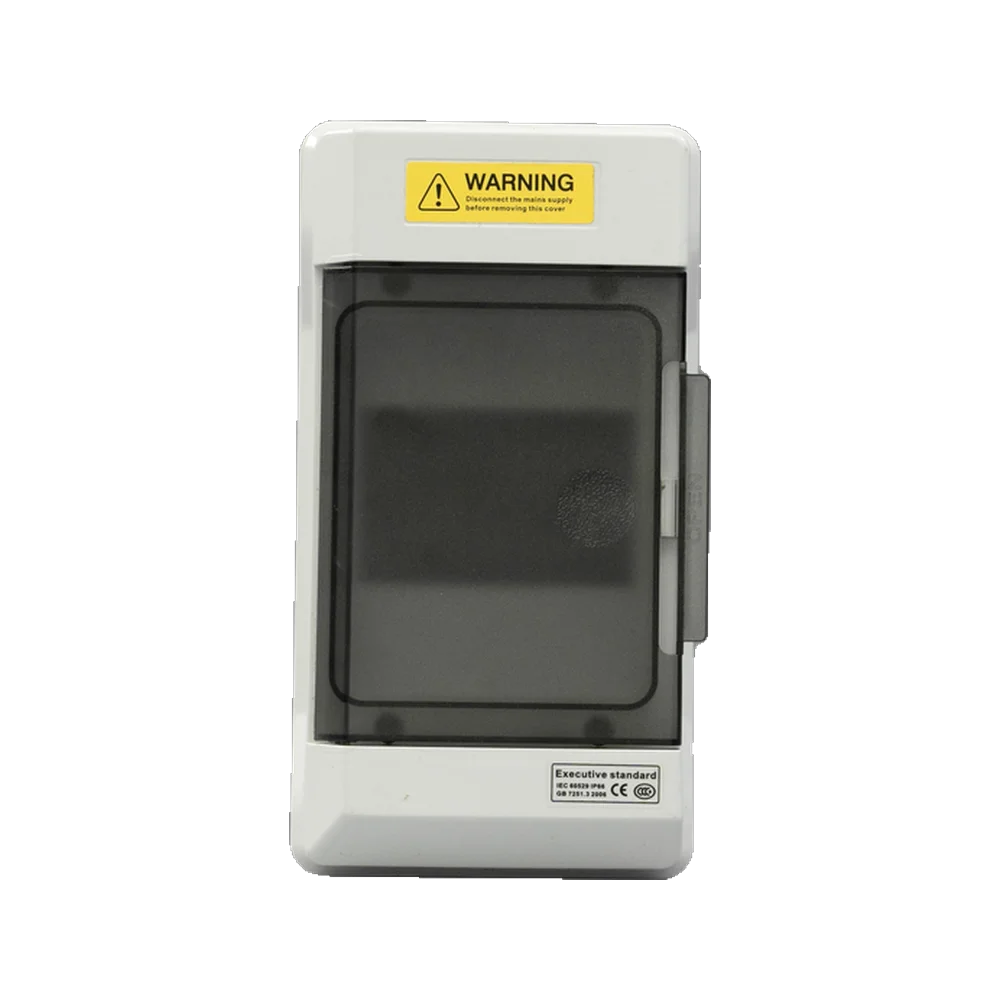
The entry point into the home is made up of the fibre entry box that has splice tray and controlled bend radius at the point that the cable first enters the home to connect to the distribution box. That is a different part from the distribution enclosure, and the difference is visible in this fibre optic entry box with square vents, which is designed to sit at the point of entry rather than at the distribution point.
Cost Comparison and What to Buy
| Solution | Parts | Installed | Time | Reversible |
|---|---|---|---|---|
| Surface cable box | $15–$40 | $15–$40 | 15 min | Yes |
| Pass-through plate pair | $16–$60 | $100–$250 with labour | 1–2 h | Patchable |
| Recessed media box + power kit | $50–$150 | $150–$400 | 2–3 h | No |
| New dedicated circuit to TV location | $60–$150 | $300–$700 | Half day | No |
| Surface raceway, 6 ft run | $10–$35 | $10–$100 | 30 min | Yes |
| Distribution box in a closet | $50–$350 | Project cost | Half day+ | No |
Acquire in the following order.
- If you lease or relocate: surface box. Subsequently, there’s no liability, permit, or consultation with a landlord.
- If the TV is mounted on the walls and the walls are of drywall type: listed recessed media kit with power inlet and CL3 cable. This is the one correct solution that passes the inspection.
- If the wall is made of plaster or brick: surface raceway. The process of cutting through drywall can prove damaging as installing a recessed box on a wall also counts towards repairs.
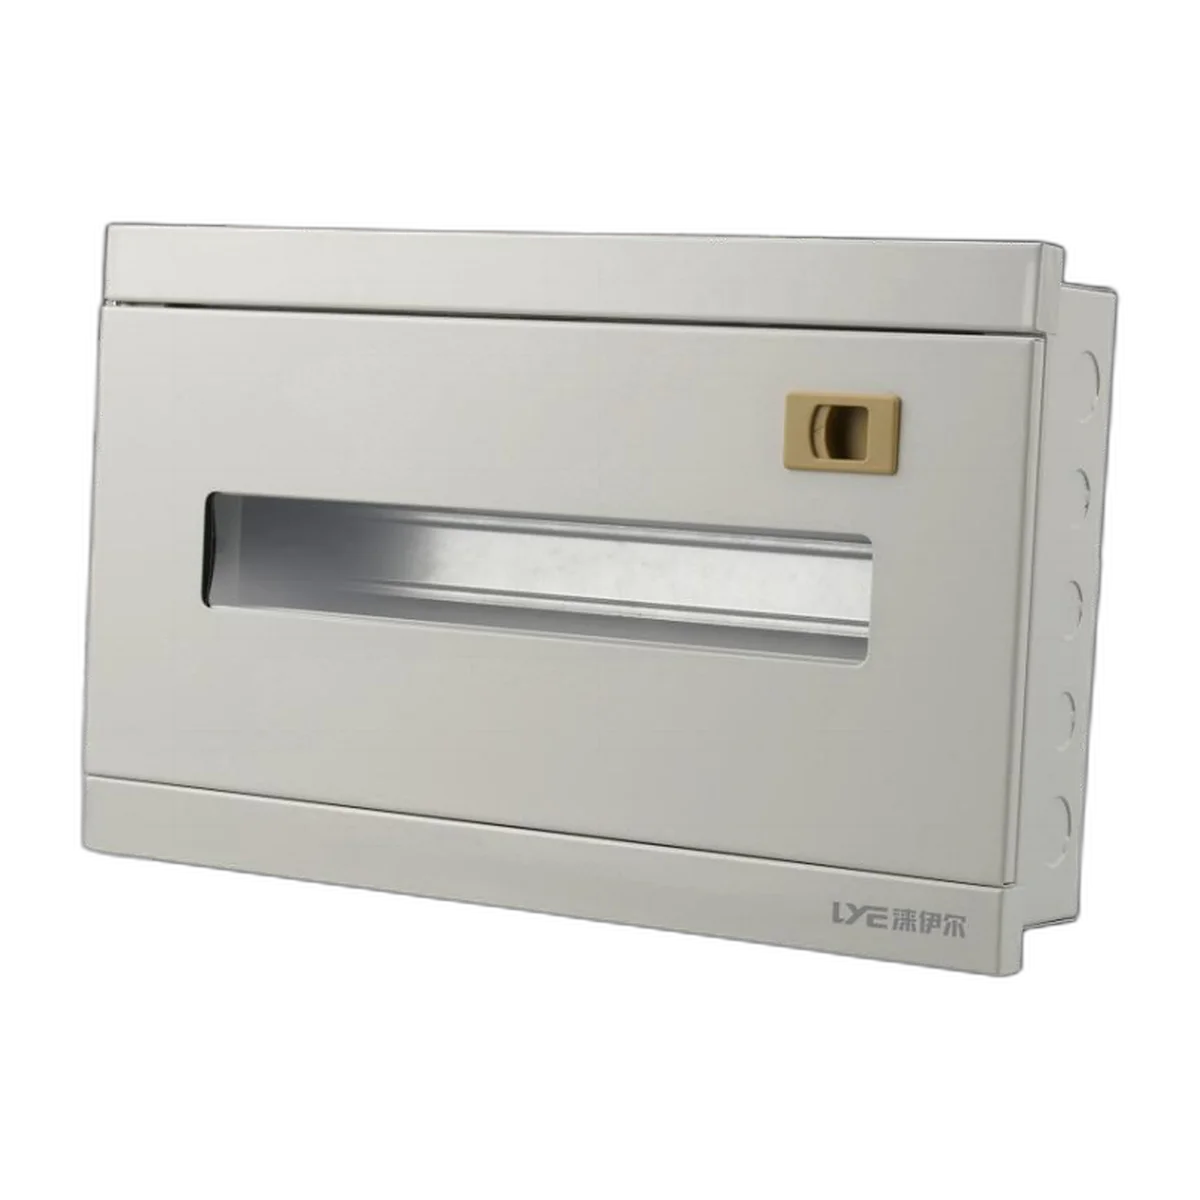
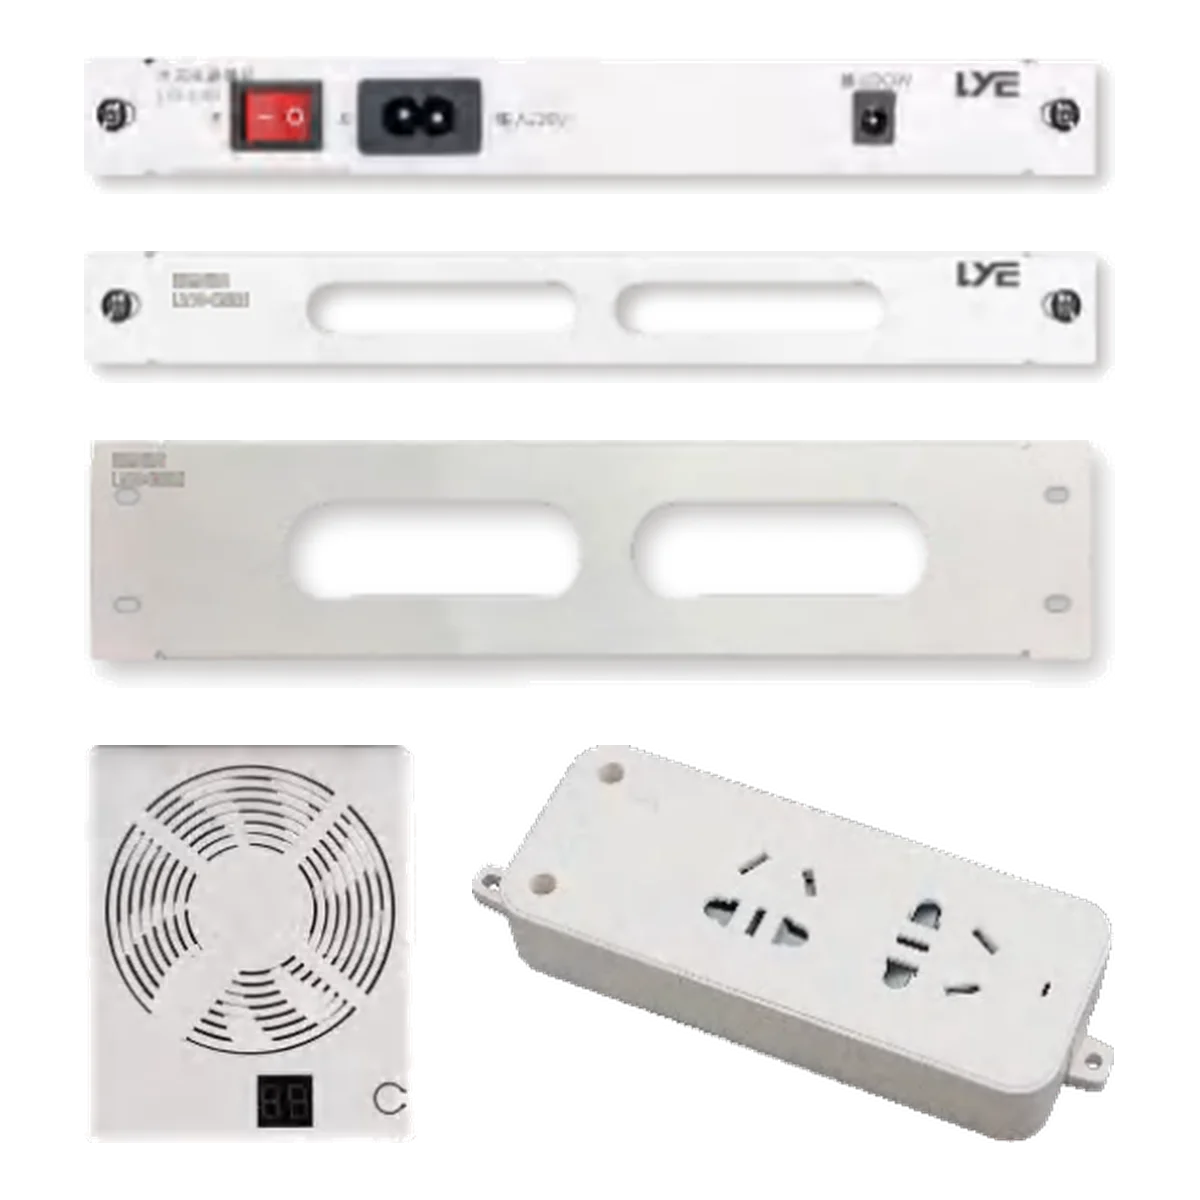
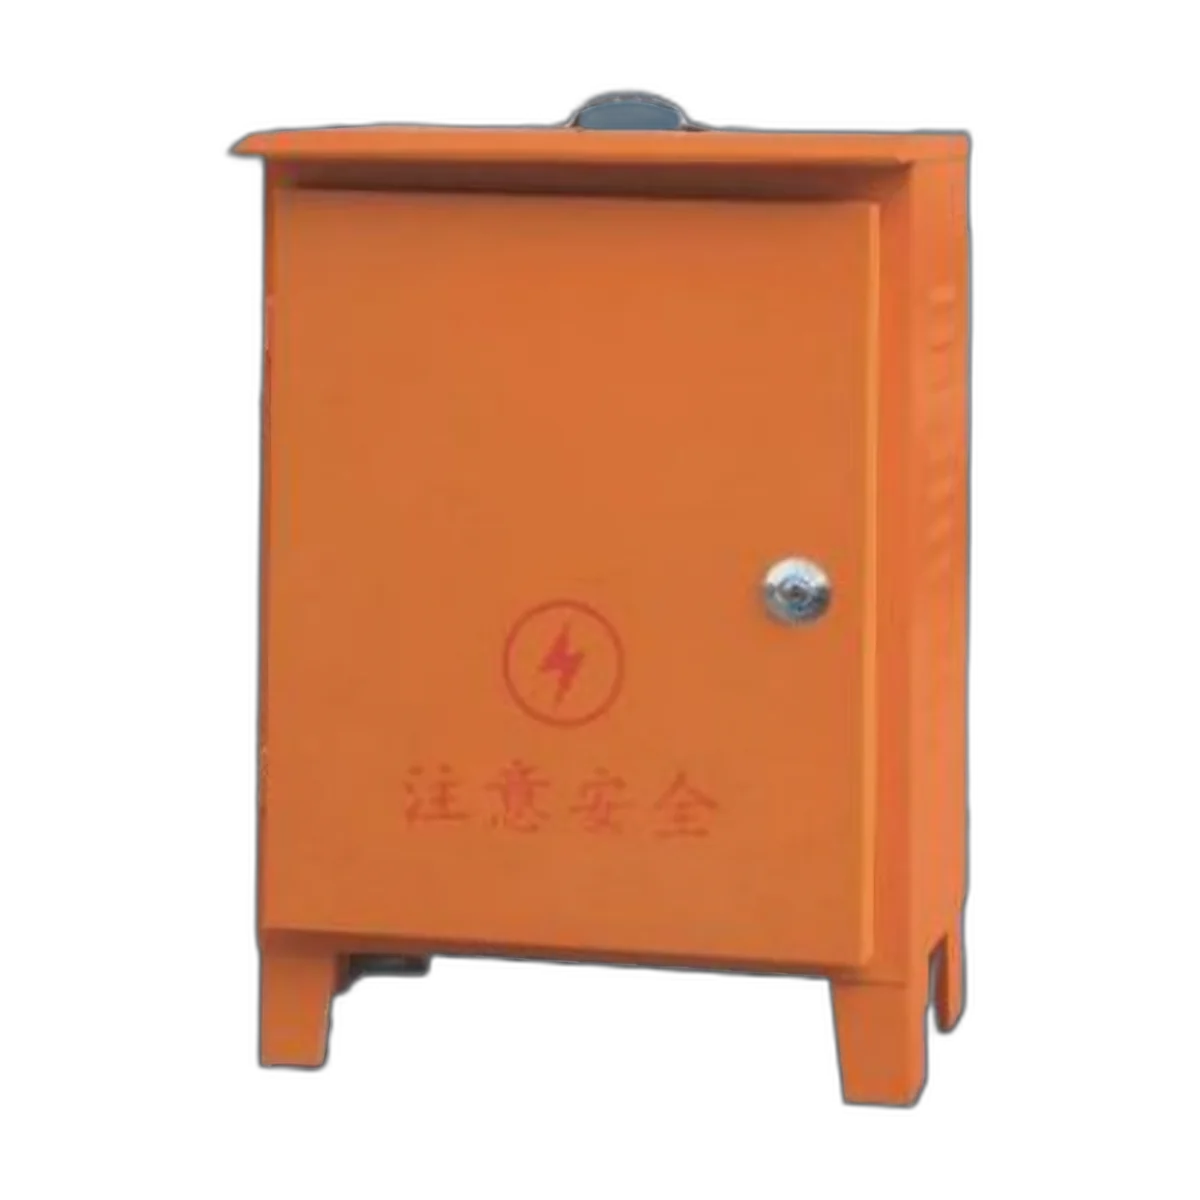
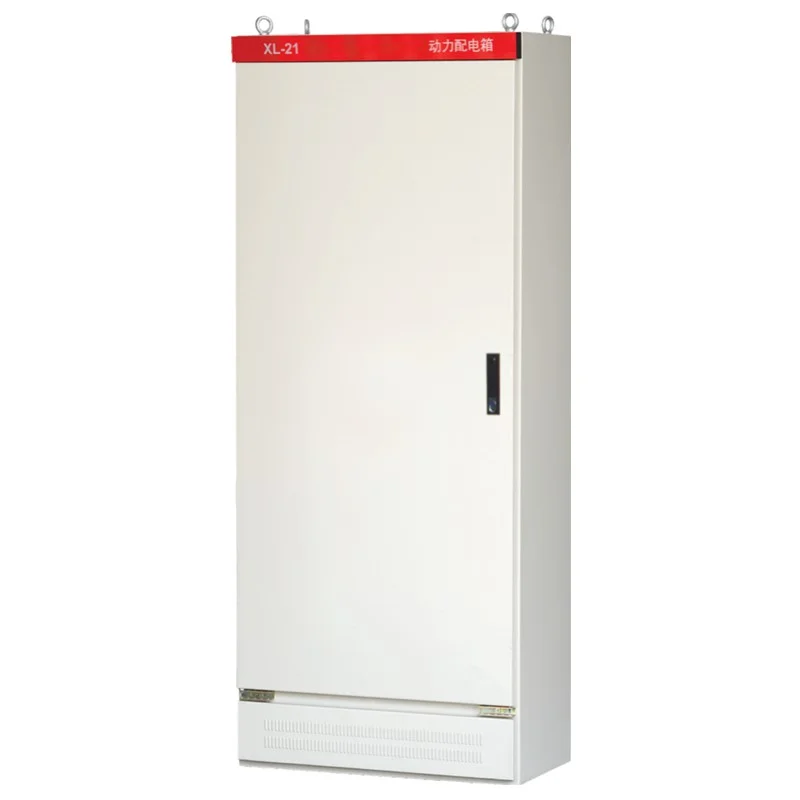
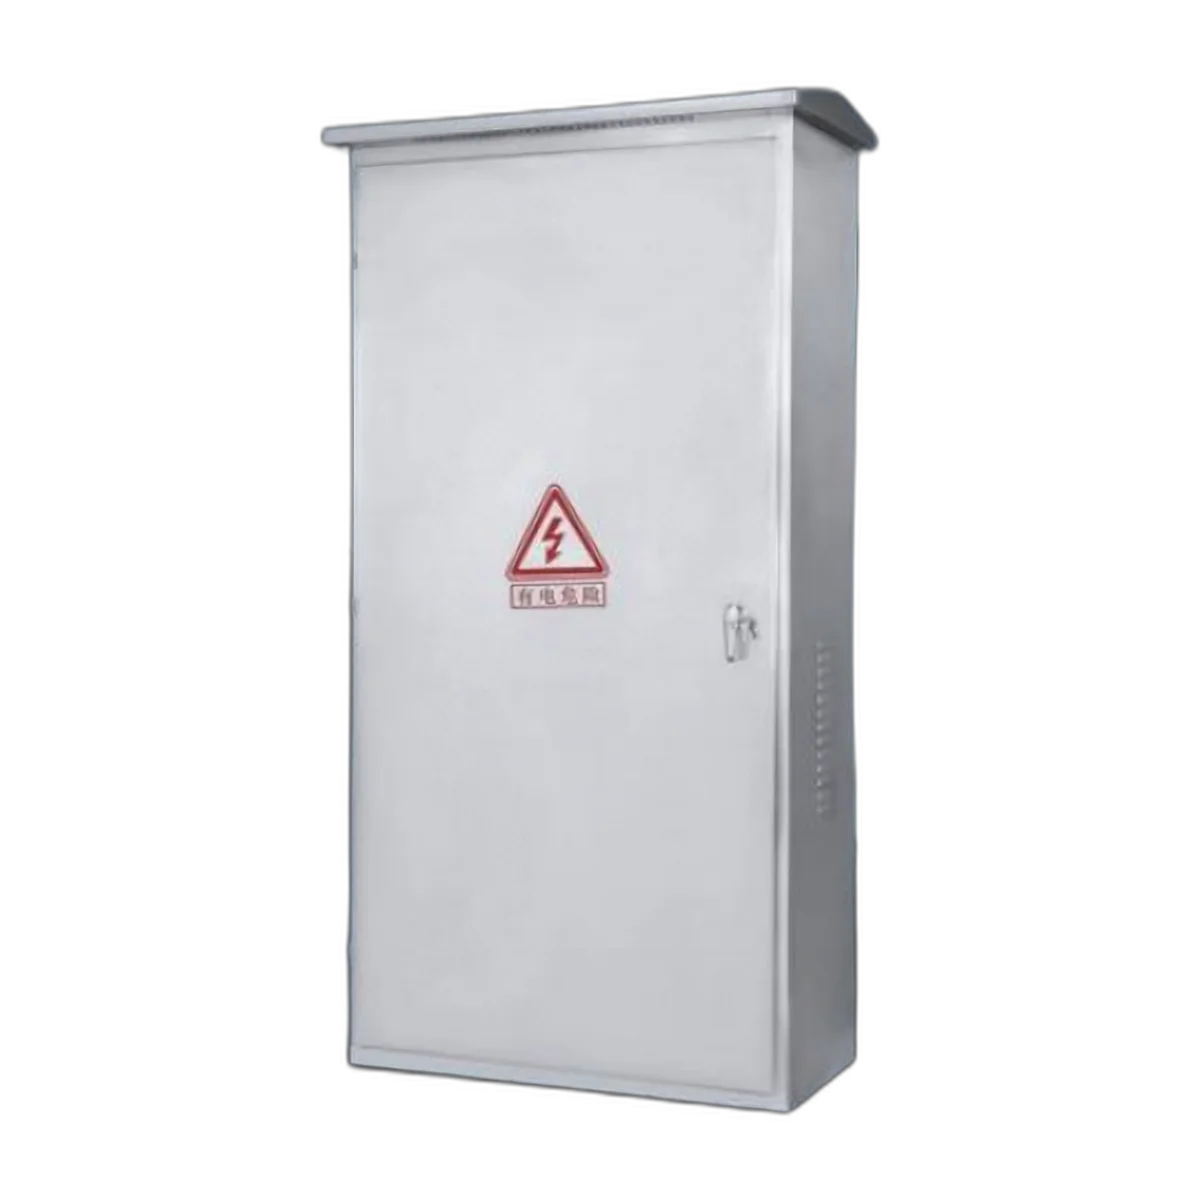
- If the entire house is being wired, or a new structure is being erected, a distribution box in a closet some distance away from a TV location will solve problems with power wiring.It costs the most at the time and the least over ten years, and the module system allows the same enclosure to be reconfigured when the equipment changes, as the information box module series is designed to do.
FAQ
What is the best way to hide cables behind my TV?
A recessed media box with an approved power inlet provides the best solution for a mounted TV on a drywall. This option allows the power and signals to come to an end at the wall surface, resulting in nothing being visible. On the contrary, a TV placed on a stand can be served by a surface cable box. A third alternative can’t be dropping the power wire down through a hole in the wall as it is not allowed according to NEC 400.8.
Are cord hiding boxes safe?
A surface box which is used on the wall is secure if there is no harm done to the wires inside it and also it should not be loaded too heavily which may block the dissipation of heat. A recessed box is secure if it is a certified product and the live wire has been put in according to its manual. An example of a hazardous variant is one that is not certified and has a flexible cable tucked instead of a wall.
How can I hide the cables behind my wall mounted TV?
Two holes will be cut in the wall, one behind the TV at a level with the bracket, the second one, lower and closer to the power outlet. A electric receptacle will be installed at the lower hole in the wall and another special outlet at the upper hole, connecting both of them inside the wall with the supplied cord. Also, prepare the signal wire, inserting it also through the same holes, if the wall does not have an empty space inside (in case of using a brick or concrete wall).
What kit can I use to hide TV wires behind the wall?
Search for an in-wall power relocation kit that is bottom listed as a complete set with both inlet and outlet and is designed to keep the low-voltage and mains conductors separated from each other in different compartments. As per your signal needs, add in CL3-rated HDMI and pass-through plates. Don’t go for items that are referred to as “cable pass-through” as far as the power side is concerned. This is a product for signal purposes and not for power.
References
- NFPA 70 — National Electrical Code, Article 400 and Article 725
- UL Solutions — In-Wall Power and Cable Management Listings
- Legrand — In-Wall Cable Management and Raceway Systems
- Hubbell — Wiring Devices and Wall Boxes
- TIA — Residential Cabling Practices
Conclusion
The box that is behind the television is just one aspect of the overall issue. It may conceal two cords and clear up the mess that has been created on the outside, but in reality the really important box that is within a closet is the real solution, since this makes it possible for there to be only one wire connected to the television in the first instance.
For starters, you should consider the following rule: no flexible cables within the wall. After that the solution is fairly uncomplicated: you can utilize either a cheap $20 shroud or a more costly $100 recessed system, or organize it in such a way that the devices are situated elsewhere.